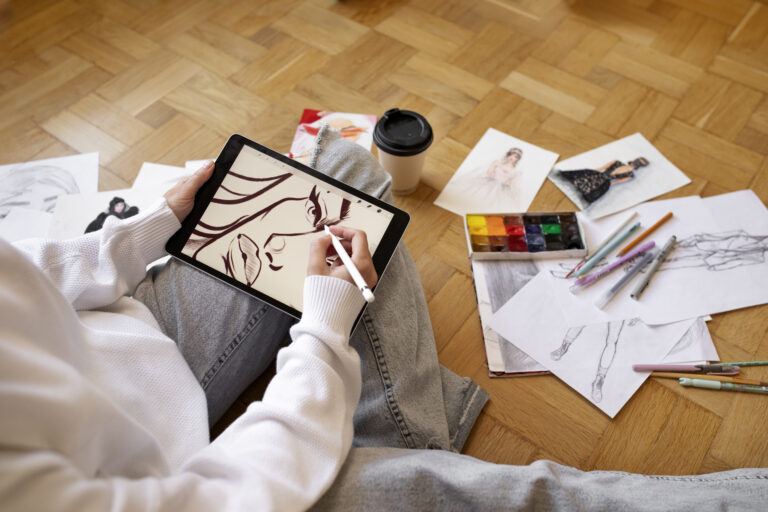
Are you looking for fun and easy things to draw on Procreate? Digital art can be a great way to express yourself and relax. Whether you’re a beginner or have some experience, there are lots of simple things you can draw on your iPad.
Procreate is a popular app that lets you create amazing artwork. With just a few basic shapes and tools, you can make cool designs in no time. This article will give you 10 easy ideas to try out when you’re feeling creative or bored. Get ready to have fun and make some awesome digital drawings!
1) Sunset over Mountains

Creating a stunning mountain sunset scene in Procreate is easier than you might think! Start by setting up your canvas with a warm color palette for the sky.
Use the brush tool to paint broad strokes of orange, pink, and purple across the top of your canvas. Blend these colors together for a smooth transition.
Next, add silhouettes of mountains using a dark color. Create jagged shapes along the bottom of your canvas. Layer multiple mountain ranges for depth.
To give your mountains texture, try using the smudge tool or a textured brush. This adds subtle details that make your artwork more realistic.
For extra flair, add a sun peeking over the mountain tops. A simple circle with a soft glow around it does the trick.
Don’t forget to include some foreground elements like trees or rocks. These small touches help frame your scene and add interest.
With these simple steps, you’ll have a beautiful sunset mountain landscape in no time. Experiment with different color combinations and shapes to make it your own!
2) Cute Penguin
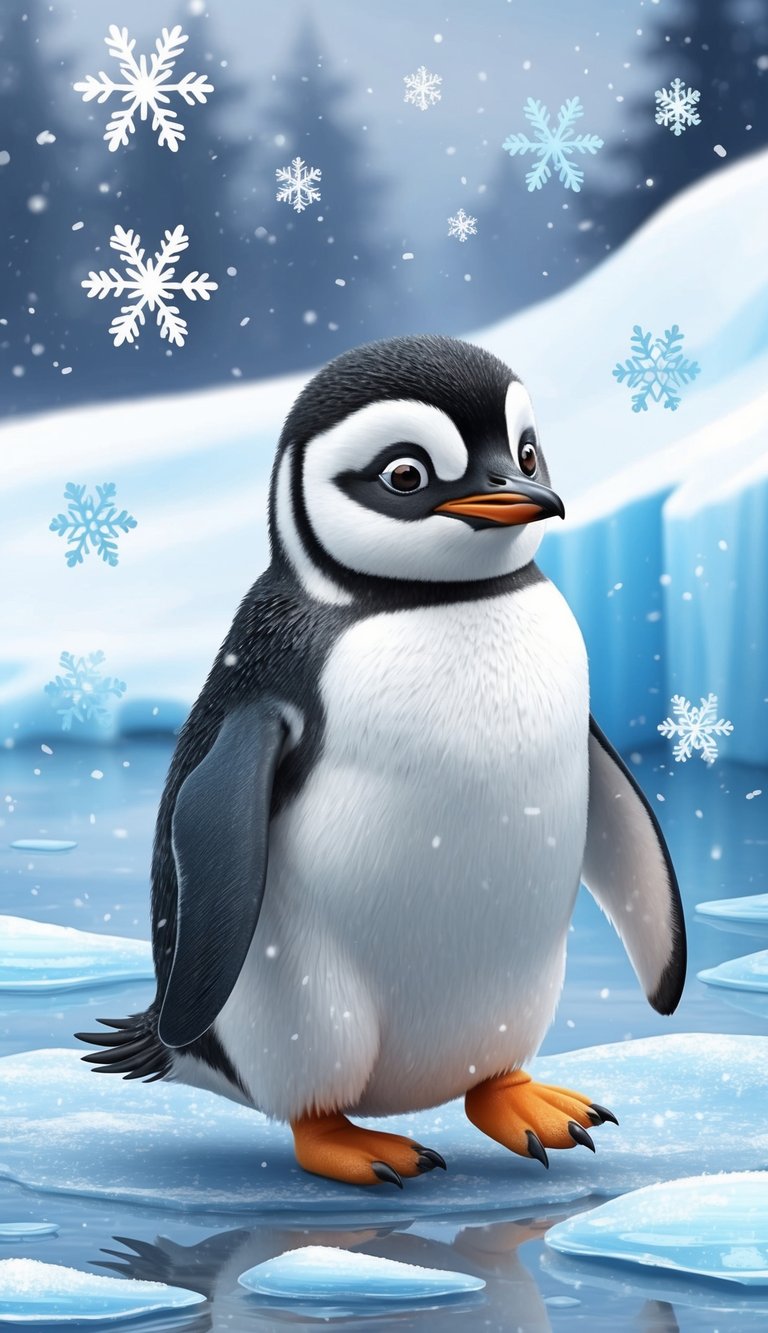
Want to draw something adorable? Try a cute penguin! It’s a fun and easy project for Procreate beginners.
Start with basic shapes. Use circles for the body and head. Add ovals for the wings and feet. The symmetry tool can help make both sides match.
Next, add details like eyes and a beak. A small triangle works well for the beak. For the eyes, try large circles with smaller ones inside.
Don’t forget the penguin’s signature tuxedo look. Fill in the back with black, leaving the front white. Add a few curved lines to show the edge between colors.
For extra cuteness, draw the penguin lying on a snowball. This simple addition makes your drawing even more charming.
Use soft brushes to add shading and texture. This gives your penguin depth and makes it look fluffy. You can also check out our guide on How to Create Textures in Procreate for tips on creating a soft-looking tummy.
Experiment with different poses and expressions. You can make your penguin wave, slide, or even dance!
3) Galaxy Scene

To create a galaxy scene, start with a black background to set the stage for your cosmic design.
Use Procreate’s brushes to add stars and nebulae. The app has some great built-in options, or you can find galaxy brush sets online.
Play with different colors to bring your galaxy to life. Try blues, purples, and pinks for a classic look. Don’t forget to add some bright spots for stars and swirling patterns for galaxies.
Layer your colors and use the blending tools to create depth. This will make your galaxy look more realistic and three-dimensional.
Add some larger stars or planets as focal points. You can use the white brush to create a glow effect around them.
Experiment with opacity to create a misty, dreamy feel. This will make your galaxy scene look more magical and mysterious.
Remember, there’s no right or wrong way to create a galaxy. Let your imagination run wild and have fun with it!
4) Tropical Leaf
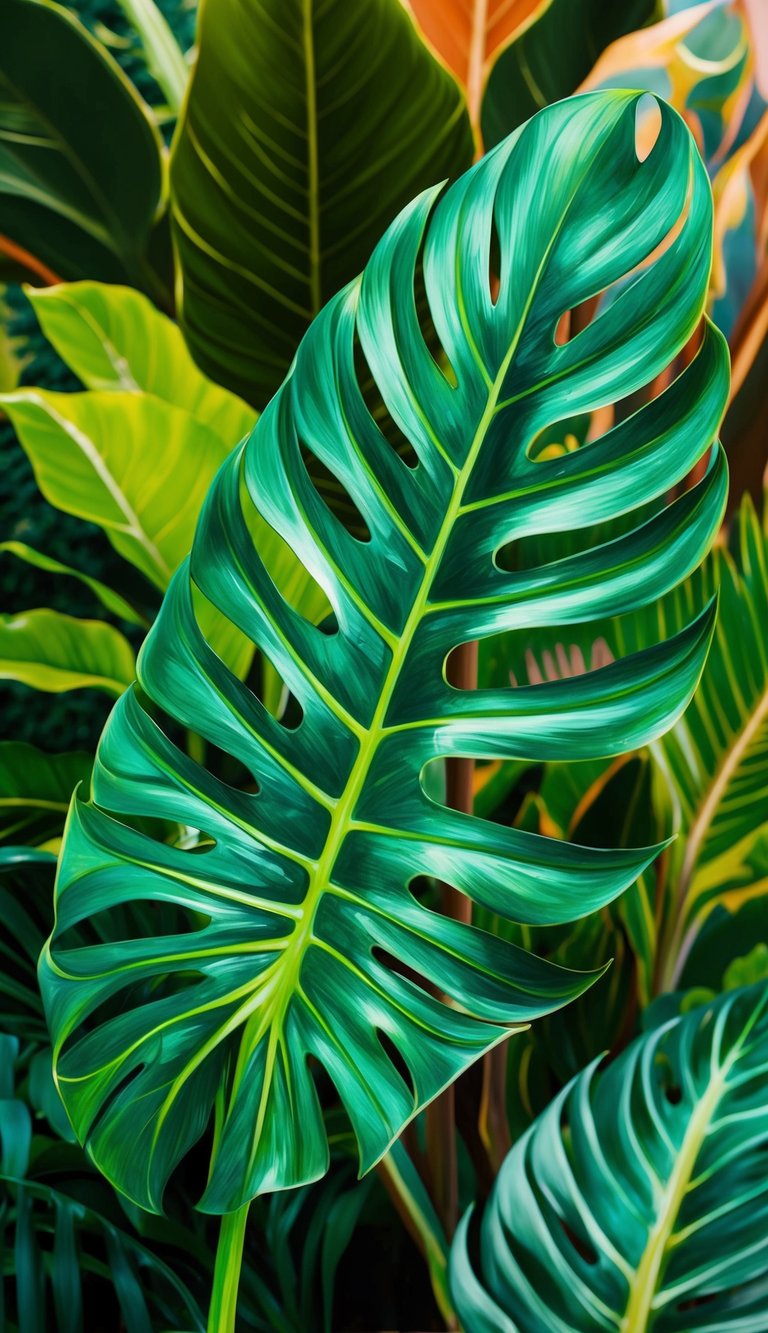
Drawing a tropical leaf is a fun and easy project for Procreate beginners. You can start with a simple monstera leaf shape. It’s a great way to practice your digital drawing skills.
First, sketch the basic outline of the leaf. Use a light touch with your Apple Pencil to create a rough shape. Don’t worry about perfection at this stage.
Next, add some details to make your leaf look more realistic. Draw the veins running through the leaf. You can use a darker shade of green for this step.
To give your leaf some texture, try using different brushes in Procreate. The watercolor brush can add a nice, soft effect to your drawing.
Play around with colors to make your tropical leaf pop. You might want to use different shades of green or even add some yellow highlights.
Remember, practice makes perfect. The more you draw tropical leaves, the better you’ll get. It’s a relaxing subject that can help you improve your Procreate skills.
5) Cartoon Cat
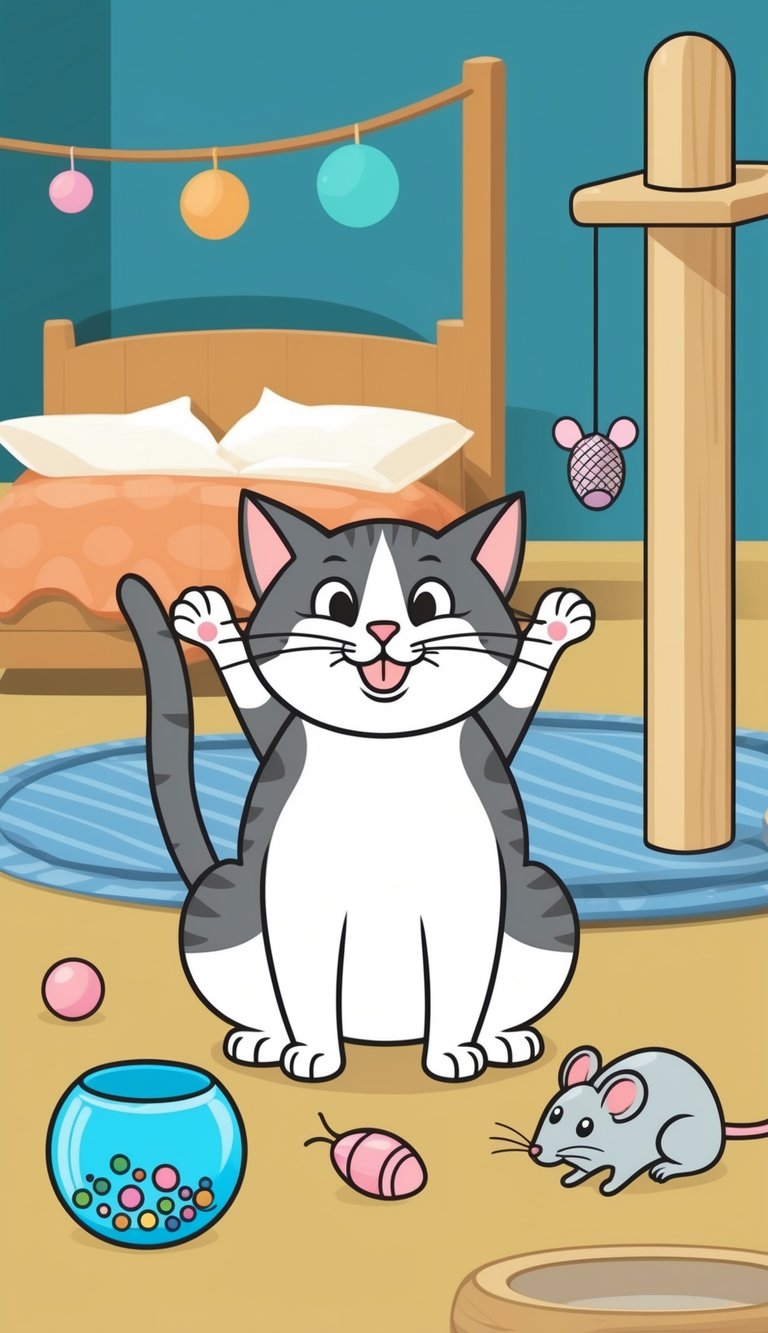
Drawing a cartoon cat in Procreate is another fun and easy project. You can start with a simple circle for the head and add pointy ears on top.
Next, draw big, round eyes and a small nose. Add whiskers and a cute little mouth to give your cat some personality.
For the body, use basic shapes like ovals or rectangles. Don’t forget the tail! You can make it curly or straight.
Play around with different colors for your cat’s fur. Try stripes or spots to make it unique.
Add some finishing touches like paw prints or a collar. You can even put your cat in a funny pose or give it a toy to play with.
Remember, cartoon cats don’t have to be perfect. The more playful and silly, the better! With a little practice, you’ll be drawing adorable kitties in no time.
6) Floral Wreath
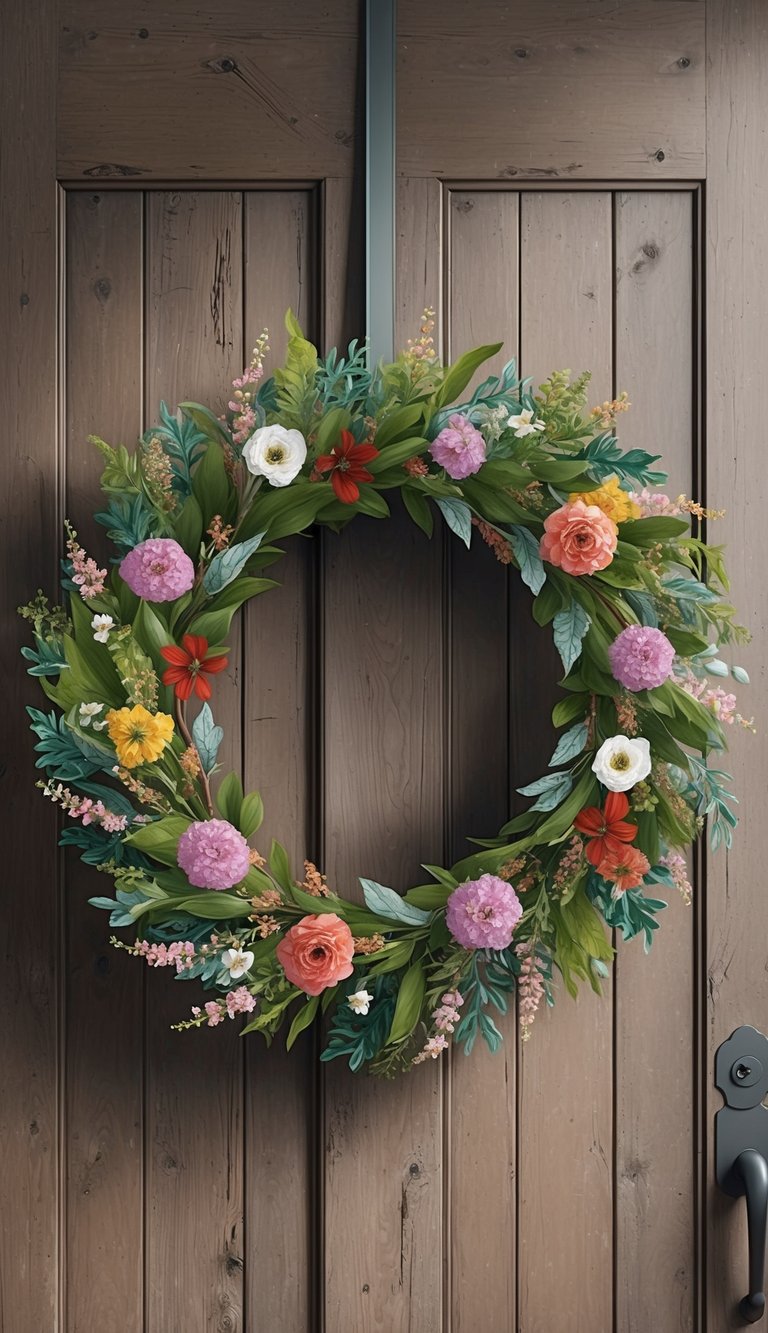
Floral wreaths are a beautiful and fun thing to draw on Procreate. They’re perfect for adding a touch of nature to your digital art. You can make them as simple or complex as you like.
Start by drawing a circle guide to help shape your wreath. This will keep everything nice and round. Don’t worry if it’s not perfect – nature isn’t either!
Next, pick some flowers and leaves to include. Roses, daisies, and small berries are great choices. Add them around your circle, starting with bigger elements and filling in with smaller ones.
Use different brushes to create variety in your flowers and leaves. Try the monoline brush for stems and outlines. Experiment with stamp brushes for quick, easy petals and leaves.
Play with colors to make your wreath pop. Soft pastels work well for a spring look, while deep reds and greens are perfect for winter.
Remember to add some shadows and highlights to give your wreath depth. This will make it look more realistic and eye-catching.
7) Vintage Camera
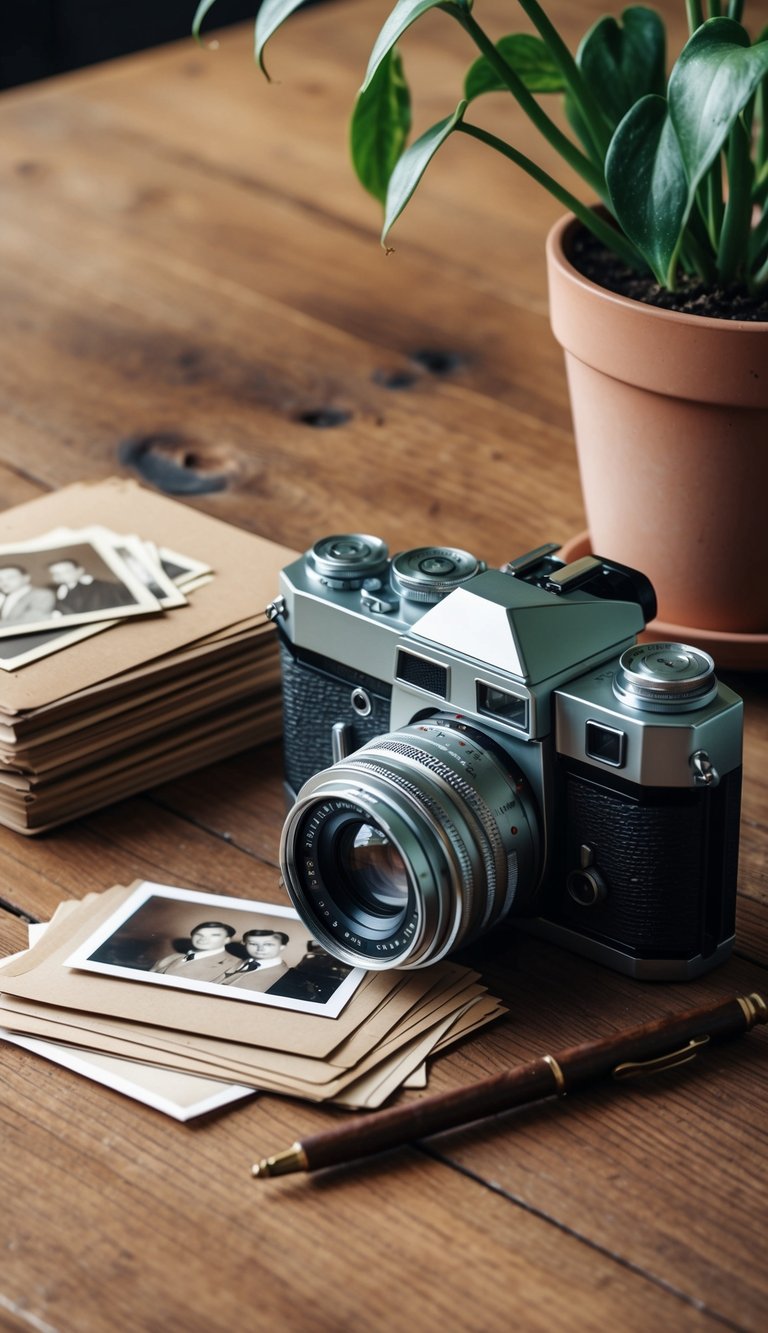
Want to add a touch of nostalgia to your Procreate drawings? Try sketching a vintage camera! Start with a rectangular body shape. Add some rounded edges to give it that classic look.
Next, draw a circular lens in the center. Don’t forget the small viewfinder on top. Include some dials and buttons on the sides for extra detail.
You can make it more interesting by adding a leather texture to the body. Use Procreate’s texture brushes to create this effect. A strap is another nice touch – draw a thin line from one side to the other.
For a final flourish, add some scratches or worn spots. This will make your camera look truly vintage. Play around with different colors too. Maybe go for a warm sepia tone or cool metallic shades.
Drawing a vintage camera is fun and fairly simple. It’s a great way to practice shapes and details in Procreate. Give it a try and see what you can create!
8) Ice Cream Cone

Drawing an ice cream cone on Procreate is a fun and easy project. Start by creating a new layer for the cone. Use a light brown color and draw a triangle shape for the cone.
Next, make a new layer for the ice cream scoop. Choose your favorite ice cream color. Draw a round shape on top of the cone. You can add more scoops if you want.
To give your ice cream depth, use the smudge tool. Blend the edges of the scoop slightly. This makes it look soft and creamy.
For extra flair, add some toppings. Sprinkles, chocolate chips, or a cherry on top can make your ice cream cone pop. Use small brush strokes to create these details.
Don’t forget shadows and highlights. Add a bit of shading under the scoop and on one side of the cone. Then, put some light spots on the ice cream to make it look shiny.
With these simple steps, you’ll have a yummy-looking ice cream cone drawing in no time. It’s a great way to practice your Procreate skills and have some creative fun.
9) Retro Boombox
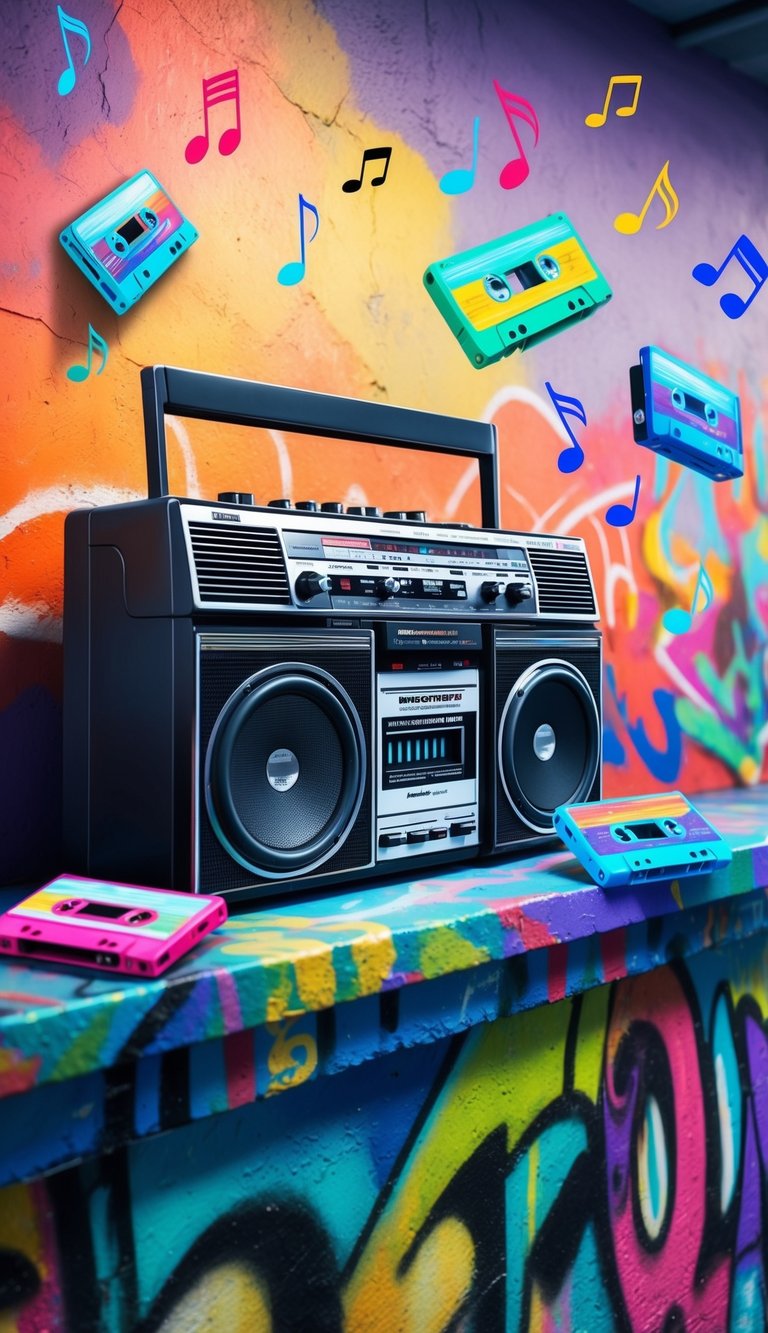
Ready to bring back some 80s nostalgia? Drawing a retro boombox on Procreate is a fun way to practice your digital art skills.
Start by sketching the basic shape of the boombox. Make it rectangular with rounded edges for that classic look.
Add two circles for the speakers on either side. Don’t forget the cassette player in the middle! Draw a rectangle with some buttons and knobs around it.
Now for the details. Add a handle on top and some feet at the bottom. Include an antenna and maybe some cool stickers or graffiti for extra flair.
Play with different brushes to give your boombox texture. Try using the noise brush for a slightly grainy effect, mimicking the plastic surface.
Experiment with bright colors to capture that 80s vibe. Think neon pinks, electric blues, or vibrant yellows.
Remember, you can always adjust your layers and opacity to fine-tune your drawing. Have fun with it and let your creativity flow!
10) Fairy Tale Castle

Drawing a fairy tale castle on Procreate can be a fun and easy project. Start with a simple outline of the castle’s main structure. Add tall towers with pointy roofs and some windows.
Don’t forget to include a drawbridge and a moat around the castle. You can use different shades of gray or brown for the stone walls.
Add some flags on top of the towers for a royal touch. Draw a few clouds in the sky to set the scene. You might want to include some trees or bushes near the castle’s base.
For extra magic, try adding a unicorn or a dragon flying nearby. Use bright colors to make your castle stand out. Experiment with different brushes in Procreate to create unique textures.
Remember, your castle doesn’t have to be perfect. Let your imagination run wild and have fun with it. You can always adjust and improve as you go along.
Understanding Procreate
Procreate is a powerful digital art app for iPad. It offers many tools and features to help you create amazing drawings and illustrations. Let’s explore how to get started and the key tools you’ll use.
Getting Started with Procreate
To begin using Procreate, download it from the App Store on your iPad. Once installed, open the app and tap the “+” icon to create a new canvas. Choose your canvas size and resolution.
Pick a brush from the brush library. There are many options for different styles and textures. Adjust brush size and opacity using the sliders on the left side of the screen.
Use your finger or Apple Pencil to start drawing. Make mistakes? No worries! The eraser tool lets you easily fix errors.
Try different layers to organize your artwork. Add new layers by tapping the layers icon and selecting “+” at the top.
Essential Procreate Tools
The brush tool is your main drawing instrument. Experiment with various brushes to find ones you like.
The smudge tool blends colors and softens edges. It’s great for creating smooth transitions.
The selection tool lets you move, resize, or transform parts of your drawing.
Use the color picker to choose hues from a color wheel or your canvas.
The symmetry tool helps create mirrored designs quickly. It’s perfect for mandalas or symmetrical patterns.
Adjust your workspace with zoom and rotate gestures. Pinch to zoom in or out, and use two fingers to rotate the canvas.
Tips for Drawing on Procreate
Procreate offers many tools to enhance your digital art. These tips will help you make the most of the app’s features and improve your drawing skills.
Optimizing Brush Settings
Try different brush settings to find what works best for you. Adjust the size and opacity sliders to control line thickness and transparency. Play with the brush’s shape and texture for unique effects.
Experiment with pressure sensitivity to create varied line weights. Use the “Streamline” option for smoother lines. This helps steady your hand, especially when drawing long strokes.
Create custom brushes by tweaking existing ones. Save your favorites for easy access later. Don’t be afraid to mix and match brush types in a single piece.
Layer Management Tips
Use layers to organize your work and make edits easier. Start with a background layer, then add separate layers for sketches, line art, and coloring. This lets you work on each part without affecting others.
Name your layers clearly to stay organized. Group related layers together to keep your workspace tidy. Adjust layer opacity to blend elements smoothly.
Try different blend modes to create interesting effects. Use clipping masks to color within lines easily. Remember to merge layers when you’re done to reduce file size.
Beginner’s Guide to Procreate
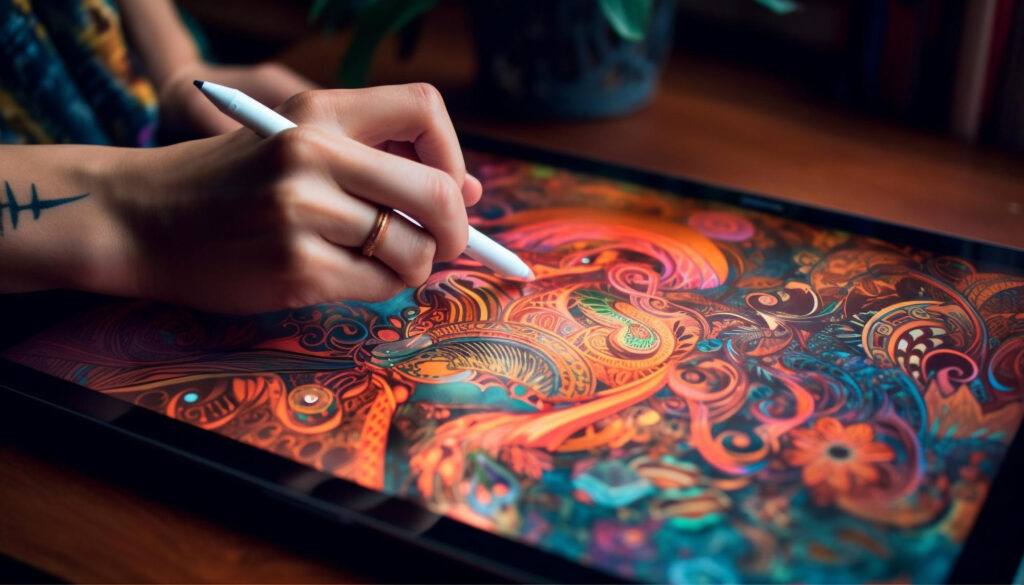
Our Beginner’s Guide to Procreate is the ultimate resource to kickstart your digital art journey. It covers everything from the basics of navigating the app to advanced techniques for creating stunning artwork so that you can not only get off to a strong start but gain confidence quickly. Dive in and unleash your creativity with Procreate!
