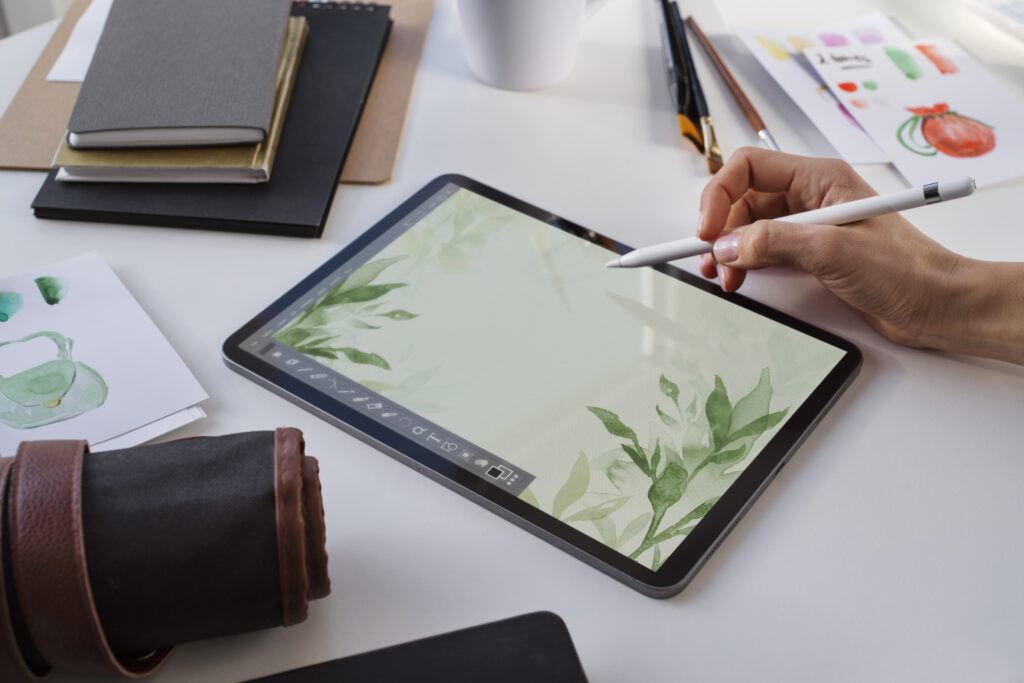
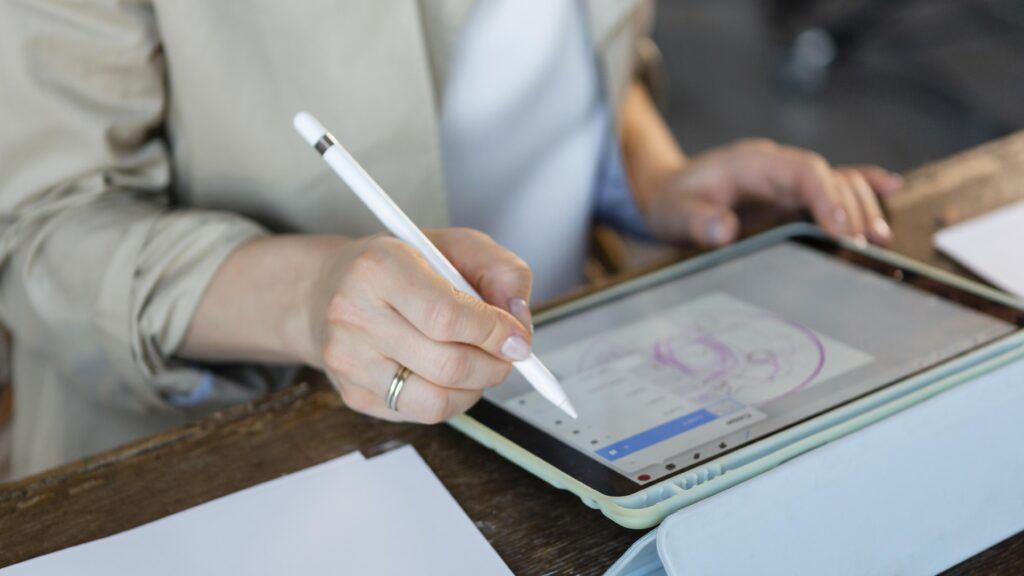
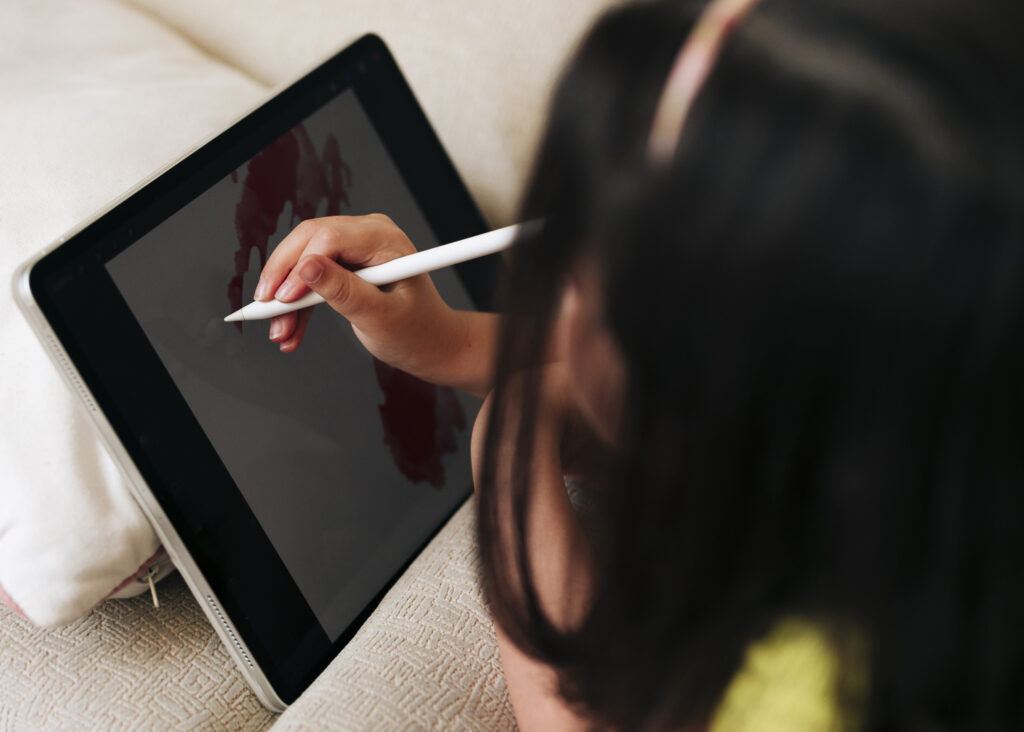
If you have recently invested in an Apple Pencil and are unsure where to start, this beginner’s guide is here to help. The Apple Pencil is an essential tool for iPad users looking to unlock their creative potential, whether through drawing, writing, or navigating apps. Pairing your Apple Pencil with your iPad is simple, whether you have the first-generation model or the more advanced second-generation version.
For more, check out our full guide on How to Connect Apple Pencil to iPad.
Beginner’s Guide To Apple Pencil: Getting Started
Learn the basics of using your Apple Pencil, including getting familiar with its features and how to pair and charge your Apple Pencil with your iPad.
Understanding Your Apple Pencil
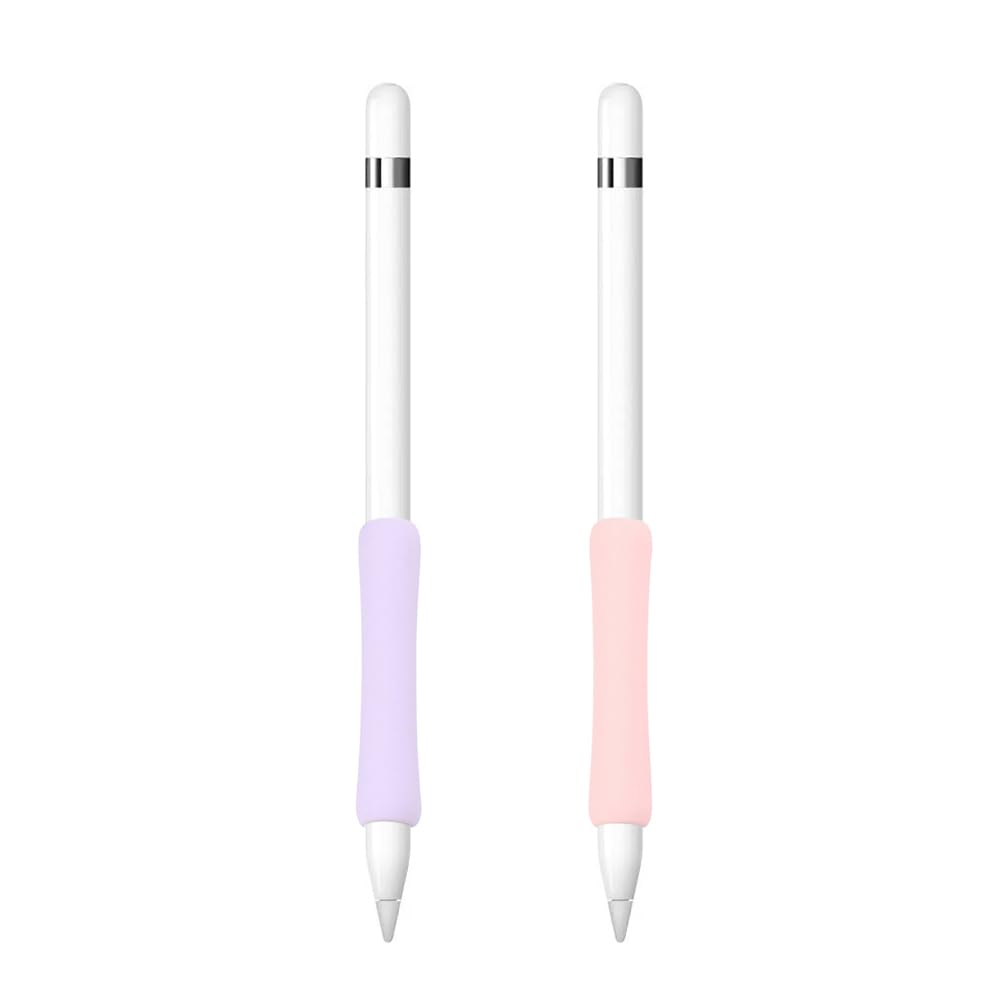
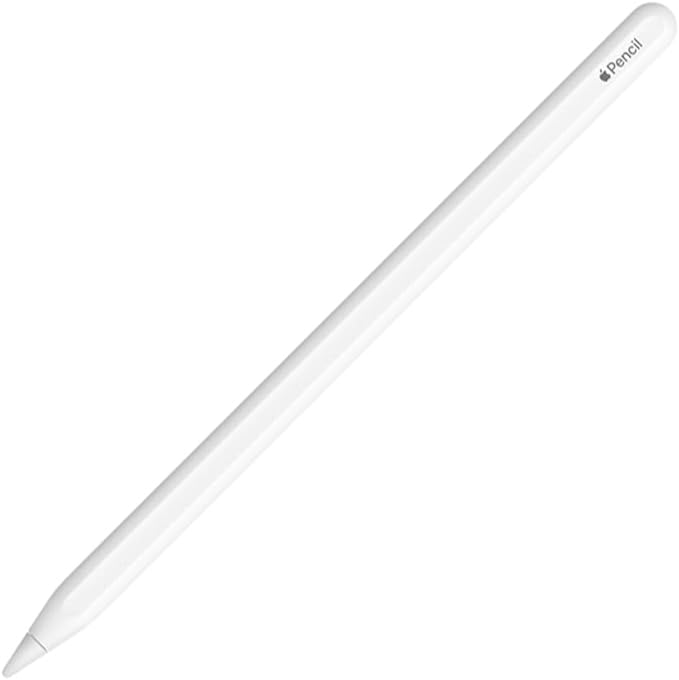
The Apple Pencil comes in three versions: Apple Pencil 1 and Apple Pencil 2 and Apple Pencil Pro. Knowing which model you have is crucial as they have different features and charging methods.
The Apple Pencil 1 features a lightning connector cap, while the Apple Pencil 2 has a sleek, matte finish and sticks magnetically to the side of compatible iPads.
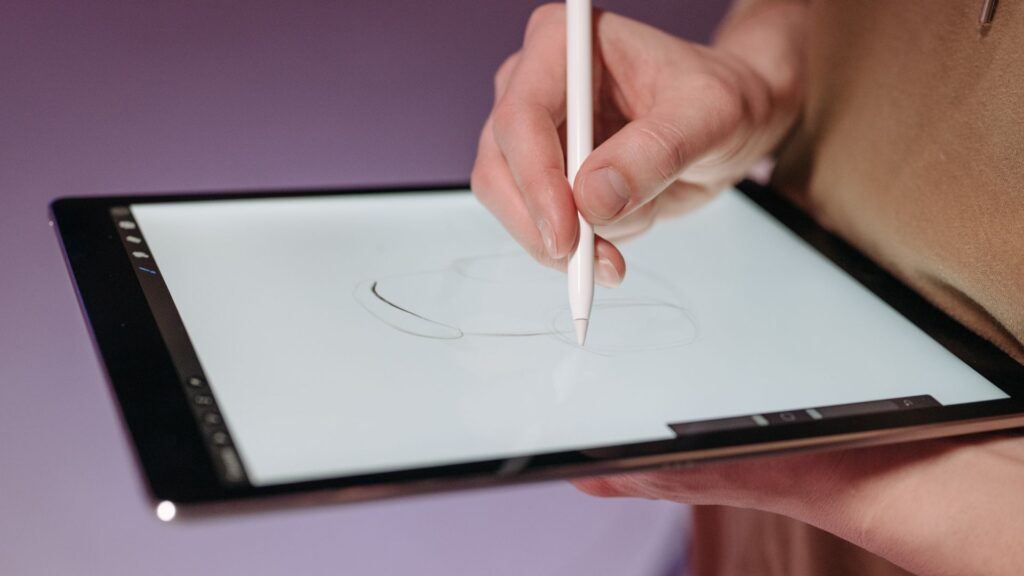
The primary use of both models is to allow more precise input for drawing, writing, and navigating your iPad. Both models are pressure-sensitive, and the newer versions have additional features like the double-tap function on Apple Pencil 2 for switching tools.
Pairing and Charging
To pair the Apple Pencil 1, remove the cap and insert it into the lightning connector of your iPad. A Pair button will appear on the screen—tap it to complete the pairing process.
For the Apple Pencil 2, attach it to the magnetic connector on the side of your compatible iPad, and it will automatically pair and start charging.
Charging methods differ between the two models. Apple Pencil 1 charges via the lightning connector or with an adapter and a USB-C to lightning cable. Apple Pencil 2 charges wirelessly when attached to the magnetic connector of your iPad.
Ensure Bluetooth is enabled on your iPad for the pairing process. Once paired, your Apple Pencil will be ready to use for various tasks such as drawing, sketching, and note-taking.
For more details about the differences among the various versions of Apple Pencil, check out our related blog posts:
Navigating the iPad Interface
Knowing how to navigate the iPad interface with the Apple Pencil is essential for an efficient user experience. Learn how to utilize gestures and access key features like widgets and the lock screen.
Using Gestures
The Apple Pencil supports a variety of gestures that can enhance your interaction with the iPad. Tap to select items, swipe to scroll through pages or menus, and pinch to zoom on images and documents for better detail. For iPad models that support the Apple Pencil hover feature, you can see a preview of your actions before making contact, which aids precision.
Rotating the screen using two-finger gestures allows you to adjust the orientation of images and documents with ease. These gestures make navigating the interface more intuitive. When working with multiple apps, use the multitasking gestures—like swiping up from the bottom edge of the screen to access the Dock or swiping left or right with four fingers to switch between apps.
Accessing Widgets and the Lock Screen
Widgets provide quick access to app information and functions without opening the apps themselves. Access them by swiping right from the home screen or the lock screen. To customize, scroll to the bottom and tap Edit. Add, remove, or rearrange widgets to fit your workflow. The lock screen gives you a quick way to view important information and notifications without unlocking your iPad.
To use the Apple Pencil on the lock screen, simply tap it to wake the screen and start a new Note if you’ve configured this shortcut. This feature is convenient for taking quick notes or sketching ideas without navigating through multiple menus. The Apple Pencil makes accessing and organizing your widgets and notifications straightforward and efficient.
Essential Settings and Controls
Understanding the essential settings and controls for your Apple Pencil can greatly enhance your experience. By customizing settings and exploring accessibility features, you can tailor the tool to your specific needs and preferences.
Customizing Apple Pencil Settings
To access the settings for your Apple Pencil, open the Settings app on your iPad. Scroll down and tap on Apple Pencil. Here, you can customize various controls to better suit your workflow.
One of the key settings is pressure sensitivity. This allows you to adjust how the Pencil responds to different levels of pressure, making it ideal for tasks like drawing or writing. You can fine-tune this setting to achieve the desired level of control.
Another useful feature is Scribble, which allows you to write in any text field and have your handwriting converted to text. This can be enabled or disabled based on your preference.
You can also customize gestures, which are actions you perform with the Apple Pencil to execute shortcuts. For example, double-tapping on the second-generation Apple Pencil can switch between the current tool and the eraser.
Exploring iPad Accessibility Features
Apple strives to make its devices accessible to everyone. The iPad, in conjunction with the Apple Pencil, offers several accessibility features to assist users.
Navigating to Settings > Accessibility > Apple Pencil reveals options designed to improve ease of use. For instance, AssistiveTouch can be customized to create shortcuts specific to the Apple Pencil, thus simplifying complex tasks.
VoiceOver support allows the visually impaired to receive auditory feedback for actions performed with the Apple Pencil. This can help you draw or write with confidence, knowing that your actions are accurately interpreted.
Additionally, guided access can be activated to restrict the iPad to a single app while using the Apple Pencil, which can be particularly helpful in educational settings.
Other Accessories
In addition to the Apple Pencil, there are many other iPad Accessories, such as keyboards, tracking pads, headphones, cases, and much more that you can explore to further customize your experience.
Writing and Note-Taking
Using an Apple Pencil for writing and note-taking on your iPad can greatly enhance your productivity. You’ll find advanced features like handwriting recognition and easy organization of notes and documents.
Handwriting and Conversion
With the Apple Pencil, you can easily jot down notes, sketch, or write messages. Many apps such as Notes, GoodNotes, and Notability support handwriting input.
In the Notes app, you just open a new note and start writing. If you need to convert handwritten notes into text, long-press on the handwriting until it’s highlighted, then select “Copy as Text.” This feature makes your handwritten notes searchable and editable.
Using the Scribble feature, you can write in any text field on the iPad, and it will automatically convert to typed text. This works in messages, emails, and even in search bars, making it a versatile tool for daily tasks.
Organizing Notes and Documents
Organizing your notes is crucial for efficient productivity. Apps like GoodNotes and Notability offer robust organizational features. With these apps, you can create notebooks, sections, and even add tags to categorize your notes.
In GoodNotes, you can drag and drop notes into different folders or sections, allowing you to maintain a clean, structured system. You can also import PDFs and mark up documents directly.
Notability allows you to record audio notes while writing, which is ideal for lectures or meetings. You can sync your notes across devices, ensuring they are accessible anytime you need them.
Both apps offer cloud storage support, making it easy to back up and retrieve your documents from anywhere.
Art and Illustration Basics
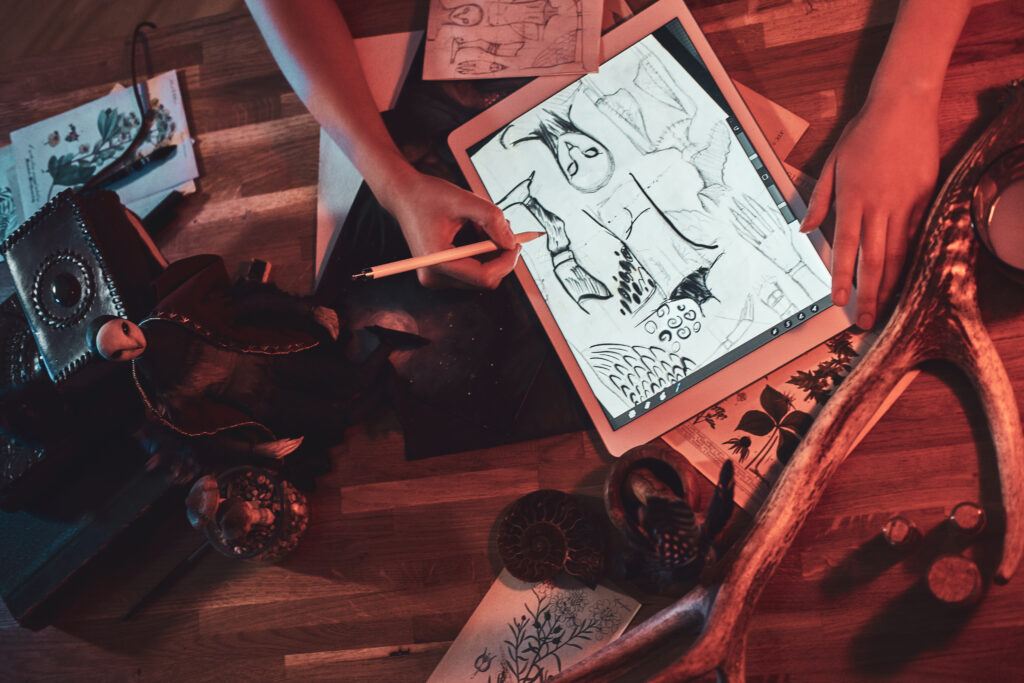
Getting started with digital art on your iPad using the Apple Pencil can be an exciting journey. From selecting the right drawing app to understanding the nuances of different brushes and textures, the basics of art and illustration will set the foundation for your digital artworks.
Starting with Digital Art
To begin your digital art journey, Procreate is a popular choice among artists. This app offers a wide range of tools and a user-friendly interface.
Open Procreate and create a new canvas. Customize the canvas size to fit your needs, whether for sketches, detailed illustrations, or full-sized artworks.
Experimenting with basic shapes and learning how to draw straight lines in Procreate will help you get accustomed to using the Apple Pencil. Practice makes perfect, so spend time drawing simple forms and gradually move towards more complex designs, and check out How to Use Apple Pencil with Procreate for more on how to get started.
Innovative features like layering allow you to work on different elements of your illustration without affecting other parts. This flexibility enhances your creative process, enabling detailed and organized art pieces.
Understanding Brushes and Textures
Procreate Brushes are key to achieving the desired look in your digital artwork. In Procreate, you will find a wide variety of default brushes catering to different styles, from pencil-like sketches to thick, paintbrush strokes.
Customizing your brushes can give you more control over your illustrations. Adjust settings for size, opacity, and flow to match your specific preferences.
Textures in Procreate add depth and realism to your drawings. By exploring different brush settings and applying various textures, you can create more engaging and lifelike illustrations. For instance, using a textured brush for the background or specific elements can make your artwork stand out.
The Apple Pencil’s pressure sensitivity and tilt support offer a realistic drawing experience, allowing you to achieve strokes and effects that resemble traditional mediums. Drawing with varied pressure results in thinner or thicker lines, enhancing your digital art’s dynamics.
Be sure to also check out our full tutorial How to Use Apple Pencil with Procreate for more.
Advanced Drawing Techniques
Advanced drawing techniques with the Apple Pencil enhance your creative workflow. You can efficiently manage layers and masks for a more structured approach to complex illustrations and use precise drawing tools to bring detailed artwork to life.
Mastering Layers and Masks
Using layers and masks in drawing apps like Procreate lets you organize your artwork effectively. Layers allow you to separate different elements of your drawing, making it easier to edit specific parts without affecting the entire image.
To add a layer, tap the “+” icon in the layers panel. You can move layers by dragging them, and rename them for better organization.
Layer masks, on the other hand, enable non-destructive editing. You can hide parts of a layer without erasing them permanently. To add a layer mask, select the layer and tap “Mask.” Use the brush tool to paint over the mask; black hides the content, while white reveals it. This technique is ideal for creating complex, detailed illustrations, as you retain the ability to adjust each element individually.
We have a full tutorial on mastering layers in Procreate that you can check out to learn more.
Creating Detailed Illustrations
Creating detailed illustrations requires precision and the use of various drawing tools. In Procreate, you can choose from a wide array of brushes. Adjust the brush size and opacity to match the level of detail needed.
Utilizing the color palette is crucial. You can create a custom palette in Procreate for consistency in your artwork. By selecting the “Color” icon, you can save your preferred colors and easily switch between them.
The QuickShape feature in Procreate aids in drawing perfect shapes. After sketching a rough shape, hold the Apple Pencil on the screen momentarily. The shape will automatically correct itself to a smooth, perfect form. This is particularly useful for creating geometric elements.
By combining these techniques—utilizing layers, masks, precision tools, color palettes, and QuickShape—you can elevate your drawings to a professional level with the Apple Pencil.
Enhancing Creativity with Apps
To maximize the potential of your Apple Pencil, exploring various apps can significantly enhance your creative and productive endeavors. These tools turn your iPad into a versatile and powerful digital canvas.
Exploring Popular Drawing Apps
Several drawing apps on the App Store cater to different artistic needs and levels of expertise. Procreate stands out as a favorite among creatives for its comprehensive toolset, including brushes, layers, and customizable tools. This app offers a smooth user experience and is ideal for detailed illustrations and professional work.
Affinity Designer is another powerful resource, perfect for vector and raster artwork. It provides a robust feature set that rivals desktop applications. If you prefer a simpler interface, the native Notes app on your iPad allows for quick sketches and handwritten notes, making it a handy tool for beginners.
These apps support the Apple Pencil’s pressure sensitivity and tilt functionality, letting you create varied line weights and shading with precision. Combining these features with the intuitive gestures of the Apple Pencil can significantly elevate your digital drawing experience.
Leveraging Apps for Productivity
Productivity apps optimized for the Apple Pencil can streamline your workflow and enhance efficiency. Notability and GoodNotes 5 are excellent choices for note-taking and document annotation. These apps allow you to write, sketch, and mark up documents efficiently, making them indispensable for students and professionals alike.
With Notability, you can import PDFs, make annotations, and even record lectures. GoodNotes 5 offers robust organization tools, turning your iPad into a digital notebook with folders and easy-to-search handwritten notes. Both apps leverage the Apple Pencil’s capabilities to provide a natural writing experience.
Mind mapping apps, like MindNode, utilize the Apple Pencil for creating detailed and visually appealing mind maps. These tools can help in brainstorming and organizing ideas effectively, enhancing both creativity and productivity in your projects.
The Artist’s Workflow
Creating digital art with the Apple Pencil involves establishing an efficient process and effectively managing your resources. Mastering these aspects can streamline your workflow and enhance your creative output.
Developing a Digital Art Process
Start by setting up your new canvas. Most apps, like Procreate or Affinity Designer, allow you to customize canvas size and resolution. Choose the settings that fit your project needs.
Explore the brush library available in your chosen app. Experiment with different brush types and settings to find what works best for your drawing style.
Use the gesture controls on your Apple Pencil to streamline actions. The 2nd generation Apple Pencil allows for a double-tap feature that you can customize, like switching between tools.
Consistently save your work. Many apps offer automatic saving options, but it’s good practice to manually save as well.
Importing and Managing Resources
Importing resources efficiently is crucial. Use the built-in camera or photo gallery to import reference images directly into your app.
Organize these resources using folders or layers. This helps keep your workspace tidy and enables you to quickly locate files when needed.
Manage and back up your art files regularly. Sync your projects to cloud services like iCloud or Dropbox to ensure your work is safe and accessible from different devices.
Creating and maintaining a library of frequently used resources, such as brushes and textures, can save time and improve consistency in your artwork. Many apps allow you to import and export these resources easily.
Tips and Tricks
Mastering the Apple Pencil involves not only using it for regular drawing and writing but also leveraging advanced features like undo/redo and customizing color palettes. These tips enhance productivity and creative control.
Effective Use of Undo and Redo
Efficiently fixing mistakes is crucial for a seamless experience. You can quickly undo and redo actions by using dedicated gestures. To undo, double-tap with two fingers on the iPad screen. For redo, triple-tap with two fingers. This method is faster than scrambling for the undo/redo buttons in the app and helps maintain your workflow.
Another trick is using the Double Tap feature on the second-generation Apple Pencil. Go to Settings > Apple Pencil, and customize the double-tap function to switch between the current tool and the eraser, or between the current tool and the last used tool. This significantly cuts down interruptions while sketching or taking notes.
Customizing the Color Wheel and Palettes
Personalizing the color wheel and palettes allows for a more tailored creative process. Most iPad apps that support the Apple Pencil provide a color wheel or similar color selection tool. Tap the brush icon to access these settings. You can select and customize colors to suit your project needs.
In apps like Procreate or Adobe Fresco, you can save frequently used colors by creating custom palettes. This ensures that your preferred colors are always within reach. To create a palette, tap on the color swatch, then choose Add to Palette. For more precise color adjustments, use RGB or HEX input fields when selecting colors.
By taking advantage of these customization options, you ensure that your color choices are both diverse and easily accessible, enhancing your creative workflow.
Education and Online Resources
Educational resources can help you master your Apple Pencil, from video tutorials to creative inspiration, supporting both technical skills and artistic expression.
Learning with Skillshare and YouTube
Skillshare offers courses tailored to using the Apple Pencil with your iPad. These classes range from basic setup to advanced techniques like digital illustration and note-taking. You can find courses by well-known artists and educators who provide step-by-step instructions.
YouTube is another excellent resource. There are countless channels dedicated to teaching Apple Pencil skills. Some offer in-depth series on specific applications like Procreate, while others focus on tips and tricks. Channels like Art with Flo and Brad Colbow are highly recommended for beginners.
Finding Inspiration and Tutorials
For tutorials and creative inspiration, YouTube and online communities are valuable. You can discover artistic challenges and prompts to keep your creativity flowing. Platforms like DeviantArt and Pinterest also host many Apple Pencil artworks that can spark new ideas.
Online forums and social media groups dedicated to iPad Pro and Apple Pencil users are great places to ask questions, share your work, and get feedback. Engaging with these communities will help build your confidence and improve your skills through collaboration.
Making a Purchase Decision
When considering an Apple Pencil purchase, you need to evaluate both the iPad model you own or plan to buy and which generation of Apple Pencil suits your needs. These factors directly impact compatibility and overall experience.
Choosing the Right iPad Model
Different iPad models support different versions of the Apple Pencil. For instance, the iPad Pro models released from 2018 onwards are compatible with the Apple Pencil 2, which offers advanced features like magnetic charging and double-tap functionality.
| iPad Model | Compatible Apple Pencil |
|---|---|
| iPad Pro 11 (1st, 2nd, 3rd gen) | Apple Pencil 2 |
| iPad (6th, 7th, 8th, 9th, 10th gen) | Apple Pencil 1 |
| iPad Air 3 | Apple Pencil 1 |
| iPad Air 4, 5 | Apple Pencil 2 |
| iPad Mini 5 | Apple Pencil 1 |
| iPad Mini 6 | Apple Pencil 2 |
Assess your iPad’s specifications to ensure compatibility. This can save you from buying an Apple Pencil that doesn’t work with your device.
Deciding Between Apple Pencil Generations
The first-generation Apple Pencil and Apple Pencil 2 have distinct features and compatibilities. Apple Pencil 1 is compatible with older iPad models and is equipped with a Lightning connector for charging. Plug it directly into the iPad to pair and charge.
Apple Pencil 2 offers a sleeker, more integrated experience with newer iPads. It connects magnetically to the side of the iPad Pro and iPad Air for pairing and charging, enabling seamless use. Its double-tap feature allows you to switch tools quickly.
| Feature | Apple Pencil 1 | Apple Pencil 2 |
|---|---|---|
| Charging Method | Lightning Connector | Magnetic |
| Compatibility (selected models) | Older iPads | Newer iPads |
| Additional Features | Basic | Double-Tap, Tap to Pair |
The Apple Pencil is a versatile and essential tool for iPad users, enhancing creativity and productivity across various applications. By understanding the pairing, charging, and basic functions of the Apple Pencil, users can unlock its full potential for drawing, writing, and navigating their iPad. Advanced features, customizable settings, and compatible apps further enhance the user experience, making the Apple Pencil a powerful addition to any iPad. Whether for professional use or personal projects, mastering the Apple Pencil can significantly elevate your digital interaction and creativity.
