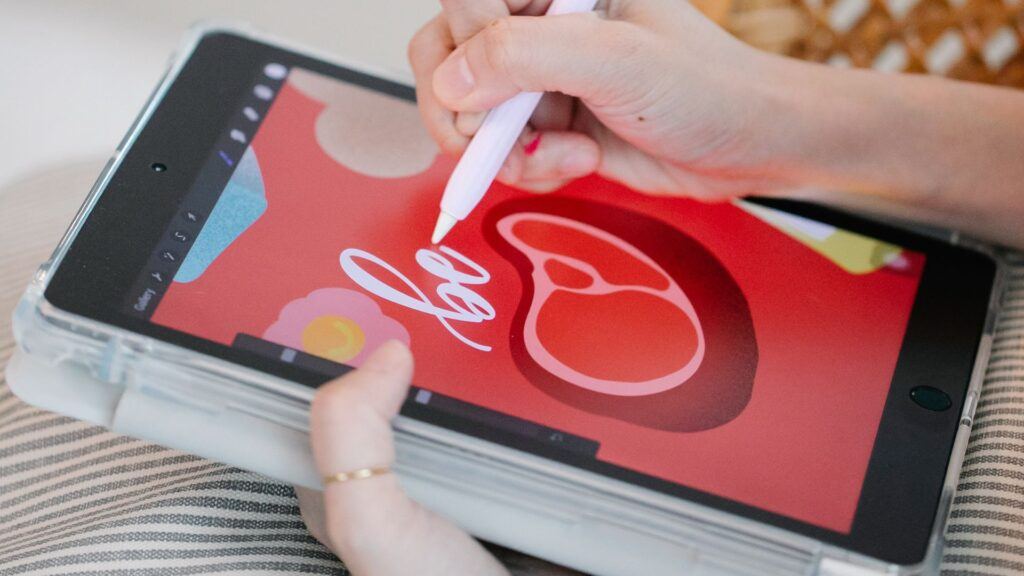
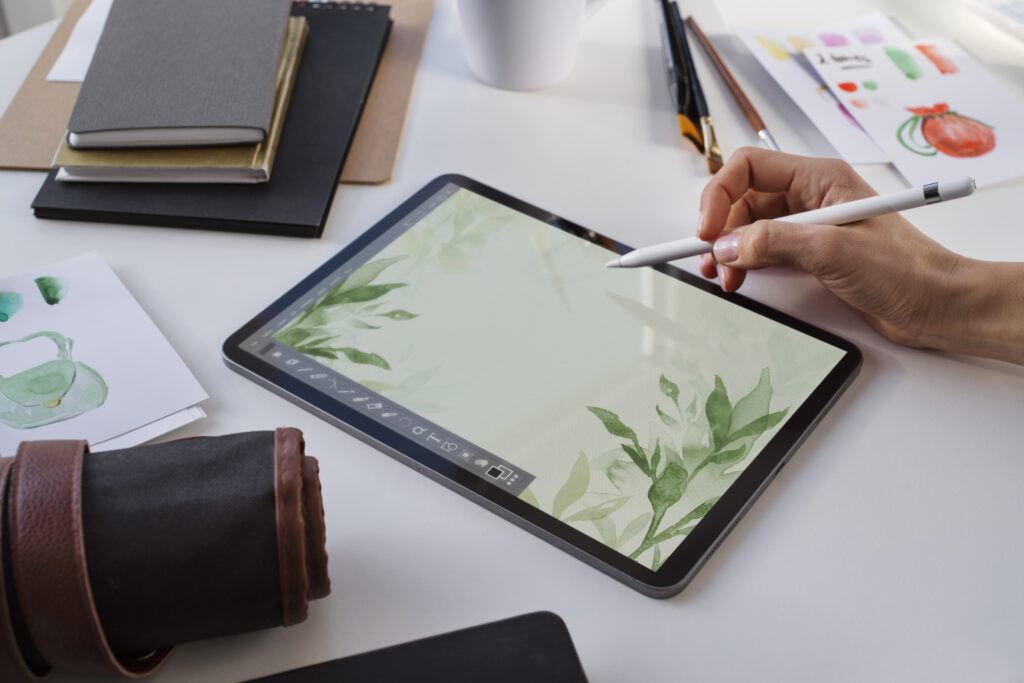
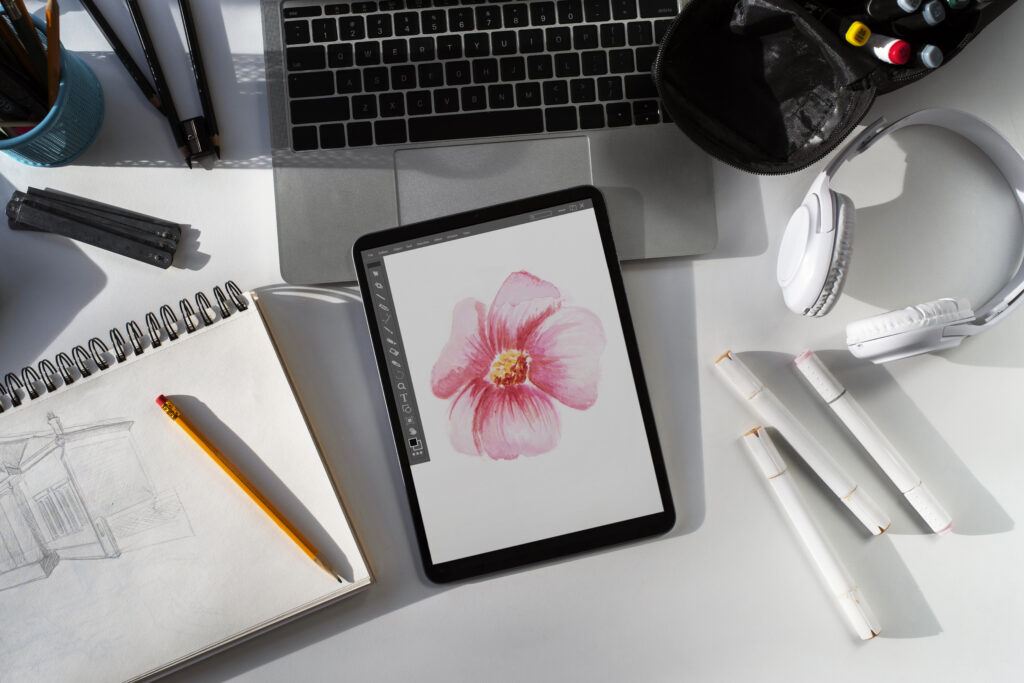
Exploring Procreate brushes can unlock endless potential for creativity on your iPad. Understanding the variety of brushes available and how to use them is crucial for anyone looking to harness the full power of Procreate. With over 200 handcrafted brushes, including sketch, ink, paint, smudge, and erase options, you’ll find tools suited for any artistic style.
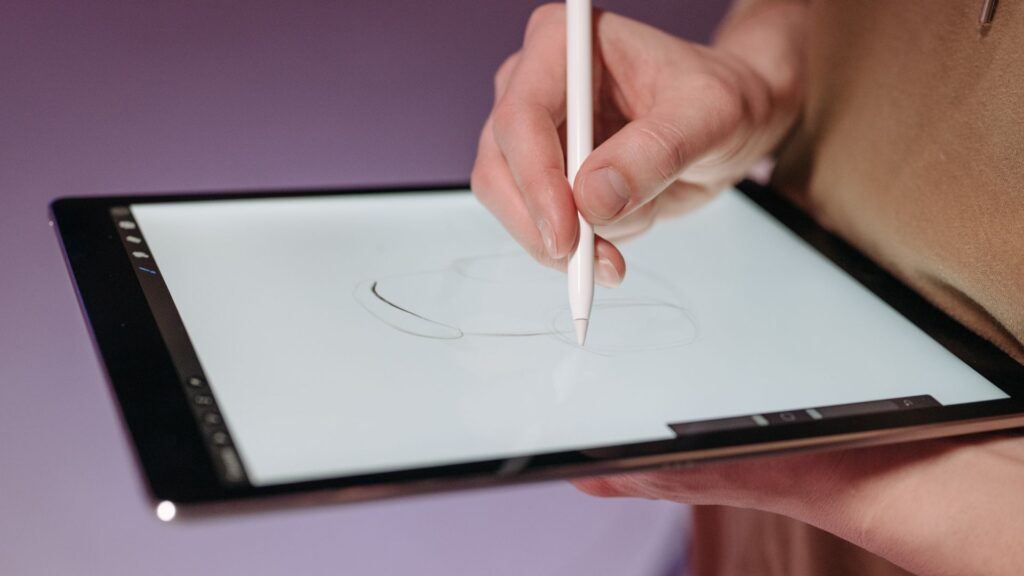
These brushes are designed to mimic the feel of traditional art mediums, making the transition to digital art smooth and intuitive. You can even customize your brush settings or import new brushes to expand your toolkit further.
For beginners, mastering the basic brushes and learning how to create and organize your own brush sets can significantly enhance your workflow. This Beginner’s Guide to Procreate Brushes will help you navigate the extensive brush library and allow you to create art with control and precision.
Beginner’s Guide to Procreate Brushes: Exploring the Basics
When starting with Procreate, understanding the different brush types, navigating the Brush Library, and customizing default brushes are fundamental skills. Mastery of these elements will enable you to create a wide range of digital artworks effortlessly.
Understanding Brush Types
Procreate offers various brush types, each suited to different artistic needs. Some brushes simulate traditional media like pencils, pastels, and chalk. Others offer more experimental effects.
Pencil brushes are ideal for sketching and fine details, while pastels provide a textured, painterly feel. Chalks are great for adding rough, textural layers.
Additionally, Procreate allows you to combine two brushes to create unique brushstroke effects. This versatility empowers you to experiment and discover your preferred brush types.
Navigating the Brush Library
The Brush Library in Procreate is organized into categories, making it easy to find what you need. Categories include Sketching, Inking, Drawing, and Painting, among others.
Each category houses specific brushes tailored for those styles. For example, the Sketching category features brushes designed to mimic pencils and pens.
To navigate the library effectively, familiarize yourself with these categories. You can test each brush before committing to it in your artwork. This way, you can ensure that the selected brush fits your artistic vision.
Customizing Default Brushes
Customizing default brushes in Procreate is straightforward and allows for great personalization. You can adjust features such as brush size, opacity, grain, and flow.
To customize a brush, tap on the brush icon, then select the Brush Studio. Here, you can tweak various settings until the brush performs as desired.
Save your customized brushes to create a personalized toolkit that caters to your specific needs. This flexibility enhances your workflow and helps you achieve the exact artistic effects you envision.
Creating Your First Custom Brush
To create your first custom brush in Procreate, focus on selecting the right brush shape and then fine-tuning its dynamics. These two critical steps will allow you to create a brush that meets your specific artistic needs.
Selecting a Brush Shape
Begin by deciding on a brush shape. You can either draw your shape from scratch or import an existing image.
- Open Procreate and navigate to the Brush Library.
- Tap the
+icon in the top right corner to create a new brush. - Navigate to the Shape Source tab. Here, you can choose an existing shape or create a new one by importing an image or drawing directly.
High-contrast images tend to work best. Swipe left on a shape to duplicate and experiment without losing the original. Adjust the Shape Behavior settings to refine the brush’s appearance and performance.
Your choices in this step significantly impact how the brush interacts with your canvas, so take your time experimenting until you find the perfect shape.
Adjusting Brush Dynamics
Next, focus on the dynamics of your brush. Brush dynamics determine how it behaves when used on the canvas.
- Tap on the Properties tab to adjust settings like Opacity, Size, and Jitter.
- Use the Dynamics settings to tweak how the brush responds to your pressure and speed.
- For example, adjusting the Opacity slider can make your brush strokes more or less transparent. Sliders for Size Jitter and Angle Jitter will give your strokes a more natural, varied look.
Pay special attention to the Grain Source section, where you can import textures that affect how the brush paints. Navigate to the Grain tab and tap Import to select a texture. High-contrast textures tend to result in a more dynamic brush stroke.
Experiment with different settings in real-time to see immediate effects on your canvas. This fine-tuning process is essential to ensure your brush performs exactly as you intend.
Texture and Grain in Brushes
Texture and grain are essential in Procreate brush creation and customization. Adding texture involves importing or creating high-contrast image files, while manipulating grain settings involves resizing and adjusting grain intensity for different effects.
Adding Texture to Brushes
Adding texture to your Procreate brushes can enhance your artwork with unique patterns and effects. You can either create a texture from scratch or use an existing high-contrast image. In the brush settings, access the Grain tab and use the Import button to add your texture.
Textures range from paper-like finishes to fabric patterns. High-contrast images generally yield the best results, giving your brush a distinct appearance. Once imported, you can adjust texture properties like brightness and contrast to further refine the look.
Manipulating Grain Settings
Grain settings control the texture’s behavior within your brush. You can resize the grain to fit different canvas sizes or project needs. To adjust the grain scale, go to the Grain tab and use the slider to increase or decrease the size.
Beyond scaling, you can tweak various parameters such as movement and rotation to alter how the texture appears when using the brush. These settings help tailor brushes to specific styles and applications, providing more control over the final look of your artwork.
Procreate Brush Properties
Understanding Procreate brush properties can elevate your digital art experience. Customizing settings such as stabilization, tilt, azimuth, and pressure sensitivity allows you to achieve the desired effect and maintain precise control.
Streamline and Stabilization
Streamline and stabilization settings are crucial for achieving smooth lines. Streamline adjusts how much Procreate smooths out your strokes in real-time. Increase this setting to make your lines flow more elegantly, minimizing hand jitters. Stabilization works similarly but focuses more on the beginning and end of your strokes.
You can easily access these settings in the brush menu. Adjusting these parameters is essential for tasks requiring precision, such as inking or lettering. Experiment with different levels to find what suits your style best.
Tilt and Azimuth Settings
Tilt and azimuth settings make the most of the Apple Pencil’s advanced capabilities. Tilt measures the angle at which you hold the pencil. Some brushes respond differently when tilted, offering varied stroke widths and textures.
Azimuth monitors the direction in which you’re holding the pencil. Both settings enable the brush to behave more like traditional art tools, like pencils and brushes. These attributes are especially useful for shading and creating dynamic looks.
Pressure Curve Customization
Pressure curve customization lets you fine-tune how your brush reacts to different pressure levels applied with the Apple Pencil. Adjusting the pressure curve can make your brush react more sensitively to light touches or require more pressure for thicker strokes.
This feature is essential for achieving accurate line weights and textures. You can find these settings in the brush customization menu, where you can experiment with different curves to match your drawing style. Fine-tuning this setting can dramatically improve your control over the brush.
Organizing and Sharing Brushes
To enhance your efficiency in Procreate, organizing and sharing brushes is essential. Proper organization helps streamline your workflow, and sharing brushes allows for creative collaboration.
Sorting and Grouping Brushes
Procreate provides various ways to organize your brushes. You can create custom folders to group brushes by type, style, or medium. For instance, grouping all your watercolor brushes in one folder, pencils in another, and markers in yet another helps keep your workspace tidy.
To create a new folder in the Brush Library, tap the “+” button. After naming your folder, drag and drop relevant brushes into this new folder.
Renaming and duplicating brushes can also help manage them better. Select the brush, tap on it, and choose “Rename” or “Duplicate” from the available options. Folders offer a visual separation between different creative tools, making it easy to locate what you need quickly.
Sharing Brushes with Others
Sharing your Procreate brushes with others is simple. Individual brushes or entire brush sets can be shared. To do this, go to the Brush Library, select the brush or set, and tap “Share.” This generates a .brush or .brushset file, which can be sent via email, messaging apps, or cloud services.
Make sure your brush settings are well-defined before sharing to provide the same experience to others. Consider sharing brushes in themed sets for added convenience. Brush sharing fosters a community of creativity and helps in expanding artistic resources.
Brush Techniques for Beginners
Mastering Procreate brushes can significantly enhance your digital art. Focus on controlling line weight, maintaining consistency, and effectively blending and texturing.
Line Weight and Consistency
Understanding how to vary line weight is essential in bringing depth to your artwork. Use softer strokes to create delicate lines and apply more pressure for bolder lines.
Practice with Procreate’s default brushes first. The Studio Pen is excellent for achieving a consistent line weight due to its pressure sensitivity.
Experiment with the Streamline feature to smooth out your lines, reducing wobbliness. Adjust the Stabilization setting to help control shaky hands.
Consistency in your lines can be improved by zooming in and working slower. This will give you better control, making it easier to maintain uniform strokes.
Blending and Texturing Tips
Blending and texturing bring life to your digital paintings. Start with the Soft Brush to create smooth gradients. Adjust the brush opacity and use lighter strokes for seamless transitions.
The Smudge Tool can be very effective for blending colors. Choose a brush with soft edges for subtle blending or a textured brush for rougher transitions.
For texturing, explore Procreate’s numerous texture brushes. The Gouache Brush provides a traditional paint texture, while the Grainy Blender adds a gritty effect.
Layer your textures to add complexity. Use different blending modes, like Multiply or Overlay, to achieve various effects. Adjust layer opacity to control the intensity of textures.
Using Brushes in Digital Illustration
Brushes in Procreate serve specific roles, from building the foundation layers to adding intricate details. They help achieve various textures and effects essential for diverse creative projects.
Layering with Brushes
Layering provides a structured approach to creating digital illustrations. Using different brushes on separate layers can help maintain clarity and allow for easier adjustments. Hard Brushes are often used for the base layers to get sharp, defined edges. Then, you might switch to Soft Brushes to add softer, more blended elements.
Useful tips:
- Begin with broad strokes on one layer.
- Add details with finer brushes on new layers.
- Adjust opacity and blending modes to integrate layers seamlessly.
When filling in a shape or adding shadows, choosing the right brush enhances the overall depth and complexity of your work.
Incorporating Brushes into Your Style
Tailor your brush selection to complement your artistic style. For instance, if you prefer a textured, gritty look, incorporating brushes that mimic pencils, pastels, or chalk can be beneficial. Experiment with different brushes to see which ones align with your vision.
Key practices:
- Experimentation: Try various brushes to see how they affect your art.
- Customization: Adjust brush settings like size and opacity to fit your needs better.
- Consistency: Stick with a few brushes that define your style, providing a cohesive look across your work.
Utilizing a consistent set of brushes can lend a unique and recognizable touch to your illustrations.
Advanced Brush Features
Explore how to get the most out of Procreate brushes by leveraging dual brushes and combine modes. These advanced features enable you to enhance your artwork with unique textures and effects.
Dual Brushes and Combine Mode
Procreate’s Dual Brush feature allows you to merge two brushes into one, creating unique and complex textures. When you select two brushes, you can customize how they blend, giving you creative control over the final brush appearance.
In Combine Mode, you can adjust the interaction between the brushes. Options include Multiply, Screen, and Overlay. Each mode changes the way the brushes mix, enabling you to achieve varied effects.
Experimentation is key. Try different combinations to understand how each setting impacts your brush. This can elevate your artwork, making it more dynamic and detailed.
Tip: Save your favorite dual brush combinations to use them easily in future projects.
Troubleshooting Common Brush Issues
When using Procreate brushes, you might encounter some common issues. Here are practical solutions to address them.
Brush Lag:
If your brush strokes appear delayed or sluggish, try adjusting the brush settings. Some brushes with complex textures can cause lag. Navigate to the brush panel, select your brush, and experiment with different settings.
Skipped Strokes:
Skipped strokes can be frustrating. Check the pressure curve settings. Go to the Pressure Curve in the Settings menu and adjust it to match your drawing style.
Tilt Issues:
Problems with tilt recognition can affect brush performance. Ensure the tilt settings are correctly configured. Go to the Brush Studio and adjust the tilt settings under the Apple Pencil section.
Brush Not Appearing:
If a brush is not visible or behaves unexpectedly, it may need resetting. Open your Procreate brush library, find the brush, and reset it by tapping on the brush and selecting Reset from the options.
Unexpected Brush Effects:
Sometimes, brushes may produce unexpected effects. This often happens with imported or custom brushes. Review the brush settings for Shape Behavior, Grain, and Dynamics. Tweak these settings until the brush behaves as desired.
Pressure Sensitivity Problems:
If pressure sensitivity isn’t working properly, recalibrate your Apple Pencil. Go to the Settings menu, select Apple Pencil, and follow the calibration steps.
By addressing these common issues, you can improve your Procreate brush experience and create smooth, uninterrupted artwork.
Staying Updated with Procreate Brush Trends
To stay current with Procreate brush trends, leverage online resources and learn techniques from skilled artists. These strategies will ensure your digital art remains fresh and professional.
Exploring Online Brush Libraries
Online brush libraries offer a vast array of Procreate brush packs. Websites like Envato Elements and Design Cuts frequently update their collections with new brushes. Subscribing to these platforms gives you access to the latest creations from top designers.
Use specialized websites or forums dedicated to Procreate to find trending brushes. Participate in discussions and follow recommendations from experienced users. This not only provides you with new tools but also insights into how to effectively use them.
Learning from Procreate Artists
Following experienced Procreate artists on platforms like YouTube and Instagram can be incredibly beneficial. These artists often share tips and tutorials about the newest brushes they’ve created or discovered. They demonstrate practical applications of these brushes in their work.
Joining Procreate-focused communities or online courses can also help you stay informed. Engaging with artwork shared by other users, attending webinars, and participating in workshops ensure constant exposure to the latest trends and techniques.
