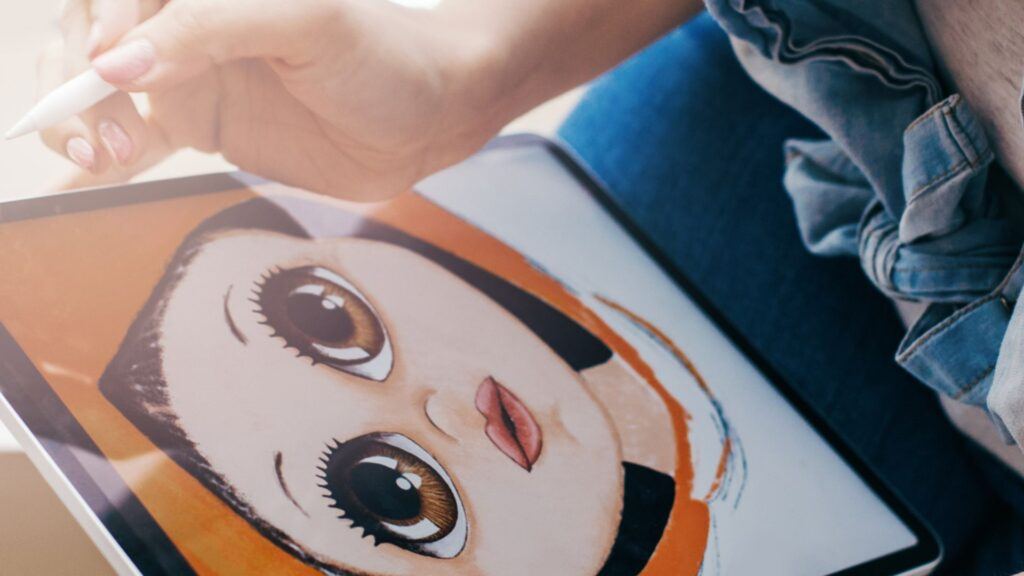
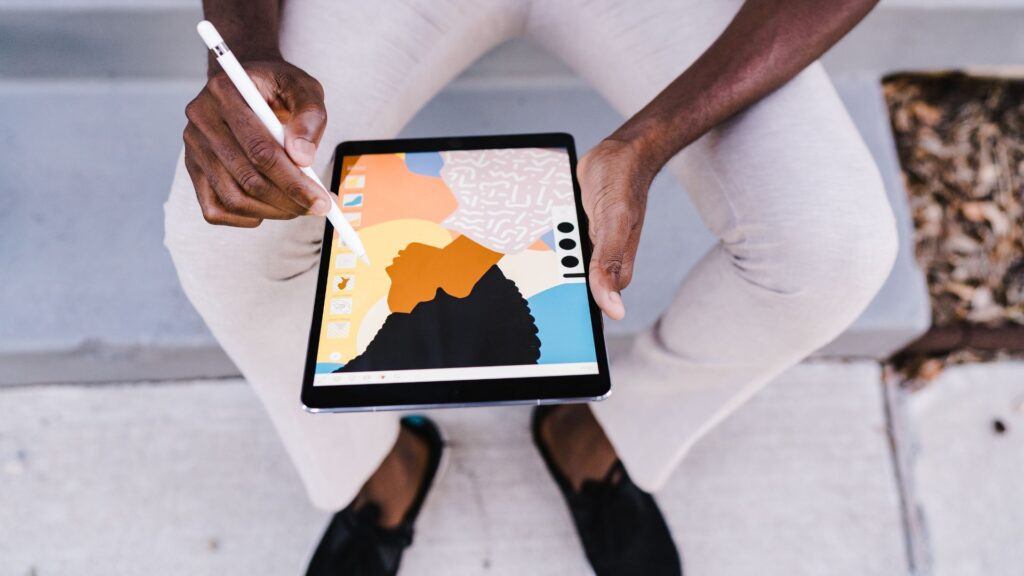
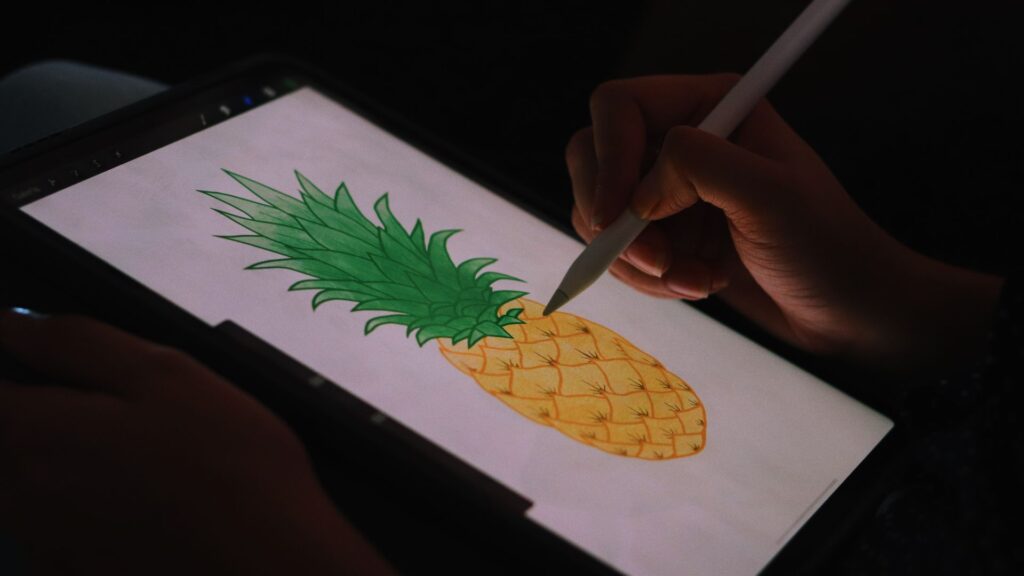
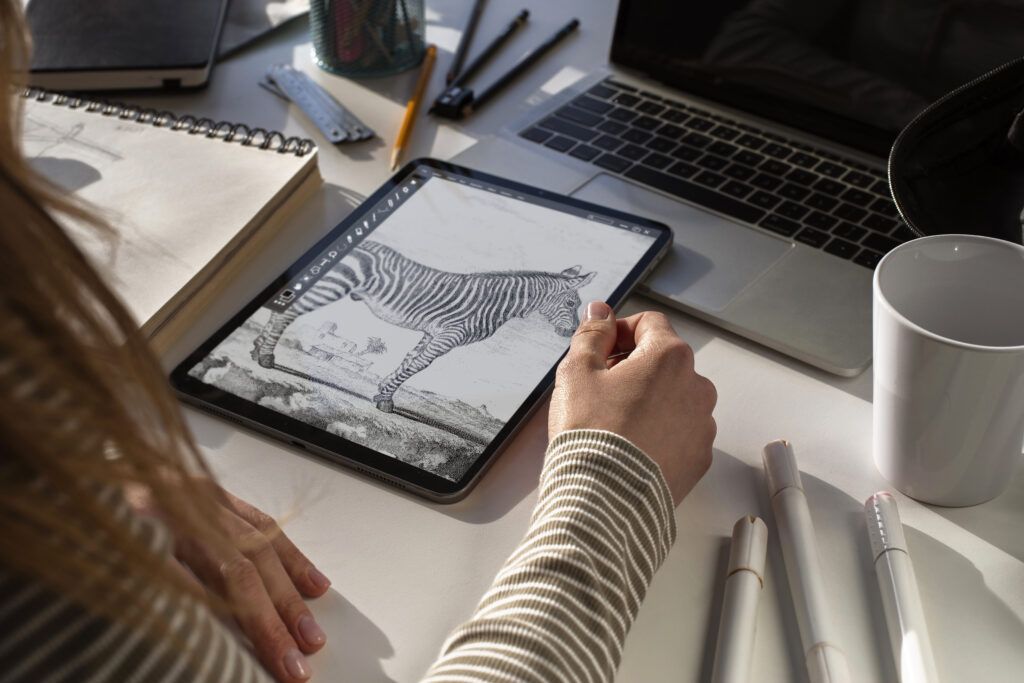
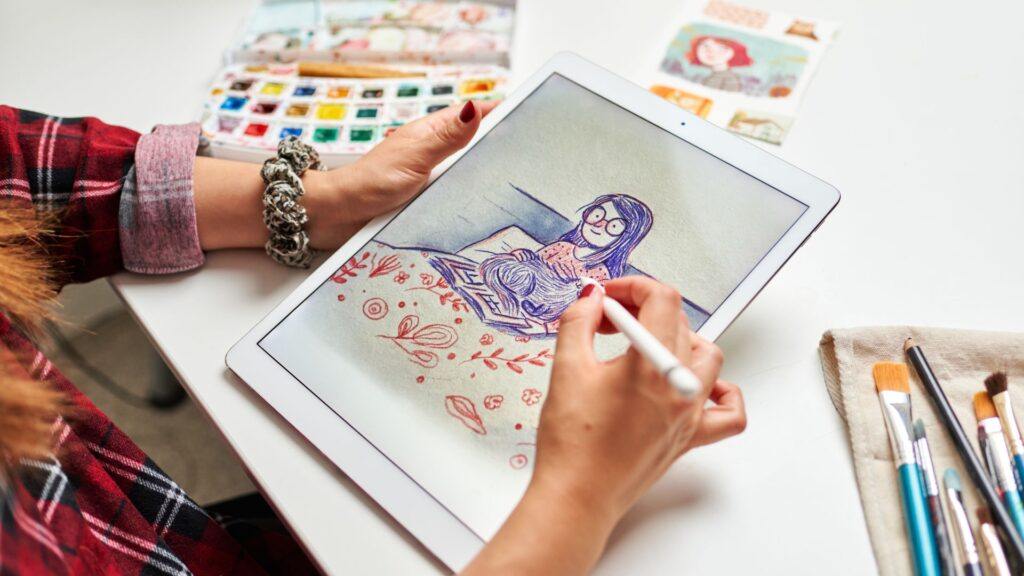
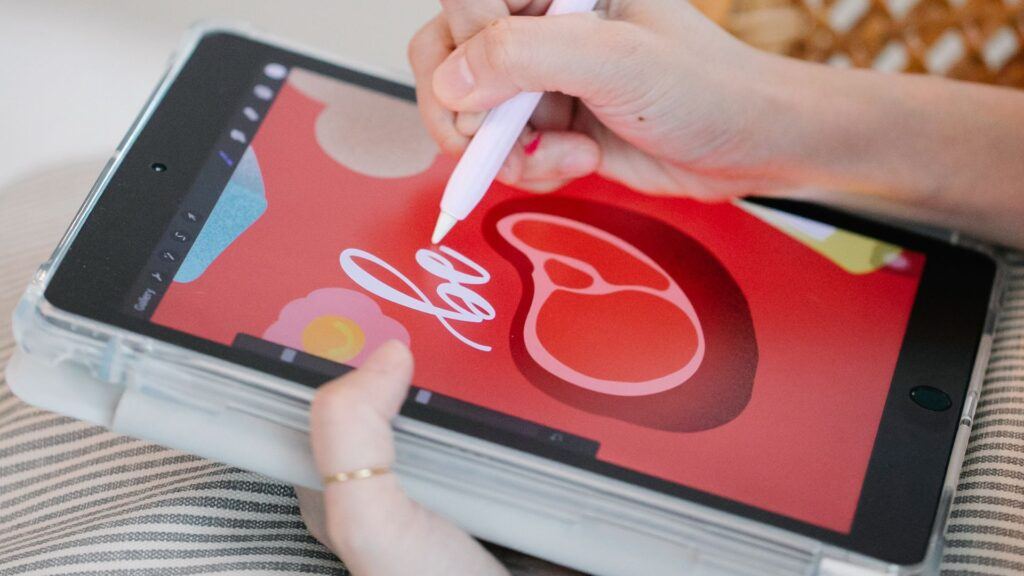
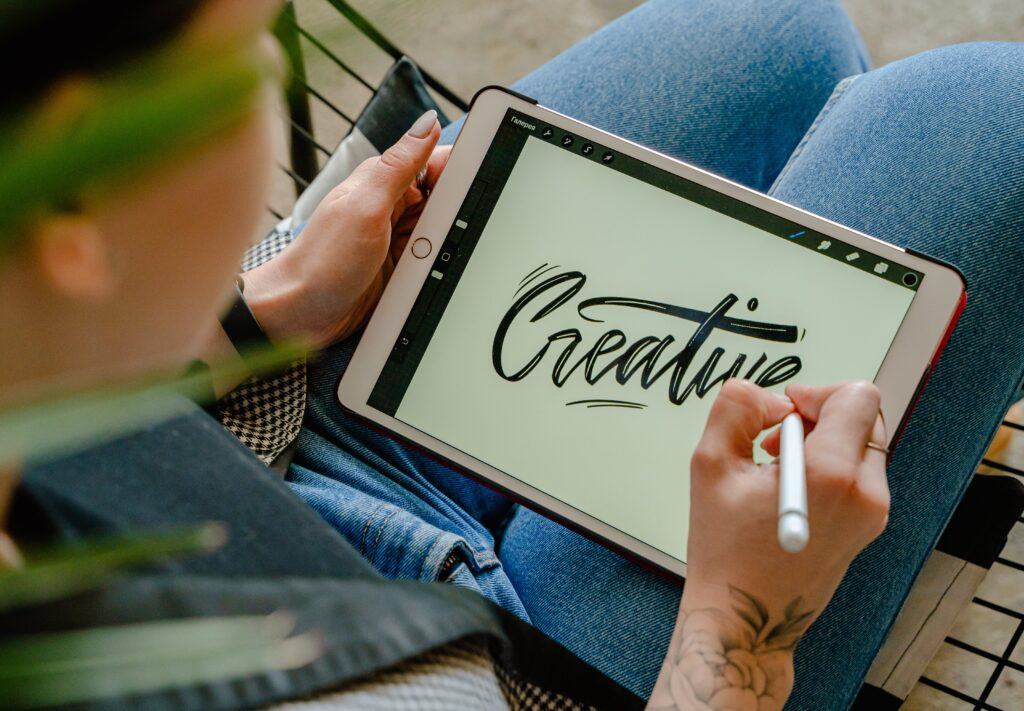
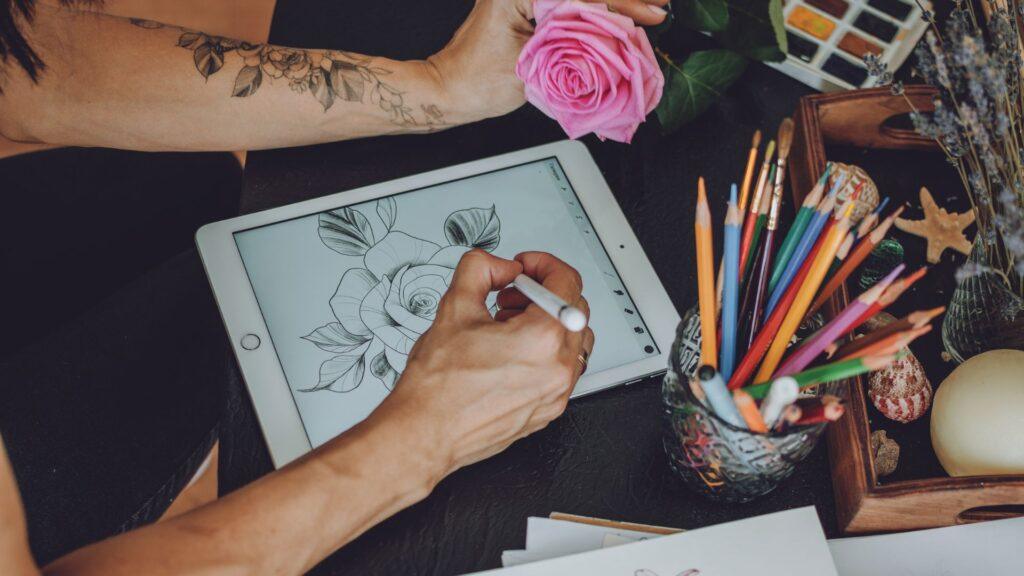
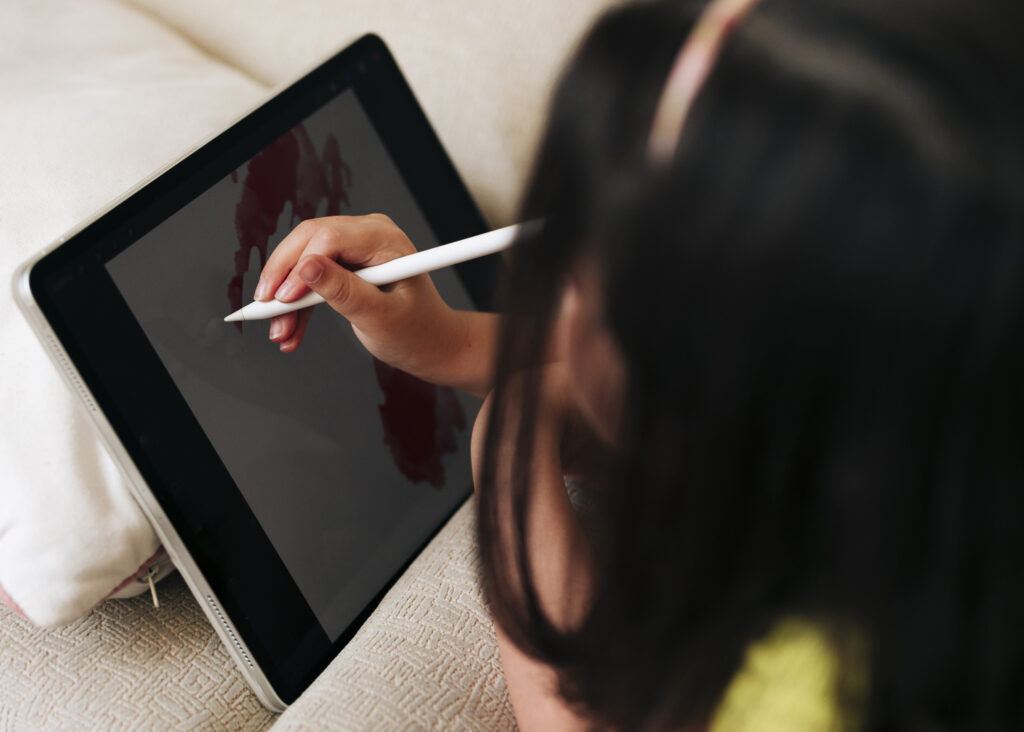
If you’re new to digital art, Procreate is the perfect place to start. This award-winning iPad drawing app is designed to make digital illustration accessible and enjoyable for beginners. With its intuitive interface and powerful features, Procreate provides you with all the essential tools to begin your creative journey.
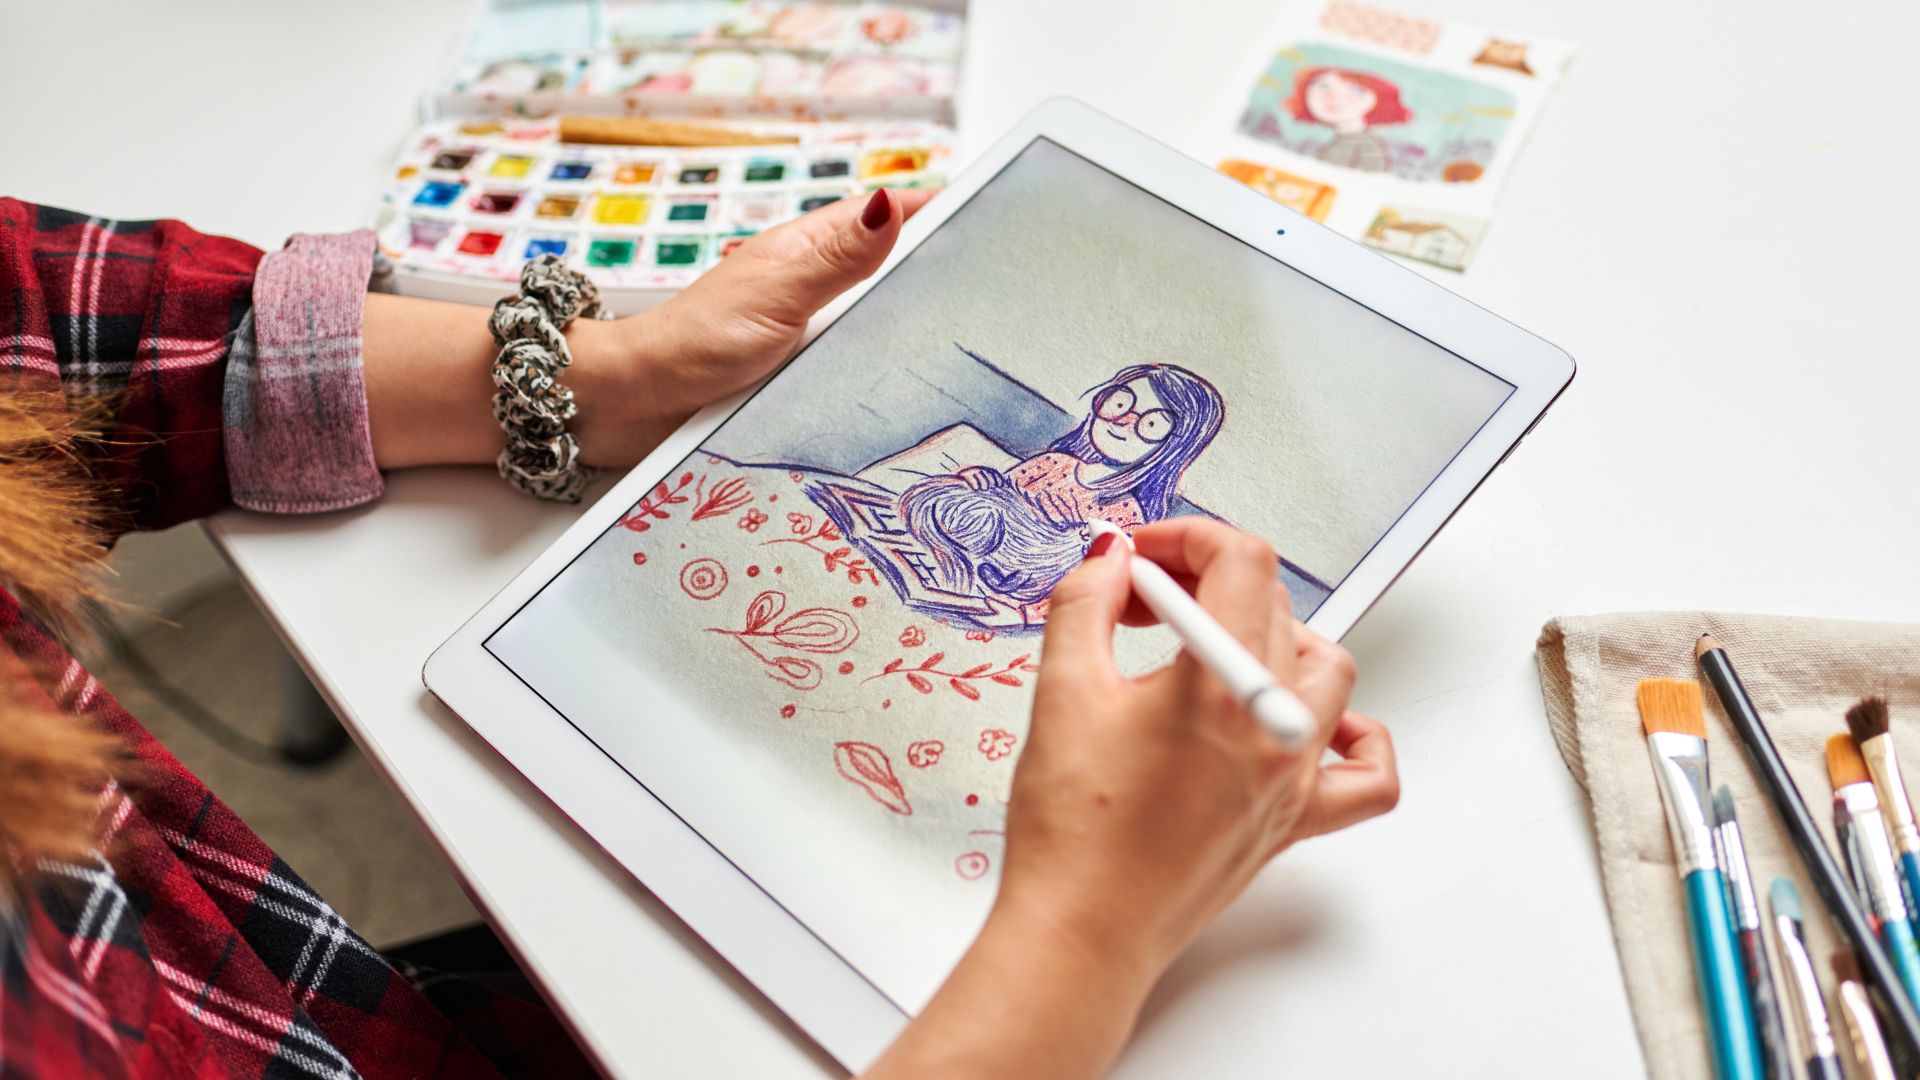
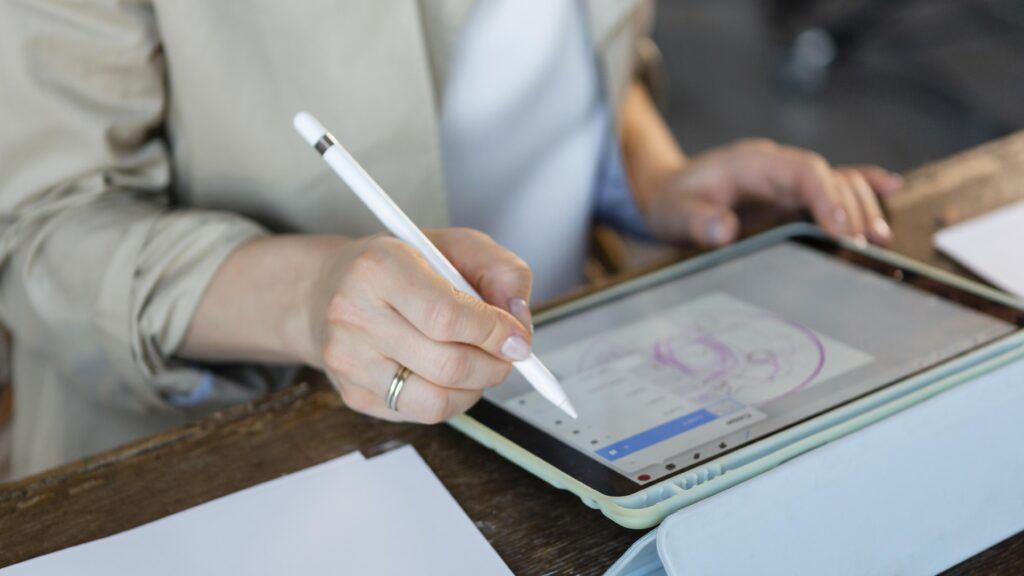
You’ll find that Procreate is more than just a drawing app; it’s a comprehensive digital art studio. From basic sketching to advanced painting techniques, this app empowers you to explore your artistic potential without feeling overwhelmed. Whether you’re using an Apple Pencil or your fingertips, Procreate mimics the experience of real-world drawing while offering the convenience and flexibility of digital technology.
Starting with our Beginner’s Guide to Procreate can help you get comfortable with the app’s features quickly. These guides we include here provide step-by-step instructions on how to navigate the interface, use brush tools, and implement various effects. Soon, you’ll be creating stunning artwork right on your iPad, enhancing your skills with each piece you complete.
A Beginner’s Guide to Procreate: How to Get Started
Getting started with Procreate involves familiarizing yourself with its interface and setting up your first canvas. This section will guide you through these essential steps to help you kickstart your digital art journey.
Understanding the Interface
The Procreate interface is designed for efficiency and ease. You’ll notice the toolbar at the top, which contains basic tools like the brush, smudge, and eraser. Each tool has a customizable sidebar for settings like size and opacity.
At the bottom, the quick menu allows you to access frequently used options. The color picker is located in the upper-right corner, offering an extensive palette.
On the left side, there are buttons to undo or redo actions, as well as sliders for adjusting brush size and opacity. Understanding these basics will significantly enhance your workflow.
Setting Up a New Canvas
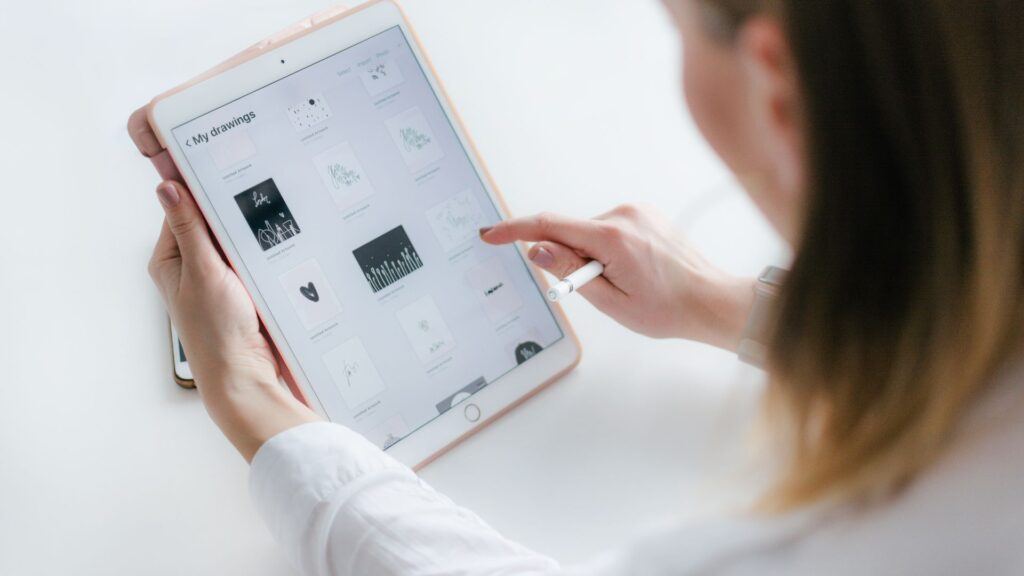
To set up a new canvas, tap the “plus” icon in the gallery view. You will be prompted to choose the canvas dimensions and DPI (Dots Per Inch). Standard dimensions might be 2048×2048 pixels at 300 DPI for high-quality print.
You can also create custom sizes based on your project needs. Adjusting the DPI is crucial as it affects image resolution. Higher DPI results in more detailed work.
Procreate also offers various templates. Once your canvas is set, you can start exploring the creative possibilities with Procreate’s robust suite of tools.
The Basics of Drawing
Begin your journey in digital art by mastering fundamental drawing techniques in Procreate. Learn how to use the essential tools like brushes and layers to create detailed and organized artwork.
Brush Techniques
Procreate offers a variety of brushes, each designed for specific drawing purposes. Selecting the right brush can make a significant impact on your artwork. Experiment with different brushes to find the ones that suit your style.
Adjusting brush size and opacity is crucial. Increase the brush size for broad strokes and decrease it for fine details. Opacity affects how transparent or solid your strokes appear; use lower opacity for shading and blending.
Access the Brush Library to explore numerous brushes. Customizing brushes allows you to tweak settings like pressure sensitivity and texture to match your drawing needs. Practicing with different settings will enhance your control and precision.
Using Layers for Artwork
Layers are a powerful feature in Procreate, enabling you to separate different elements of your drawing. Creating new layers for each part of your artwork can prevent mistakes from affecting other areas.
Manage layers with functions like opacity adjustments and blending modes. Lower opacity for soft overlays and use blending modes to achieve various effects. Pinching two or more layers together merges them, simplifying complex artwork into fewer layers.
Use the cut/copy/paste menu by swiping three fingers down. This improves your workflow, allowing you to duplicate or move elements between layers effortlessly. Master these layer techniques to maintain a clean, organized canvas.
By focusing on these basics, you will gain confidence and control in your digital artwork journey in Procreate.
Essential Tools and Features
Mastering Procreate begins with understanding its key tools and features. These include selection and transformation tools and color and fill options, each crucial for creating professional-quality digital art.
Selection and Transformation Tools
Procreate offers robust tools for selecting and transforming parts of your artwork. The Selection tool lets you isolate specific areas of your canvas to modify without affecting the rest. You can use different selection methods like freehand, automatic, rectangle, or ellipse.
Once selected, use the Transformation tool to move, scale, or rotate your selection. Uniform mode preserves proportions while scaling, Distort allows for perspective adjustments, and Warp permits intricate reshaping. Mastering these tools enables precise control over your artwork’s composition and structure.
Color and Fill Options
Procreate’s color and fill options provide flexibility in how you apply and manipulate colors. The Color Picker is intuitive, allowing you to choose precise hues quickly. Color Harmony presents analogous, complementary, and other harmonious color schemes for cohesive palettes.
Fill tools like ColorDrop allow you to fill areas with solid colors quickly. Drag and drop a color from the color circle to your canvas; adjust the ColorDrop Threshold by holding and sliding your pencil to control fill boundaries.
For more intricate fills, explore Gradient Maps and Clipping Masks to add depth and texture to your designs. By leveraging these features, you can achieve vibrant, dynamic artworks with ease.
Working with the Brush Library
The Brush Library in Procreate offers powerful tools for customization and organization. By learning to tailor brushes to your needs and keeping your library organized, you can enhance your drawing and painting workflow.
Customizing Brushes
Customizing brushes in Procreate allows you to tailor them to your specific artistic requirements. To create a new brush, tap the + button in the Brush Library. You can adjust numerous settings, such as brush shape, grain, and dynamics.
Importing brushes is easy by tapping the Import button; you can import .brush or .brushset files from the Files app. Fine-tuning settings like the Streamline can improve stroke smoothness, providing a more natural drawing experience. Experimenting with opacity and blending modes can yield different textures and effects.
Organizing Your Brushes
Keeping your Brush Library organized lets you access your favorite tools quickly. You can create new Brush Sets by tapping the + button in the Library and then renaming them according to categories like “Sketching,” “Inking,” or “Painting.”
You can also move brushes between sets by dragging and dropping them or duplicate brushes for minor variations. Combining brushes can create unique effects, which can be especially helpful for intricate projects. Always ensure to back up your brush sets by exporting them to avoid losing your custom configurations.
Advanced Layering Techniques
Advanced layering in Procreate lets you manipulate different aspects of your artwork independently, providing greater control over your digital creations. This section covers the use of Clipping Masks and how layers interact with effects.
Using Clipping Masks
Clipping Masks are essential for non-destructive editing. They let you apply changes to a specific part of your layer without altering the rest.
First, create a new layer above the one you want to edit. Tap this new layer and select Clipping Mask. Now, any edits on the clipped layer will only affect the content directly beneath it on the original layer.
Utilize the brush tool to add shading or highlights. You can even use different blending modes on the clipped layer to achieve unique visual effects. Experiment with opacity and transparency to refine your work further.
Understanding Layers and Effects
Layers in Procreate can be opaque, transparent, or semi-transparent, affecting how they interact with other layers. By default, a new layer is opaque, but this can be adjusted.
Blend Modes in Procreate allow layers to mix in different ways, such as Multiply, Screen, or Overlay. These modes affect how the colors and textures merge, creating various artistic effects.
You can also use layer masks to hide or reveal parts of a layer without making permanent changes. Simply swipe left on a layer and select Mask. Use the brush tool in black or white to hide or reveal parts of your layer.
By mastering these techniques, you can create complex, nuanced digital artwork with ease. For more on layers, be sure to check out our detailed tutorial on Procreate Layers.
Enhancing Artwork with Textures and Effects
To elevate your digital artwork in Procreate, utilizing textures and special effects can add depth, dimension, and realism. These enhancements can make your illustrations more engaging and visually striking.
Applying Textures
Textures in Procreate help mimic the tactile feel of various surfaces. Start by selecting a texture brush from the brush library. Popular options include grunge, canvas, and watercolor brushes.
Apply textures in layers to create a rich, multidimensional effect. Use layer masks to control where textures appear, and adjust the opacity to blend them seamlessly into your artwork.
You can also experiment with combining different textures to mimic complex surfaces like rusty metals or weathered wood. Navigating through these brush options and techniques will allow you to recreate the intricate details found in traditional art.
Adding Special Effects
Special effects in Procreate can dramatically transform your artwork. Glow, blur, and motion effects are some of the most popular choices.
Apply a glow effect using the Add blend mode. This technique makes elements like light sources and neon signs pop. For motion effects, use the Gaussian Blur or Motion Blur tools to create a sense of movement and dynamism in your illustrations.
Experimenting with different effects will help you discover new ways to enhance your digital creations, making them more vibrant and lifelike. Adjusting these effects thoughtfully can bring your artistic vision to life, adding excitement to any piece.
Utilizing Gestures and Shortcuts
Mastering gestures and shortcuts in Procreate will significantly enhance your drawing efficiency and help you streamline your workflow. Below, we explore some of the most useful gestures and shortcuts to help you get the most out of your Procreate experience.
Efficient Drawing with Gestures
Procreate offers a variety of gestures to make drawing easier and faster. Two-finger tap to undo and three-finger tap to redo are among the most basic yet crucial gestures. The pinch and twist motion allows you to zoom and rotate your canvas swiftly.
Clearing your layer can be done instantly by swiping three fingers from side to side. Additionally, using four fingers to enter full-screen mode can help you focus entirely on your work by removing distractions. Configuring these gestures to suit your drawing style can improve your workflow.
Time-Saving Shortcuts
Procreate also includes shortcuts to speed up your process. Access the Cut/Copy/Paste popup by swiping down with
three fingers. This gesture brings up a menu that allows you to quickly cut, copy, and paste elements within your artwork, saving you valuable time.
Another handy shortcut is the QuickMenu, which you can access by holding down the square icon at the top of the screen. This menu can be customized to include your most frequently used tools and actions, making them accessible with just a tap.
For those who use a keyboard with their iPad, Procreate supports a range of keyboard shortcuts. For example, pressing the Command (⌘) key will display a list of available shortcuts, such as Command + Z to undo and Command + Shift + Z to redo. These shortcuts can make your workflow even more efficient, especially for those who are accustomed to using keyboard commands in other software.
Layer Management Managing layers efficiently is crucial for complex artworks. Procreate allows you to quickly merge layers by pinching them together in the Layers panel. You can also group layers by selecting them and tapping the Group option, which helps keep your workspace organized.
The Alpha Lock feature is another powerful tool. By swiping right with two fingers on a layer, you can lock its transparency, allowing you to paint only on the existing pixels without affecting the transparent areas. This is particularly useful for adding details or shading to specific parts of your artwork.
Customizing Your Workflow Procreate’s flexibility allows you to tailor the app to fit your unique workflow. You can customize the QuickMenu, adjust gesture controls, and even create your own brush sets. Taking the time to set up Procreate according to your preferences will make your drawing process smoother and more enjoyable.
Mastering gestures and shortcuts in Procreate can greatly enhance your drawing efficiency and streamline your workflow. By familiarizing yourself with these tools and customizing them to suit your needs, you can make the most of your Procreate experience and focus more on your creative process.
Animation and Movement
Learn how to animate images effectively using Procreate’s Animation Assist, offering essential features for both novice and experienced animators. This section highlights the tools to create frame-by-frame animations, manage your timeline effectively, and make your art move.
Introduction to Animation
Procreate makes animating accessible with its Animation Assist feature. This powerful tool simplifies the process of creating animated works. You can easily manage frames and control the flow of your animation. Onion-skinning helps you keep track of previous and future frames, ensuring smooth transitions and movement.
Animations in Procreate rely heavily on the use of layers. Each frame is typically a different layer, enabling you to edit individual frames without affecting the whole animation. This layer-based approach is essential for creating detailed and polished animations.
Animation Tools and Controls
The Animation Assist interface provides a user-friendly way to access animation tools. The Timeline at the bottom of the screen is crucial for managing the sequence of your frames. You can quickly navigate through frames, making adjustments as needed.
Using the onion-skinning setting, you can view multiple frames at once, aiding in continuity and consistency. Procreate also offers instant playback, allowing you to preview your animations in real-time. The Frame Options settings let you duplicate, add, or delete frames with ease, streamlining the animation development process.
Procreate supports exporting your final animation in various formats, including GIFs and videos. This flexibility allows you to share your creations effortlessly across different platforms.
Exporting and Sharing Your Work
Procreate provides numerous options for exporting and sharing your artwork, ensuring it can be easily saved or displayed on various platforms. You can export in multiple file formats and effortlessly share your creations on social media.
File Formats and Exporting
Procreate supports a wide range of file formats for exporting your work. JPEG and PNG are common for standard image exports, while TIFF is preferred for high-quality prints. For layered work, PSD is ideal as it maintains all layers for further editing in Adobe Photoshop. You can also save your artwork in the native .procreate format for seamless reediting within the app.
Exporting 3D paintings as static images or videos is possible via formats like MP4, HEVC, or GIF. To start, tap on Actions > Share, and select the desired format. Additionally, you can generate a PDF that captures each layer as a page, which is perfect for multipage projects.
Sharing on Social Media
Sharing your artwork directly from Procreate to social media platforms is straightforward. You can post to Instagram, Twitter, or other services right from the app. To share, select Actions > Share, choose your preferred file format, and then pick the social media option. This integration simplifies posting your latest creations without needing intermediary steps or additional applications.
Procreate also allows you to save your work to cloud storage services like iCloud and Dropbox. This ensures your files are backed up and accessible from other devices. For those wanting to showcase their creative process, exporting time-lapse videos is an engaging way to share how your artwork came to life. Select Video > Time-lapse Replay to export and share.
Maximizing Procreate with Accessories
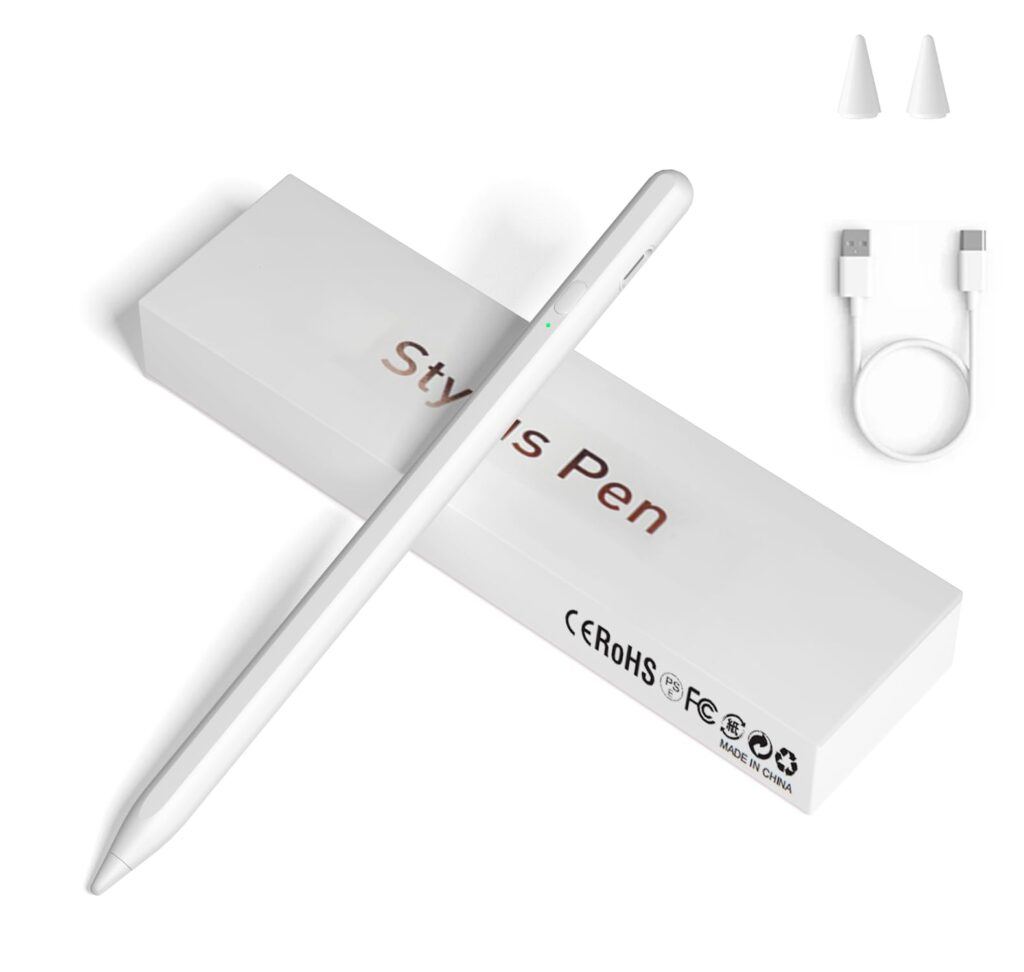
To fully leverage Procreate’s capabilities, it’s essential to utilize the right accessories. This includes selecting a compatible stylus and understanding how other devices can enhance your workflow.
Choosing the Right Stylus
Selecting the right stylus is critical for an optimal experience with Procreate. The Apple Pencil is highly recommended due to its seamless integration with the iPad. It offers pressure sensitivity and tilt functionality, which are crucial for creating fine details and varied strokes.
For those seeking alternatives, consider Wacom styluses that also provide precise control and a natural feel. Pay attention to compatibility with your iPad model to ensure full functionality. Some budget-friendly options include the Adonit Note+ and Logitech Crayon, which offer acceptable performance for beginners.
Other Compatible Devices
Several other devices and accessories can further enhance your Procreate experience. A screen protector can protect your iPad screen from scratches and offer a paper-like texture for drawing. Brands like Paperlike and BELLEMOND provide such protectors specifically designed for artists.
An iPad stand can help you maintain a comfortable drawing posture. Adjustable stands like the Lamicall Tablet Stand or the Twelve South Compass Pro are practical choices. Additionally, external keyboards or shortcut panels can streamline your workflow, allowing for quick access to tools and functions within Procreate.
Evolving Your Skills
To enhance your proficiency in Procreate, you should utilize diverse learning resources and immerse yourself in active artist communities for feedback and inspiration. These approaches will help you master new techniques and stay motivated throughout your artistic journey.
Learning Through Tutorials and Resources
Leverage online tutorials to deepen your understanding of Procreate’s features. Platforms like YouTube offer a wealth of tutorials ranging from basic tool use to advanced techniques. Look for content from professional digital artists who share step-by-step guides.
Invest in courses or books that comprehensively cover Procreate. The “Beginners Series” by Procreate is a good starting point. You can explore the fundamental tools such as brushes, color, and layers, and then work your way through more complex features like blend modes and custom brushes. This structured learning will help build a solid foundation.
Joining Artist Communities
Engage with online artist communities to share your work, receive critiques, and learn from others. Websites like ArtStation and forums dedicated to digital art provide platforms to interact with fellow artists.
Join Procreate-specific groups on social media platforms where professionals and novices alike discuss techniques and share tips. Participating in challenges or collaborative projects within these communities can inspire creativity and significantly enhance your skills. Networking with other artists may also lead to mentorship opportunities and collaborative endeavors.
By continuously learning and actively participating in artist communities, you can evolve and refine your skills in Procreate, achieving a higher level of artistic expression.
