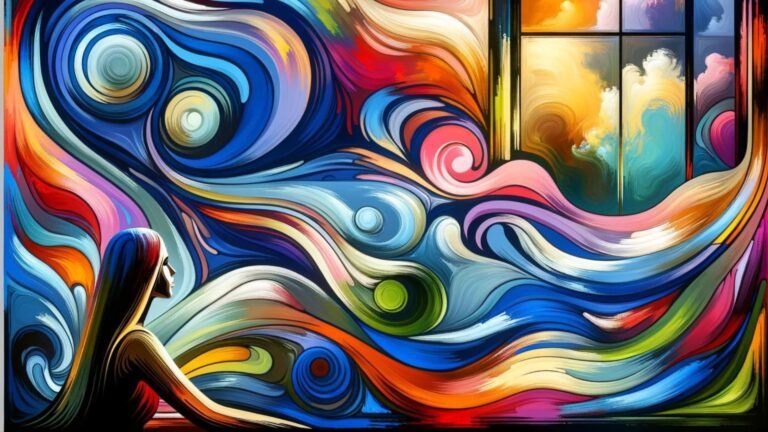
Mandalas are cool art projects that can help you relax and be creative. They’re round designs with patterns that repeat around a center point. You can make them with paper and pens, but did you know you can also create easy mandala designs digitally?
Digital mandalas are fun to make and let you play with cool effects. You can make amazing mandalas on your computer or tablet using digital art tools. This article will show you some easy mandala ideas to try out. Get ready to make some awesome digital art!
1) Floral Mandala Magic Mandala

Floral mandalas are a great way to start your mandala journey. They’re easy to make and look stunning when finished.
To begin, pick your favorite flower as inspiration. Roses, daisies, or sunflowers all work well. Start with a simple circle in the center of your canvas.
Next, add petals around the circle. Don’t worry about perfection – nature isn’t perfect either! You can use different shapes for your petals to mix things up.
Now, it’s time to add some leaves. Place them between the petals or behind them. This adds depth to your mandala.
Creating a Floral Mandala Drawing can be done with digital markers or pens. Try using different colors for each layer of petals and leaves.
Remember to keep your design symmetrical. This is key in mandala art. As you work outwards, repeat your flower patterns to create a beautiful, balanced design.
Feel free to add some swirls or dots for extra flair. These little details can really make your floral mandala pop! With practice, you’ll soon be creating stunning floral mandalas in no time.
2) Geometric Spiral Wonder Mandala
Try a geometric spiral design if you’re in the mood to create something mesmerizing. This eye-catching pattern uses simple shapes to form a complex, swirling image.
Start with a circle in the center of your digital canvas. Add smaller circles around it, gradually decreasing their size as you move outward. This creates the spiral effect.
Next, connect the circles with straight lines. You can use triangles, squares, or other shapes to fill in the spaces between the circles. Play around with different combinations to see what looks best.
Color is key in this mandala. Choose a palette that speaks to you. Bright, contrasting colors can make the spiral pop, while softer hues create a more calming effect.
Don’t forget about symmetry. Keep your design balanced by repeating elements on all sides of the mandala. This creates a sense of unity in your artwork.
Remember, there’s no right or wrong way to make a geometric spiral mandala. Let your creativity flow and see where it takes you. With practice, you’ll develop your own unique style.
3) Zen Garden Delight Mandala

The Zen Garden Delight is perfect for you if want to create a design that makes you feel peaceful. This design brings the calming essence of Japanese rock gardens to your screen.
Start with a circular base. Add curved lines to represent raked sand patterns. These lines should flow gently around the circle.
Next, place simple shapes for rocks. Use ovals or irregular polygons in different sizes. Scatter them throughout your design, but keep it balanced.
For a touch of nature, add some minimalist plant elements. A few straight lines can represent bamboo stalks. Small spiral shapes work well for flowers or leaves.
Don’t forget empty space! In Zen design, empty areas are just as important as filled ones. They give your eyes a place to rest.
Choose a soothing color palette. Soft grays, pale greens, and sandy beiges work nicely. You can add a pop of color with a single red or pink element if you like.
Remember, less is more with this mandala. Keep your design simple and clean. The goal is to create a digital space that helps you feel calm and centered.
4) Peacock Feather Fusion Mandala

Want to add a touch of elegance to your digital mandala? Try the Peacock Feather Fusion design. This eye-catching pattern blends the beauty of peacock feathers with traditional mandala elements.
Start by sketching a basic circular outline. Then, draw curved lines radiating from the center to mimic the shape of peacock feathers. Add smaller circles at the ends of these lines to represent the distinctive “eyes” found on real peacock plumes.
Fill in the spaces between the feather shapes with intricate patterns. You can use swirls, dots, and geometric shapes to create depth and texture. Don’t forget to incorporate vibrant colors like deep blues, rich greens, and hints of gold.
For a realistic touch, try adding some shading to your feathers. This will give your mandala a more three-dimensional look. You can also experiment with different brush styles to create varied textures throughout your design.
Remember, the key to this mandala is balance. Make sure your feather elements are evenly spaced around the circle. This will help achieve that satisfying symmetry that mandalas are known for.
5) Starburst Symphony Mandala

The Starburst Symphony is perfect for you if you want to create a dazzling mandala! This eye-catching design combines geometric shapes with vibrant colors to create a stunning visual effect.
To start, pick a simple shape like a circle or star as your base. Then, add radiating lines from the center outwards. This forms the basic structure of your starburst.
Next, play with different colors and gradients. Try using bright, contrasting hues to make your mandala pop. You can experiment with limitless color combinations using digital tools.
Don’t forget to add smaller details between the main rays. These could be dots, swirls, or tiny geometric shapes. They’ll give your mandala depth and interest.
Remember, symmetry is key in mandala design. Make sure your elements are evenly spaced around the center point. Digital software can help you maintain perfect symmetry effortlessly.
As you work, zoom in and out to check your progress. This helps you spot any areas that need tweaking. Digital platforms allow for easy undoing of mistakes, so feel free to experiment!
Your Starburst Symphony mandala is sure to be a showstopper. Have fun creating this radiant design!
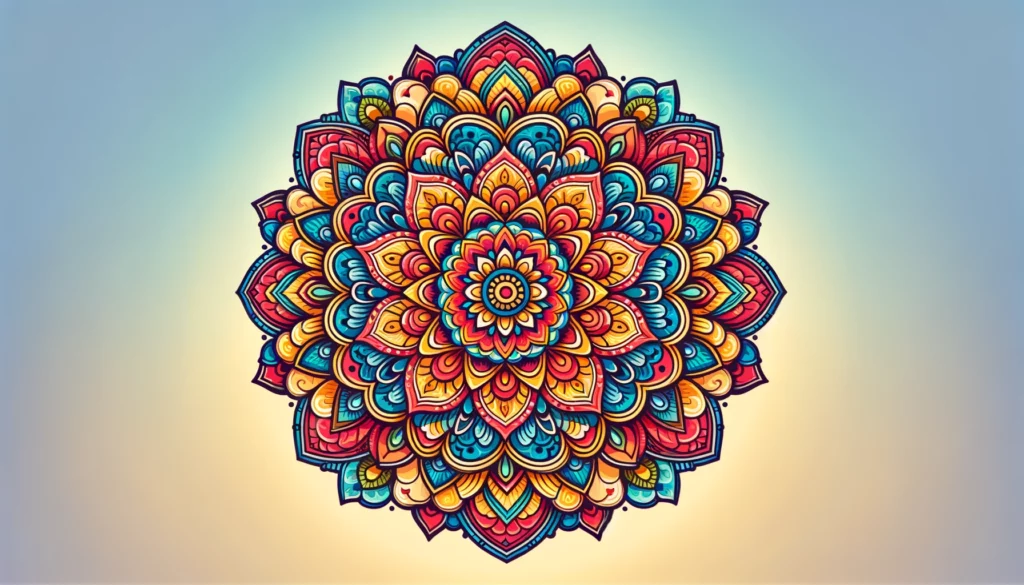
6) Lotus Blossom Harmony Mandala
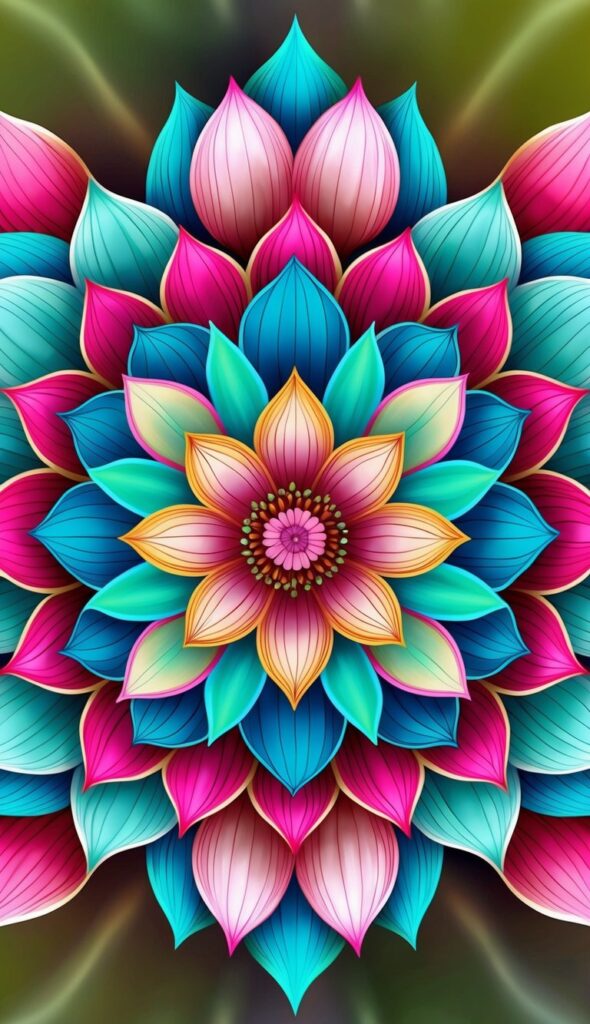
Try the Lotus Blossom Harmony design if you’re up for creating a stunning mandala with a touch of nature. This beautiful pattern combines the serenity of a lotus flower with the intricate details of a mandala.
Start by drawing a simple lotus shape in the center of your digital canvas. Add layers of petals around it, each one slightly larger than the last. You can use different shades of pink or purple to give depth to your lotus.
Next, surround your lotus with circular patterns. These can be simple dots, swirls, or geometric shapes. Remember, symmetry is key in mandala art. Whatever you draw on one side, mirror it on the other.
Mandala art often incorporates lotus symbols within their designs. This combo represents purity and cosmic order. Your digital tools make it easy to create perfect circles and symmetrical patterns.
Don’t worry about making it too complex. Even a simple design can be beautiful. Play with colors and layer styles to add depth and interest to your Lotus Blossom Harmony mandala.
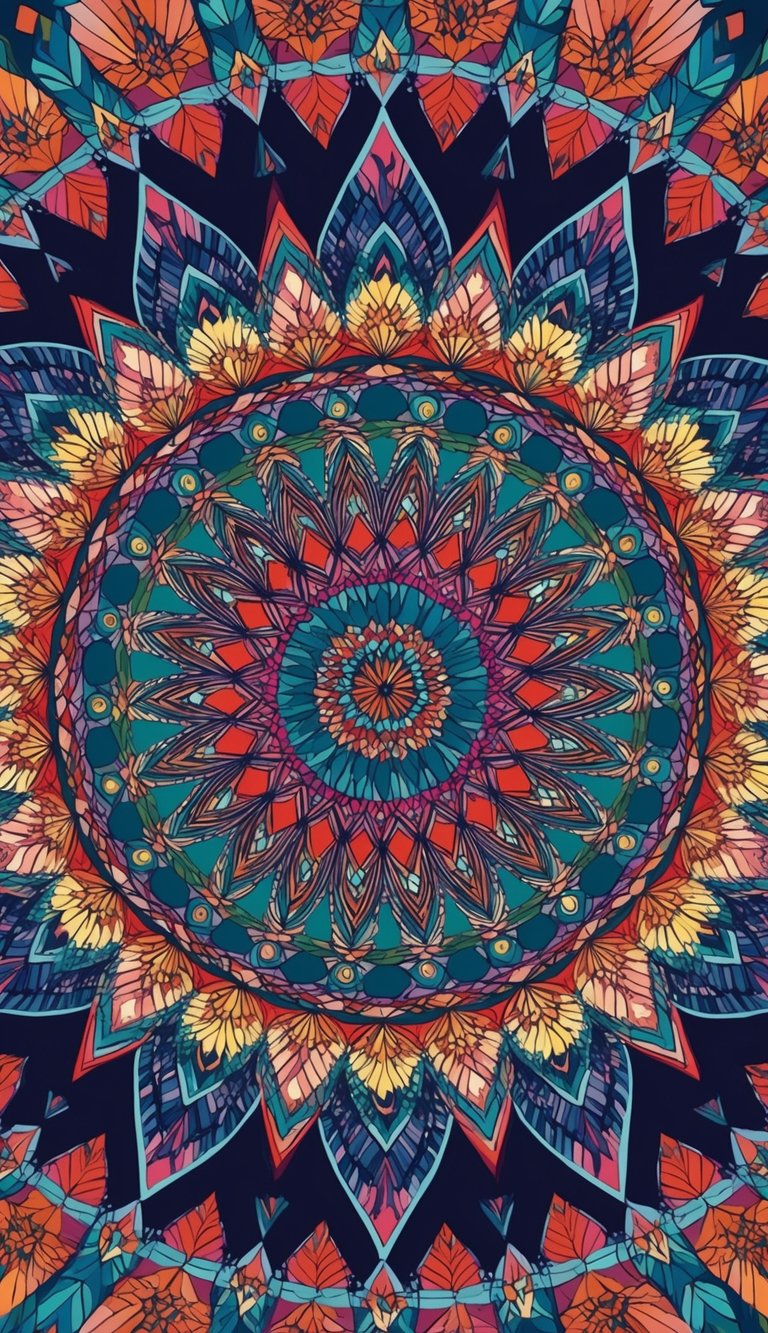
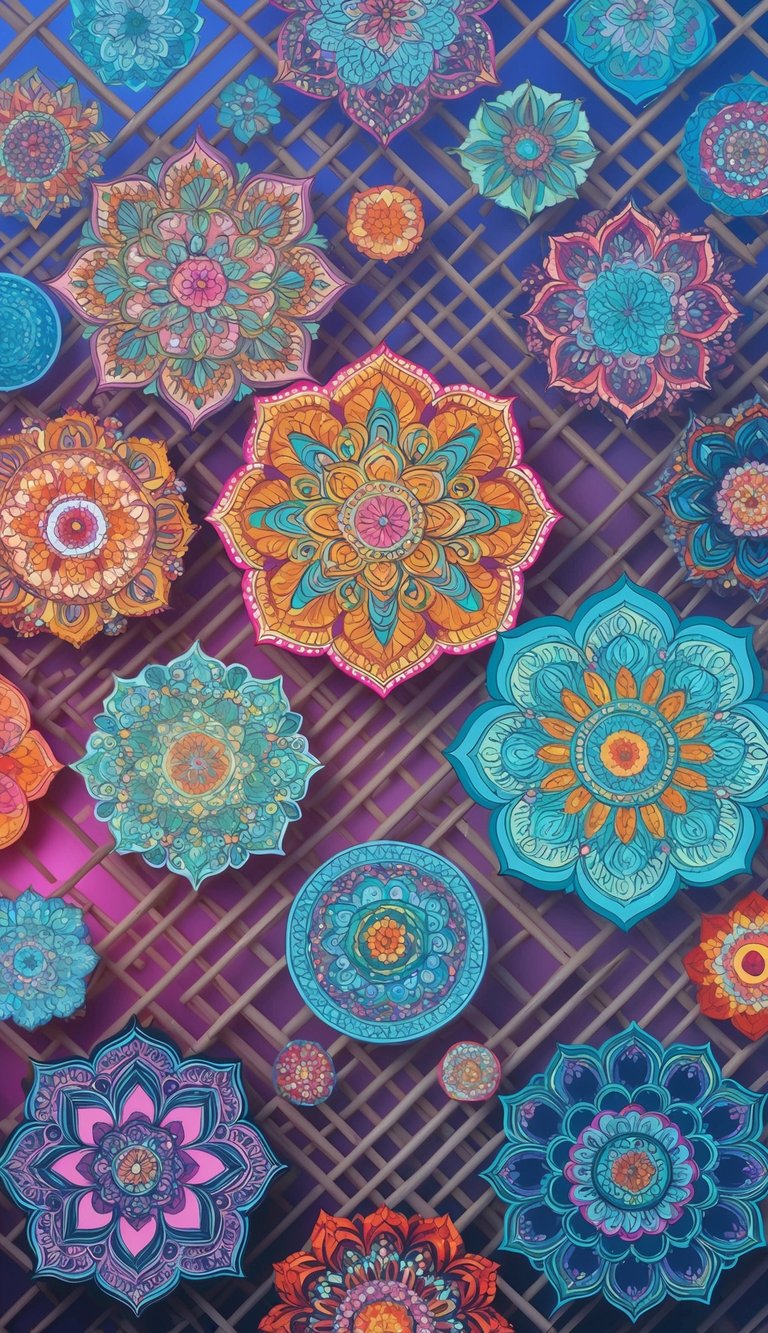
7) Kaleidoscope Carnival Mandala

The Kaleidoscope Carnival mandala is a perfect choice for you if you’re in the mood to dazzle. This eye-catching design brings the magic of a kaleidoscope to your screen.
To start, pick a digital drawing tool that offers symmetry options. Many apps have special brushes or settings for this type of art. Choose bright, bold colors to really make your mandala pop.
Begin at the center and work your way out. As you draw, watch your design multiply across the canvas. It’s like creating with mirrors! Each stroke you make gets repeated, forming intricate patterns.
Try different shapes and lines. Swirls, dots, and geometric forms all work well in this style. Mix it up to keep things interesting. Remember, there’s no right or wrong way to do this.
Don’t worry about perfection. The beauty of digital art is you can easily undo or adjust as you go. Experiment with various symmetry settings to change up the look of your carnival-inspired mandala.
Have fun with it! Let your creativity run wild and see what kind of kaleidoscope magic you can make.
8) Intricate Lattice Dream Mandala
Ready to take your digital mandala skills up a notch? The Intricate Lattice Dream design is perfect for you. This mandala features a complex web of intersecting lines that create a mesmerizing pattern.
To start, draw a series of concentric circles as your base. Then, add straight lines radiating from the center. These will serve as your guide for the lattice work.
Next, begin weaving curved lines between the straight ones. Alternate the direction of the curves to create a woven effect. You can make these patterns as intricate as you like.
Don’t worry if it looks messy at first. The beauty of this design emerges as you add more details. Try varying the thickness of your lines for added depth.
For a dreamy touch, add small decorative elements like stars or spirals in the spaces between the lattice. This will give your mandala a whimsical, ethereal quality.
Remember to take breaks as you work. This design can be time-consuming, but the end result is worth it. Your Intricate Lattice Dream will be a stunning showcase of your digital art skills.
9) Serene Galaxy Swirl Mandala

Want to create a mandala that’s out of this world? Try the Galaxy Swirl Serene design. This cosmic pattern brings together the beauty of space and the calm of a mandala.
Start with a dark background to mimic the night sky. Then, add swirls of bright colors like purple, blue, and pink to represent galaxies and nebulas.
Use white dots to create stars throughout your mandala. You can make some larger to stand out as main focal points. Remember, in space, stars come in different sizes!
Add circular patterns around the center to give your mandala structure. These can be simple rings or more detailed designs. They’ll help guide the eye through your cosmic creation.
Don’t forget to blend your colors for a dreamy effect. This will make your galaxy mandala look more realistic and captivating. You can use digital brushes to create soft, misty areas.
Finish off with some spiral arms extending from the center. These will give your mandala that classic galaxy look. You can make them subtle or bold, depending on your style.
10) Sunburst Serenity Mandala
Let’s dive into the Sunburst Serenity mandala, a design that’ll brighten up your digital art collection. This mandala is all about radiating positive vibes through simple shapes and patterns.
To start, you’ll want to draw a circle in the center of your canvas. This will be the sun’s core. From there, add lines coming out from the circle, like sun rays.
Next, you can add shapes or patterns along each line. Try using triangles, squares, or even little circles to create a fun, geometric look.
Don’t forget to play with colors! Warm tones like yellows, oranges, and reds work great for this sun-inspired design. But feel free to experiment with cooler colors too if that’s more your style.
You can also add some swirls or curves between the rays to give your mandala a softer, more fluid feel. This contrast between straight and curved lines can create a really interesting visual effect.
Remember, the key to the Sunburst Serenity mandala is symmetry. Make sure your design is balanced all the way around. You can use digital tools to help create perfect symmetry if you’re struggling with it.
Understanding Mandalas
Mandalas are circular designs with deep spiritual meaning. They have a rich history and powerful symbolism that can help you connect with yourself and the world around you.
History and Origins
Mandalas have been around for thousands of years. They first showed up in ancient India as part of Hindu and Buddhist practices. The word “mandala” comes from Sanskrit and means “circle” or “center.”
These designs spread to other parts of Asia over time. Tibetan Buddhists became well-known for their intricate sand mandalas. These were made as part of spiritual rituals.
In the 20th century, psychologist Carl Jung brought mandalas to the West. He saw them as a way to explore the unconscious mind. This helped make mandalas popular in art therapy and meditation.
Symbolism and Significance
Mandalas are more than just pretty designs. They hold deep meaning in many cultures. The circle shape represents wholeness and unity. It can remind you of the cycles in nature and life.
The center of a mandala is often seen as a starting point. It can stand for your inner self or the beginning of the universe. As you move outward, the patterns show growth and connection.
Creating your own mandalas can be a form of meditation. It helps you focus and relax. Many people find that making mandalas helps them feel more balanced and calm.
In some traditions, mandalas are used as tools for spiritual growth. They can represent the universe or act as a map for meditation. By focusing on a mandala, you might gain new insights about yourself and the world.
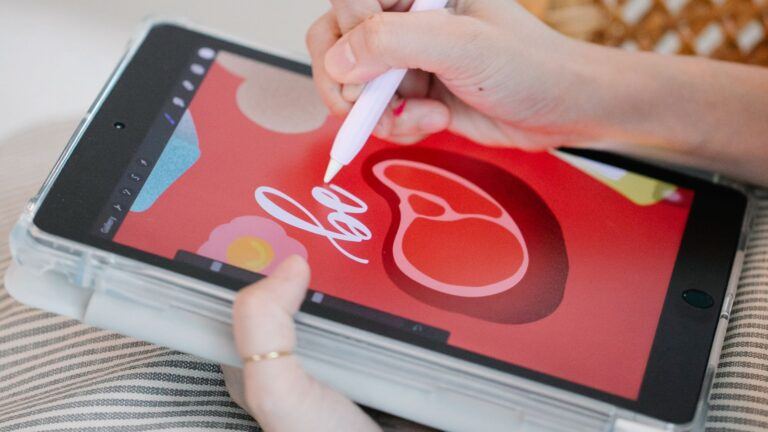
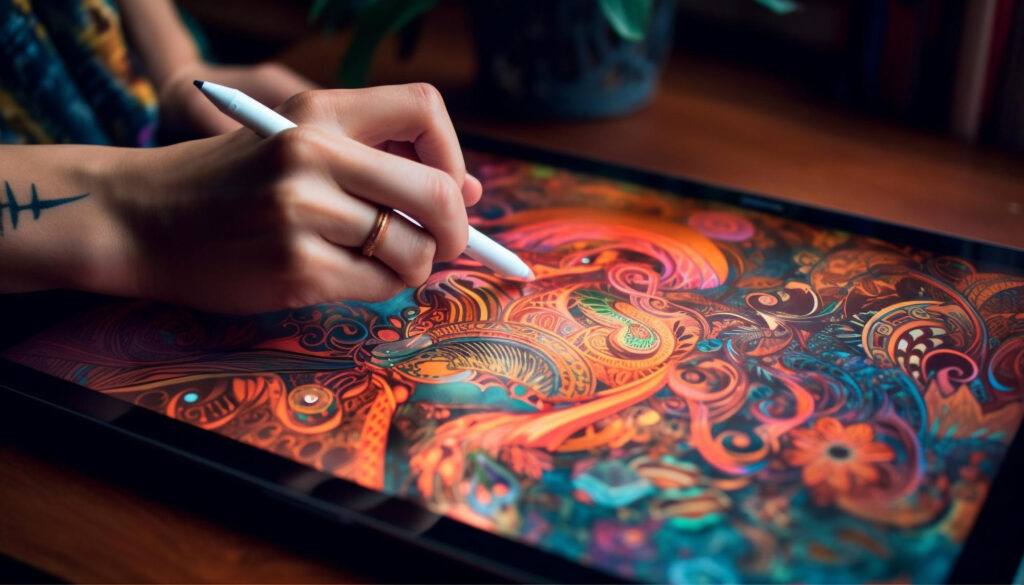
Techniques for Creating Digital Mandalas
Digital mandalas can be made using different software and tools. The right program and brushes will help you make amazing designs. For our full tutorial, be sure to check out How to Draw a Mandala in Procreate.
Choosing the Right Software
You have many options for making digital mandalas. Procreate is popular for mandala art. It’s easy to use on an iPad. Adobe Illustrator works well too, especially for vector mandalas.
For beginners, try free apps like Canva or Pixlr. These have simple tools to get you started. Pick software that fits your skill level and goals.
Think about what features you need. Do you want layers? Symmetry tools? Export options? Make a list of must-haves before you choose.
Using Brushes and Tools
The right brushes and tools make mandala creation easier. Start with a basic round brush for outlines. Add detail with thinner brushes later.
Symmetry tools are key for mandalas. They repeat your strokes around a center point. This saves time and keeps your design balanced.
Try different brush types:
- Calligraphy brushes for flowing lines
- Texture brushes for unique effects
- Dotting brushes for precise patterns
Experiment with opacity and brush size. Light, thin lines can add depth to your mandala. Bold, thick strokes create strong focal points.
Don’t forget the eraser tool. It’s great for fixing mistakes and adding negative space to your design.
Beginners Guide to Procreate
Our Beginner’s Guide to Procreate is the ultimate resource to kickstart your digital art journey. It covers everything from the basics of navigating the app to advanced techniques for creating stunning artwork so that you can not only get off to a strong start but gain confidence quickly. Dive in and unleash your creativity with Procreate!