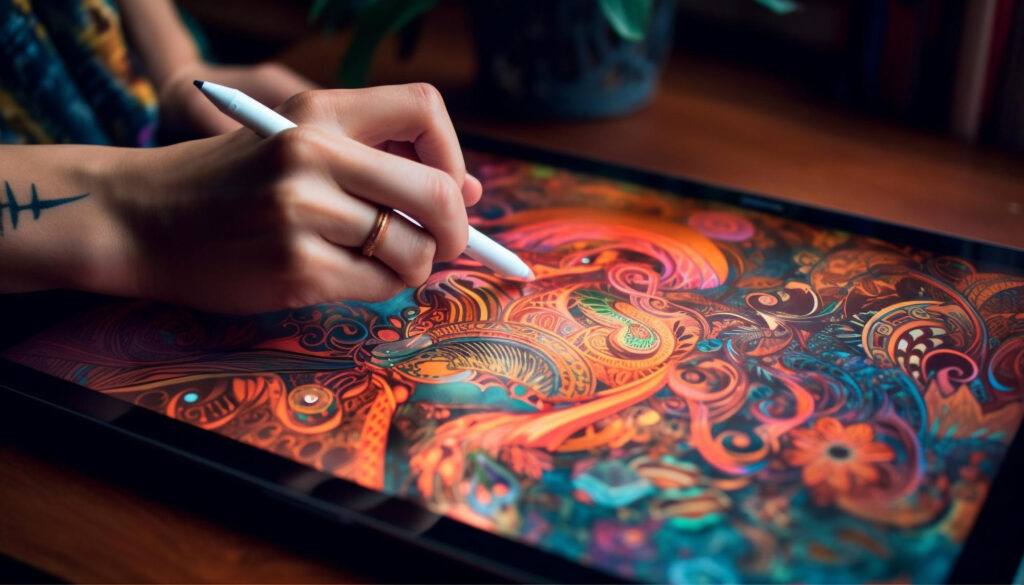
Learning how to lower opacity in Procreate is a fundamental skill that enhances your artwork’s depth and complexity. You can lower the opacity of a layer by clicking on the ‘N’ next to the layer’s name and dragging the opacity slider. This simple adjustment allows you to create subtle effects, blend colors seamlessly, and add dimension to your designs.
Whether you are working on illustrations, digital paintings, or other creative projects, mastering opacity will elevate your work. Not only does it provide a practical solution for layering, but it also fosters creativity in how you approach color and light in your project.
In this article, you will discover various methods for how to lower opacity in Procreate, adjust opacity effectively, and learn tips to implement these techniques in your workflow. This knowledge will enhance your ability to convey mood and atmosphere in your art, making it an essential aspect of your digital toolkit.
Understanding Opacity in Procreate
Opacity refers to the transparency level of a layer in Procreate. Adjusting the opacity allows you to create different effects in your artwork, letting underlying layers show through.
To change the opacity of a layer:
- Select the Layer: Tap the layer you want to adjust in the Layers panel.
- Locate the ‘N’ Icon: Find the ‘N’ next to the layer name. This indicates the layer’s blend mode.
- Adjust the Slider: Tap the ‘N’ and drag the opacity slider left to decrease opacity or right to increase it.
Key Points to Remember
- Full Opacity: At 100%, the layer is completely opaque, hiding all layers below it.
- Low Opacity: Lower settings (0-50%) gradually reveal layers underneath, enhancing depth.
- Effects: Use lower opacity for shadows, highlights, or blending colors more effectively.
Experimenting with opacity is crucial for achieving depth and dimension in your digital art. Adjusting layer opacity allows for more nuanced control over your composition, enhancing the overall visual quality of your work.
Navigating the Procreate Interface
Understanding how to navigate the Procreate interface is essential for effectively managing your artwork. This includes accessing opacity controls and utilizing the layers panel to adjust settings seamlessly.
Locating Opacity Controls
To adjust the opacity of your artwork, start by opening the Adjustments menu. Tap on the icon that resembles a magic wand. From there, select Opacity.
You will see a slider at the top of the screen. Slide it left to decrease opacity (making your layer more transparent) or slide it right to increase opacity (making it more opaque). This slider allows for quick and precise adjustments, enhancing your design workflow.
Remember, for more accurate changes, hold the slider while adjusting. This method provides finer control over the level of transparency you wish to achieve.
Using the Layers Panel
The Layers Panel is a vital part of Procreate, as it allows you to manage your artwork’s individual components. To access the panel, tap on the Layers icon, which looks like two overlapping squares.
Find the layer you want to modify. Click on the letter “N” located next to the layer name, indicating its blending mode. A slider will appear for adjusting opacity. Drag this slider in the same manner as before: left for transparency and right for opacity.
Utilizing the Layers Panel not only streamlines your editing process but also helps maintain organization within your projects. Adjusting opacity through layers can help create depth and dimension in your artwork.
1. Adjusting Layer Opacity
Adjusting the layer opacity in Procreate allows you to create depth and variation in your artwork. This process involves selecting the appropriate layer and using tools designed for precise modification.
Selecting a Layer
To start adjusting layer opacity, you need to select the layer you wish to modify. Open the Layers Menu by tapping the two overlapping squares icon in the top right corner of your screen. This interface shows all the layers in your project.
Once the Layers Menu opens, locate the layer you want to adjust. Tap on the layer’s thumbnail, highlighted with a blue outline. You can quickly identify the active layer, as it will be the one currently selected. Make sure the layer mode is set to “Normal” for standard opacity adjustments.
Modifying Opacity with Slider
After selecting your desired layer, you can adjust the opacity using the slider. Tap the little ‘N’ on the layer thumbnail, which opens the opacity adjustment tool. A slider will appear, allowing you to slide left to decrease opacity or right to increase it.
Alternatively, you can quickly access the opacity adjustment by tapping the layer with two fingers. This will bring up the same slider for modification. Adjust the slider until you achieve the desired level of transparency. You will see the changes in real time, making it easy to find the perfect look for your artwork.
How to Lower the Opacity of a Layer in Procreate
- Open the Layers panel by tapping the Layers icon in the top-right corner
- Select your layer in the Layers panel
- Access the opacity slider using one of these methods:
- Tap the “N” (Normal) blending mode icon next to your layer
- Tap directly on the layer with two fingers simultaneously
- Tap and hold on the layer, then select “Adjust Layer”
- Lower the opacity by sliding your finger to the left on the opacity slider that appears at the top of your screen
- Monitor the percentage shown on the slider (100% is fully opaque, 0% is completely transparent)
- Tap anywhere on the canvas when you’re done to apply the change
Your layer will now appear more transparent based on the opacity value you selected.
2. Working with the Opacity Tool
The opacity tool in Procreate allows you to achieve various effects by adjusting the transparency of your layers, brushes, and erasers. Understanding how to manipulate this feature can significantly enhance your artwork.
Brush Opacity Adjustments
To adjust the opacity of your brush, first, select the brush you want to use. Navigate to the brush settings, where you will find an option labeled as Opacity.
- Using the Slider: You can drag the opacity slider left to decrease transparency or right to increase it. A value of 0% means the brush will not leave any mark, while 100% will apply full color.
- Multiple Layers: If you’re working with multiple layers, lower brush opacity can help blend colors seamlessly, creating a soft transition.
- Testing: Always test your brush strokes on a separate layer to see how the opacity affects your artwork. Adjust as necessary before applying to your main piece.
Eraser Opacity Settings
Eraser opacity is just as crucial as brush opacity in Procreate. To manipulate the eraser’s transparency, select the eraser tool from the toolbar.
- Accessing Opacity: Similar to adjusting brush opacity, click on the Opacity slider. This allows you to control how much of the layer you erase.
- Effects of Opacity: A higher opacity will remove more of the color, while a lower setting allows for subtle corrections. This is great for creating texture or softening edges.
- Layer Considerations: Remember that erasing with lower opacity can lead to a gradual fading effect, which can enhance the overall aesthetic of your piece.
By mastering these adjustments, you can gain more control over your art and effectively implement layering techniques in Procreate.
3. Advanced Opacity Techniques
Adjusting opacity in Procreate offers versatility in your artwork. Exploring advanced techniques can improve your workflow and enhance your creative expression. Here are two key methods to consider.
Layer Blending Modes
Layer blending modes allow you to control how layers interact with each other, providing a nuanced approach to adjusting opacity. To access blending modes, select the layer and tap on the “N” icon next to it.
You can choose from modes such as:
- Multiply: Darkens the layer by blending it with layers below, ideal for shadows.
- Screen: Lightens colors by blending with the background, useful for highlights.
Experiment with these modes to achieve effects that traditional opacity adjustments can’t provide. You can also layer multiple modes for complex visual outcomes. It’s a powerful way to create depth and dimension in your artwork.
Using Alpha Lock
Alpha Lock is a technique that locks the transparency of your layer, allowing you to paint only on the existing pixels. This is particularly useful when you want to adjust the opacity without affecting the underlying colors.
To activate Alpha Lock, swipe right on the layer in the Layers panel.
With Alpha Lock enabled, any brushwork will only impact the colors already present. This method is effective for:
- Refining details: Add subtle changes without altering the base.
- Creating textures: Overlay patterns or textures without losing the original layer’s integrity.
Utilizing Alpha Lock ensures your adjustments remain controlled and focused, enhancing your painting precision.
4. Opacity in Animation
In animation projects using Procreate, managing opacity is essential for creating depth and smooth transitions. Adjusting the opacity of layers can significantly affect the visual impact of your animations.
Key Points to Consider
- Layer Visibility: Lowering opacity can help make layers more transparent, allowing underlying layers to show through. This is useful for creating shadow effects or adding softness to your animations.
- Animating Opacity: You can animate opacity changes by adjusting the layer’s opacity at different frames. This creates a fading effect, whether you’re making an object disappear or appear smoothly.
Methods to Adjust Opacity
- Opacity Slider: Tap the ‘N’ symbol on the layer to access the opacity slider. Dragging it left or right changes the transparency level.
- Procreate Actions: Use the Actions menu to adjust the opacity for multiple layers at once, ensuring consistency across your animation.
Tips for Effective Opacity Usage
- Experiment with Gradients: Use varying opacity levels to create gradients, enhancing the richness of your animations.
- Test Animations Frequently: Preview your animation regularly to see how the opacity changes affect the overall motion and feel.
Utilize these techniques to enhance your animations in Procreate, ensuring a polished and professional look.
5. How to Lower Layer Opacity in Procreate Pocket
To lower the opacity of a layer in Procreate Pocket:
- Open the Layers panel
- Tap the “N” icon (Normal blending mode) next to the layer you want to adjust
- Slide your finger left on the opacity slider to decrease opacity
You’ll see a blue bar labeled “Slide to adjust” at the top of the screen, which displays your current layer opacity value.
Alternatively, you can also tap the layer with two fingers simultaneously to quickly access the opacity adjustment for that specific layer.
The opacity ranges from 100% (fully opaque) to 0% (completely transparent), allowing you to fine-tune the visibility of your layers.
6. How to Lower Image Opacity in Procreate
To lower the opacity of an image in Procreate:
- Select the layer containing your image in the Layers panel
- Tap on the “N” (Normal) blending mode icon next to your layer
- Use the opacity slider that appears at the top of the screen – slide left to reduce opacity (make more transparent) and right to increase it
Alternatively, you can use these methods:
- Tap the layer with two fingers to quickly access the opacity slider
- Use the Filters menu (magic wand icon at the top) where opacity adjustment is available as the first option
This works for any type of layer, whether it contains an imported image, photo, or artwork you’ve created within Procreate.
Best Practices for Opacity Control
Controlling opacity in Procreate allows for nuanced artwork. Here are some best practices to enhance your design process.
- Use Layer Modes: Adjust your layer mode alongside opacity for better effects. Modes like Multiply or Screen alter how colors blend.
- Create Variations: Duplicate layers before adjusting opacity. This way, you can experiment without losing your original work.
- Utilize the Slider: Access the opacity slider by tapping the small ‘N’ on your layer. Drag it left for transparency and right for full opacity.
- Gradual Adjustments: Make slight adjustments to opacity. Small increments can lead to more controlled results.
- Check Against Background: Regularly view your work against a contrasting background. This helps determine if your opacity levels achieve the desired effect.
- Layer Grouping: Group layers with similar opacity settings. This simplifies adjustments, allowing you to change multiple layers simultaneously.
- Fine-Tune with Masks: Use masking layers to control opacity selectively. This allows for precise adjustments in specific areas of your artwork.
By following these practices, you can effectively manage opacity and enhance your artistic expressions in Procreate.
Troubleshooting Opacity Issues
If you’re having trouble adjusting layer opacity in Procreate, consider these common issues and their solutions.
- Layer Mode: Ensure that your layer is set to Normal mode. Tap the little ‘N’ next to the layer to check.
- Opacity Slider: If adjustments aren’t responding, try dragging the opacity slider again. Access this by tapping the ‘N’ and moving the slider.
- Using the Magic Wand: You can also adjust opacity through the magic wand icon. Select it, then pick Layer Opacity to adjust by dragging across the screen.
- Two-Finger Tap: Sometimes, using a two-finger tap on the canvas helps reset the settings, allowing for better sliders interaction.
If these methods aren’t working, restarting the app can resolve minor glitches. Also, ensure your Procreate app is updated to the latest version to avoid bugs.
If you continue to experience issues, consider reinstalling the app. Note that this may overwrite custom settings, so backup any important files first.
With these tips, you should be able to troubleshoot and fix opacity problems effectively.
Beginner’s Guide to Procreate
Our Beginner’s Guide to Procreate is the ultimate resource to kickstart your digital art journey. It covers everything from the basics of navigating the app to advanced techniques for creating stunning artwork so that you can not only get off to a strong start but gain confidence quickly. Dive in and unleash your creativity with Procreate!
Frequently Asked Questions for How to Lower Opacity in Procreate
You may have questions about adjusting opacity in Procreate. Here are some essential points to help you understand the process better.