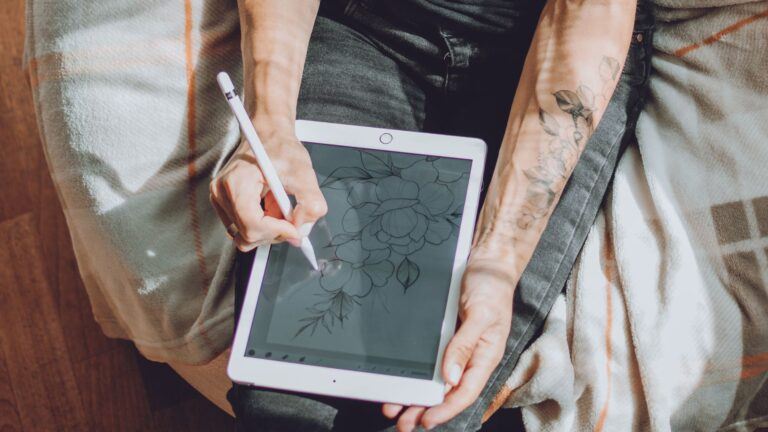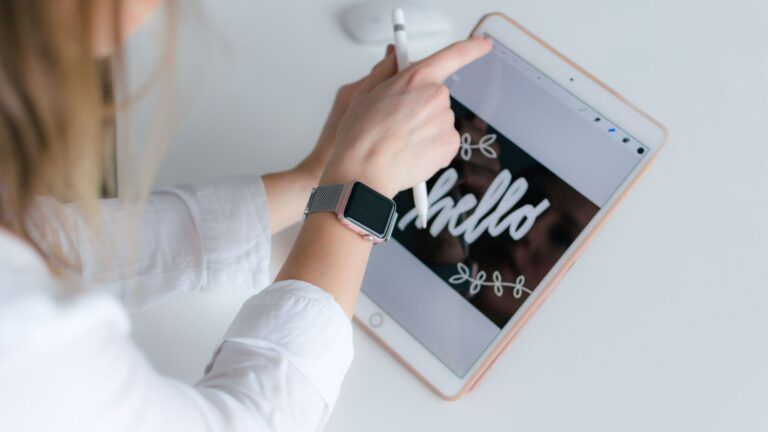
If you’re new to digital art and just getting started, you may be wondering how to draw on Procreate. Procreate is a popular digital drawing app that allows you to create stunning artwork on your iPad. However, it can be overwhelming for beginners to know where to start. In this article, we’ll guide you through the basics of how to draw on Procreate and give you some tips and tricks to help you get started.
First, you’ll need to familiarize yourself with the Procreate interface. Procreate has a lot of tools and features, but don’t worry, you don’t need to know them all right away. We’ll focus on the essentials to get you started. You’ll learn how to create a new canvas, choose a brush, and start drawing. We’ll also cover some basic gestures and shortcuts to help you work more efficiently. By the end of this article, you’ll have a solid foundation to start creating your own artwork in Procreate.
Getting Started with Procreate
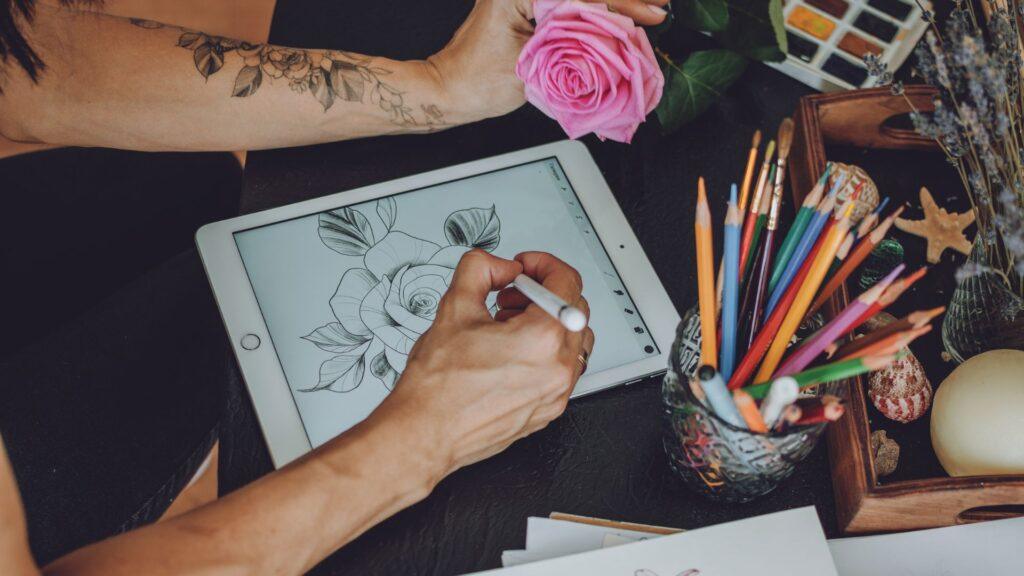
First things first, if you want to learn how to draw on Procreate, you’ll need an iPad with the Procreate app installed. Procreate is only available on Apple devices, so make sure you have an iPad that’s compatible with the app.
If you’d like to learn more about the Apple iPad Pro, be sure to check out our review for more information.
Once you have Procreate installed, open the app and create a new canvas. You can choose the size and resolution of your canvas, depending on what you’re planning to create. Procreate offers a wide range of canvas sizes and resolutions to choose from, so take your time to select the one that best suits your needs.
Now that you have your canvas set up, it’s time to start drawing! Procreate offers a variety of brushes and tools to choose from. You can experiment with different brushes and settings to find the ones that work best for you.
One of the great things about Procreate is that it’s easy to undo and redo your work. If you make a mistake, simply tap the undo button to go back to a previous state. If you change your mind, you can tap the redo button to go forward again.
And that’s it! With these basic steps, you’re ready to start creating art on Procreate. Don’t be afraid to experiment and try new things. Procreate is a powerful tool that can help you bring your artistic vision to life.
Understanding the Procreate Interface
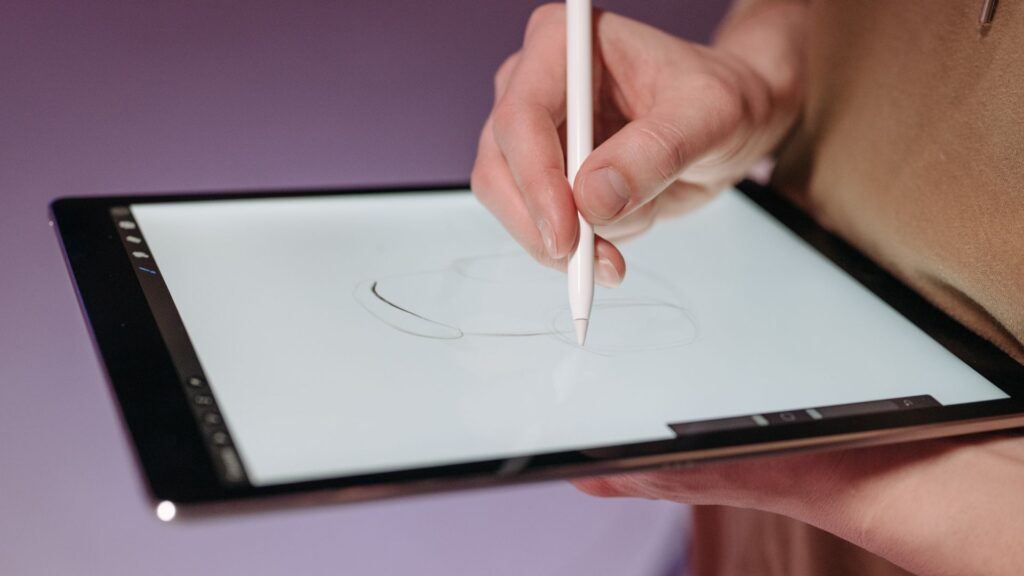
When you open Procreate for the first time, the interface may seem overwhelming, but with a little understanding, you’ll be able to navigate it with ease. Here’s a breakdown of the different elements of the interface:
Tools
The tools in Procreate are located on the left-hand side of the screen. You can access the brush, eraser, smudge, and other tools from this panel. To select a tool, simply tap on it.
Brushes
Procreate has a vast collection of brushes that you can use to create your artwork. You can access the brush library by tapping on the brush icon in the tools panel. From there, you can choose from different categories of brushes and customize them to your liking. If you want more options on brushes, be sure to check out our guide on the 6 Best Brushes for Procreate.
Color
The color wheel is located on the right-hand side of the screen. You can choose a color by tapping and dragging your finger around the wheel. You can also adjust the saturation and brightness of the color.
Layers
Layers are an essential feature of Procreate that allows you to work on different parts of your artwork without affecting the rest of the image. You can add a new layer by tapping on the “+” icon in the layers panel.
Select
The select tool allows you to choose a specific part of your artwork to manipulate. You can access the select tool by tapping on the icon in the tools panel.
Gestures
Procreate has a variety of gestures that you can use to perform different actions. For example, you can use a two-finger tap to undo an action or a three-finger swipe to redo.
Undo and Redo
The undo and redo buttons are located at the top of the screen. You can use these buttons to undo or redo your actions.
Brush Library and Brush Size
The brush library and brush size can be accessed by tapping on the brush icon in the tools panel. From there, you can choose a brush and adjust its size.
Eyedropper Tool
The eyedropper tool allows you to select a color from your artwork. You can access the eyedropper tool by tapping on the color panel and then tapping on the eyedropper icon.
With this understanding of the Procreate interface, you’ll be able to create your artwork with ease.
For more on working with layers, check out our comprehensive Procreate layers tutorial.
How to Draw on Procreate: Basic Drawing Techniques
Drawing on Procreate can seem daunting at first, but with a few basic techniques, you’ll be creating beautiful artwork in no time, and these basic techniques will help you get started.
Sketching
Sketching is an essential part of the drawing process. With Procreate, you can easily sketch out your ideas with a variety of brushes and pencils. Use the QuickShape feature to create perfect shapes quickly and easily.
Line Art
Line art is a popular style of drawing that uses simple lines to create intricate designs. Procreate has a range of brushes that are perfect for line art, from fine-tipped pens to thick, bold markers. Use the drawing guides to create straight lines and perfect curves.
Painting
Procreate offers a range of painting tools that allow you to create stunning artwork. Use the QuickMenu to switch between brushes quickly and easily. Experiment with blending modes to create unique effects.
Shapes
Shapes are an essential part of any drawing anything, and Procreate makes it easy to create perfect shapes with the QuickShape feature. You can also use the Transform tool to resize and rotate shapes.
For more on how to use Apple pencil with Procreate, be sure to check out our tutorial on this subject as well.
Advanced Drawing Techniques
Once you’re comfortable with the basics, you can start exploring more advanced techniques as you’re learning how to draw on Procreate. These techniques below will help you create more complex and detailed digital art, illustrations, and paintings.
Opacity and Blend Modes
Opacity and blend modes are essential tools in Procreate that allow you to control the transparency and blending of your colors. By adjusting the opacity slider, you can make your colors more transparent or opaque, depending on your needs. Blend modes, on the other hand, allow you to blend colors in different ways, creating unique effects and textures.
Selection and Transform
Selection and transform tools are powerful features in Procreate that allow you to select and manipulate specific parts of your artwork. With the selection tool, you can select a specific area of your artwork and apply different effects or transformations to it. The transform tool, on the other hand, allows you to resize, rotate, and distort your artwork to create interesting effects.
Drawing App Integration
Procreate allows you to integrate with other drawing apps, giving you access to a wider range of tools and features. This integration can help you expand your creativity and explore new Procreate drawing ideas. You can import images from other apps, work on them in Procreate, and then export them back to the original app.
Faces and Line Art
Drawing faces and line art can be challenging, which can seem overwhelming when you want to learn how to draw on Procreate, but there are several features that can help you. The face paint feature allows you to create realistic skin tones and textures, while the line art feature helps you create clean and precise lines. By combining these features with your own creativity, you can create stunning digital portraits and illustrations.
With these advanced drawing techniques, you can take your Procreate skills to the next level and create digital art that is both complex and beautiful. Keep experimenting with different tools and techniques, and don’t be afraid to make mistakes. With practice, you’ll become an expert in no time.
Working with Layers and Masks
When you first start to learn how to draw on Procreate, working with layers and masks is essential. Layers allow you to separate different elements of your artwork and make changes to them individually. Masks, on the other hand, help you to create complex effects and blend different layers together seamlessly.
To create a new layer, simply tap on the Layers icon in the top right corner of the screen and select “Add”. You can then name your layer and choose its properties, such as opacity and blending mode. To move a layer up or down in the stack, simply drag it to the desired position.
Masks are a powerful tool that allows you to hide or reveal parts of a layer. To create a mask, select the layer you want to mask and tap on the “Mask” icon in the Layers panel. You can then choose whether to add a white or black mask, depending on whether you want to reveal or hide parts of the layer.
Clipping masks are another useful feature in Procreate. They allow you to apply a layer to only a specific portion of another layer, creating complex effects and blending options. To create a clipping mask, simply select the layer you want to clip and tap on the “Clipping Mask” option in the Layers panel.
Working with layers and masks is an essential part of learning how to draw on Procreate. By mastering these tools, you can create complex and detailed artwork with ease. Remember to experiment with different blending modes and opacity settings to achieve the desired effect.
Coloring and Painting Techniques

When it comes to coloring and painting in Procreate, there are a variety of techniques you can use to achieve your desired results. Here are some tips to help you get started:
Color Selection
Procreate offers a vast range of colors to choose from, and you can also create your own custom color palettes. To select a color, tap on the color wheel icon and choose your desired hue. You can also use the ColorDrop tool to quickly fill in areas with a specific color.
Brushes
Procreate provides a wide range of brushes, each with its unique texture and effect. Experiment with different brushes to find the ones that work best for your project. You can adjust the size, opacity, and flow of the brush to create different effects. If you’d like more options for brushes, check out our guide on the 6 best Procreate brushes.
Layering
Procreate allows you to work with multiple layers, which is helpful when working on complex projects. You can use layers to separate different elements of your artwork, making it easier to edit and adjust.
Blending Modes
Blending modes are a powerful tool in Procreate that allow you to combine different layers in various ways. You can use blending modes to create different effects, such as adding texture or changing the color of your artwork.
Opacity and Fill
You can adjust the opacity and fill of your brush strokes to create different effects. Lowering the opacity can create a more transparent effect, while increasing the fill can make your strokes more solid.
Color Adjustments
Procreate offers a variety of color adjustment tools to help you fine-tune your artwork. You can adjust brightness, contrast, hue, saturation, and more to achieve the desired effect.
Overall, Procreate offers a wide range of tools and techniques to help you create stunning artwork. Experiment with different techniques to find the ones that work best for you and your project.
Using the Apple Pencil

If you’re new to Procreate, you may be wondering how to get started with the Apple Pencil. The Apple Pencil is an essential tool for drawing in Procreate, and it offers a range of features that can help you create beautiful artwork.
To get started, make sure your Apple Pencil is paired with your iPad. You can do this by plugging it into the charging port on your iPad, or by using Bluetooth to pair it wirelessly. Once your Apple Pencil is paired, you’re ready to start drawing.
One of the great things about the Apple Pencil is that it offers pressure sensitivity. This means that the harder you press down on the screen, the thicker your lines will be. To take advantage of this feature, simply adjust the pressure settings in Procreate to suit your drawing style.
Another useful feature of the Apple Pencil is pinch to zoom. This allows you to zoom in on your artwork to add fine details or zoom out to get a better view of the overall composition. To use pinch to zoom, simply place two fingers on the screen and pinch them together or apart.
In addition to pressure sensitivity and pinch to zoom, the Apple Pencil also offers tilt sensitivity. This means that you can tilt the pencil to create shading effects or to adjust the angle of your brush strokes. To take advantage of this feature, simply adjust the tilt settings in Procreate to suit your drawing style.
The Apple Pencil is an essential tool for learning how to draw on Procreate. With its pressure sensitivity, pinch to zoom, and tilt sensitivity, you can create beautiful artwork with ease. So, grab your Apple Pencil and start drawing today!
Animation in Procreate
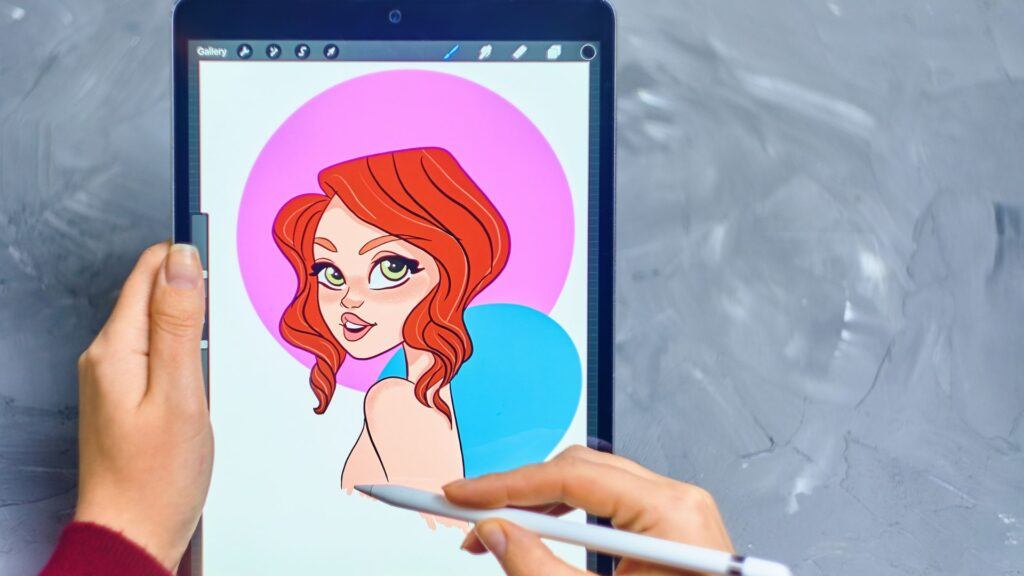
Procreate is not only a powerful drawing and painting app, but it also has some great animation features. With Procreate’s animation assist, you can create simple animations with ease.
To get started with animation in Procreate, you’ll need to create a new canvas and select the animation option. Once you have your canvas set up, you can start drawing your frames. Procreate’s animation assist will automatically create a new frame for you each time you make a change to your drawing.
You can use Procreate’s onion skinning feature to help you create smooth animations. Onion skinning allows you to see the previous and next frames as you draw, making it easier to create a smooth transition between frames.
Procreate also has a range of animation tools that you can use to create more complex animations. These tools include the ability to add keyframes, adjust timing, and loop animations.
When creating animations in Procreate, it’s important to keep in mind that the app is primarily designed for drawing and painting. While Procreate’s animation features are powerful, they may not be as advanced as dedicated animation software.
Overall, Procreate’s animation features are a great option for beginners who want to try their hand at animation. With its intuitive interface and powerful tools, Procreate makes it easy to create simple animations with ease.
Additional Resources
As a beginner in Procreate, it can be overwhelming to navigate the vast amount of resources available online. Here are some additional resources that can help you improve your skills and create amazing digital art.
Importing and Exporting Artwork
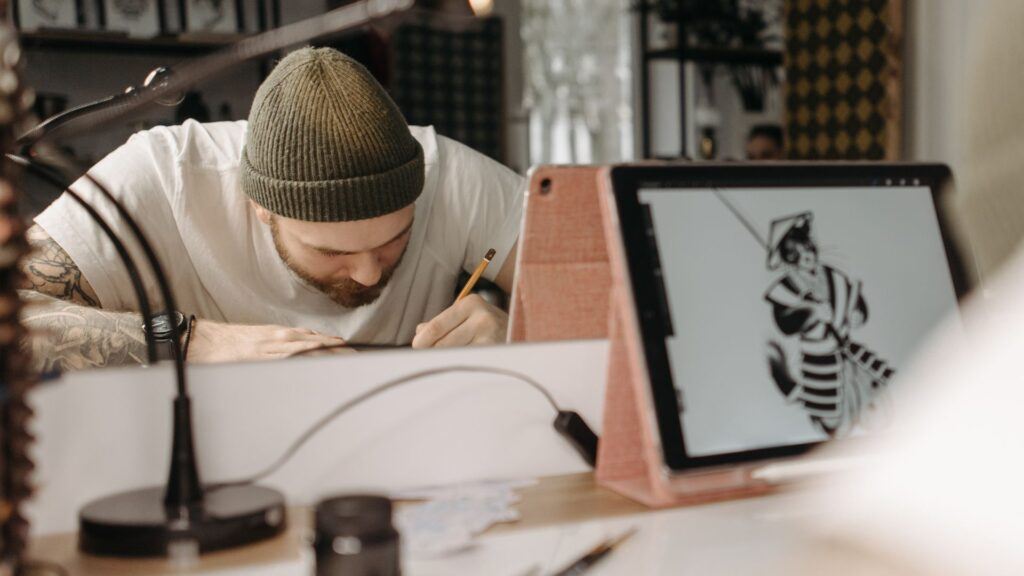
If you want to import artwork into Procreate, you can do so in a few different ways. One option is to use the Photos app on your device to import an image. Simply select the image you want to use and tap the Share button, then choose the Procreate app from the list of options. You can also import images from other apps, such as Dropbox or Google Drive, using the same method.
Once you’ve imported your artwork into Procreate, you can use a variety of effects to enhance it. For example, you can use the Transform tool to resize, rotate, or flip your artwork. You can also use the Liquify tool to distort your artwork in various ways.
When you’re ready to export your artwork, Procreate makes it easy to do so. Simply tap the Share button and choose the format you want to use. You can export your artwork as a JPEG, PNG, or PDF file, depending on your needs.
Overall, importing and exporting artwork in Procreate is a straightforward process that can be done in just a few steps. With the right tools and techniques, you can create beautiful artwork that you’ll be proud to share with others.
Procreate Tips and Tricks

Learning how to draw on Procreate can be a fun and rewarding experience, but it can also be overwhelming for beginners. Here are some tips and tricks to help you get started:
- Use the QuickMenu: Procreate’s QuickMenu is a powerful tool that can help you work more efficiently. To access it, simply tap and hold on the canvas with one finger. You can customize the QuickMenu to include your most frequently used tools and actions.
- Use the ColorDrop tool: The ColorDrop tool is a quick and easy way to fill in areas with color. To use it, simply select the ColorDrop tool, choose your color, and tap on the area you want to fill.
- Experiment with brushes: Procreate comes with a wide variety of brushes, each with its own unique properties. Take some time to experiment with different brushes to find the ones that work best for you.
- Use layers: Layers are a powerful tool that can help you work more efficiently and make it easier to make changes to your artwork. Use layers to separate different elements of your drawing and to make adjustments without affecting the rest of your artwork.
- Watch tutorials: There are many Procreate tutorials available online that can help you improve your skills and learn new techniques. Take advantage of these resources to help you get the most out of Procreate.
For guidance on how to draw different subjects in Procreate, be sure to check out our tutorials such as How to Draw a Rose on Procreate.
By following these tips and tricks, you’ll be well on your way to creating amazing artwork on Procreate. Remember to take your time, experiment, and have fun!
