Procreate has firmly established itself as a go-to app for digital artists using the iPad, offering a suite of powerful features that mimic the nuances of physical drawing while tapping into the convenience of modern technology. Despite the depth of its toolset, though, you may find that you’re not leveraging Procreate to its full potential. Whether you’re a seasoned illustrator or a novice looking to streamline your creative workflow, understanding productivity hacks can significantly reduce the time it takes to bring your ideas to life.
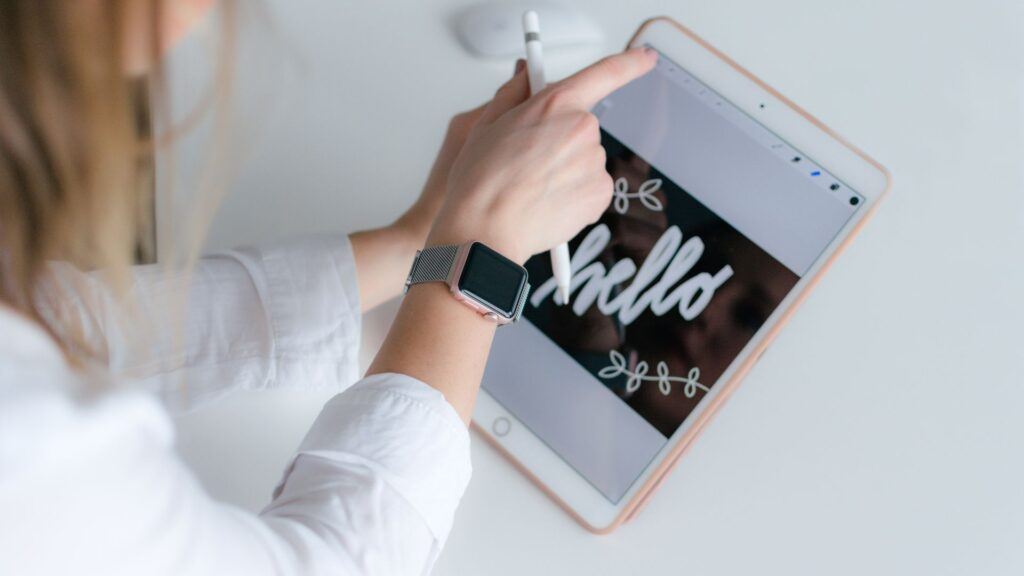
One such hack involves customizing gestures to suit your personal workflow—this allows you to trigger actions like undo or redo with a simple tap, keeping your work pace swift and fluid. Similarly, mastering the use of QuickMenu can shave off precious seconds that accumulate over the course of a project. By familiarizing yourself with these and other hacks, your productivity in Procreate can see a substantial boost, allowing technology to fade into the background and your creativity to stay in the driver’s seat.
By integrating these Procreate hacks into your artistic workflow, you stand to save precious time and enhance both creativity and productivity.
Procreate and Its Growing Popularity Among Digital Artists

Procreate is a robust digital art application developed by Savage Interactive, specifically designed for iOS devices. Dominating the digital art scene, it’s tailored to professional artists and hobbyists alike. With its finger-friendly interface and an extensive array of tools, Procreate offers a drawing experience that feels seamless and natural.
Popularity Factors:
- Intuitive Interface: You’ll find that its user-friendly interface streamlines your creative process.
- Animation Feature: Integrated animation tools allow you to bring your artwork to life.
- No Additional Cost for Upgrades: The Procreate 5 update and other advancements have been provided without extra fees.
Device Usage:
| Device Type | Percentage of Procreate Users |
|---|---|
| Desktop | 33.7% |
| Mobile | 66.3% |
The app’s popularity is further fueled by the rise of remote work and the ubiquity of mobile apps, offering a portable studio that meets your need for flexibility and convenience. As you align with advancing technology trends, Procreate continues to evolve, ensuring that your digital canvas is as limitless as your creativity. The digital illustration software market is growing, and with Procreate at your fingertips, you join a wave of artists shaping the digital landscape.
The Importance of Productivity in Digital Art Creation
In the realm of digital art creation, productivity is pivotal to your success. When you maintain a high level of productivity, you’re not only able to focus more effectively on your projects, but you’re also able to manage your energy levels efficiently. This is crucial in mitigating feelings of overwhelm and reducing the likelihood of procrastination.
Good time management skills allow you to allocate your resources wisely, laying a structured path toward completing your artwork. By breaking down your tasks into manageable parts, you can tackle each element with precision, keeping stress at bay and allowing your creativity to flourish without unnecessary pressure.
Here’s how a productive approach can impact your art creation:
- Focus: Keeping a clear mind helps direct your energies to the task at hand, ensuring quality and detail in your work.
- Energy Conservation: Working smarter means less time spent on redundancies, saving your energy for where it counts.
- Reducing Procrastination: Productivity techniques can lower the temptation to delay tasks, keeping you on track.
- Enhanced Time Management: Segmenting work into productive chunks maximizes use of your time, avoiding the rush as deadlines approach.
- Lowered Stress Levels: A smooth workflow eases anxiety, fostering a calmer creative environment.
- Prevention of Burnout: Regular breaks and a balanced schedule prevent overexertion, preserving your long-term passion for digital art.
By integrating productivity hacks into your routine with Procreate, you can not only amplify your output but also nurture a sustainable and enjoyable digital art practice.
Procreate Hack #1: Gestures and Shortcuts
In Procreate, mastering shortcuts is crucial to streamlining your workflow, minimizing distractions, and effectively managing your time.
Introduction to Procreate Gestures and Shortcuts
Procreate’s intuitive interface comes with a host of gestures and shortcut functionalities that enable you to work faster and with greater precision. Understanding these can significantly reduce the time spent on routine tasks.
Time-Saving Gestures for Everyday Tasks
- Quick Undo and Redo: Two-finger tap to undo and three-finger tap to redo. Use these gestures rapidly to iterate changes.
- Quick Eraser: By holding two fingers on the canvas, you can quickly switch to the eraser without breaking your workflow.
Customizing Gestures for Personalized Workflow Efficiency
- Modify Gestures: Go to Actions > Prefs > Gesture Controls to adapt shortcut gestures to your liking.
- Disable Notifications: Minimizing interruptions while working can be done by turning on ‘Do Not Disturb’ mode on your iPad.
Procreate Hack #2: Streamlining the Workflow with Layer Management
Mastering layer management in Procreate can greatly enhance your productivity. The organization and structure of layers are crucial for navigating complex projects.
Best Practices for Organizing Layers
To ensure efficiency, organize your layers logically. Begin by sequencing layers based on your drawing process, with the background layers at the bottom and progressively stack upward as you add details. Use naming conventions that describe the content or function of each layer.
Using Layer Groups for Simplification
Group related layers together to maintain a clean workspace. For instance, you can group all the elements of a character together or separate background elements from the foreground. This way, you can easily toggle visibility or apply adjustments to multiple layers simultaneously, without affecting others.
Tips on Naming and Color-Coding Layers
Naming your layers meaningfully saves time spent searching. For example, name a layer “Shadows – Character” rather than just “Layer 4.” Color-coding layers or groups also aids in quick identification, allowing you to visually sort through your layers with greater speed. To change a layer’s color, swipe left on the layer and select the color tag.
Be sure to check out Procreate Layers Tutorial for a full tutorial on how to work with Procreate layers.
Procreate Hack #3: Advancing Your Use of Brushes
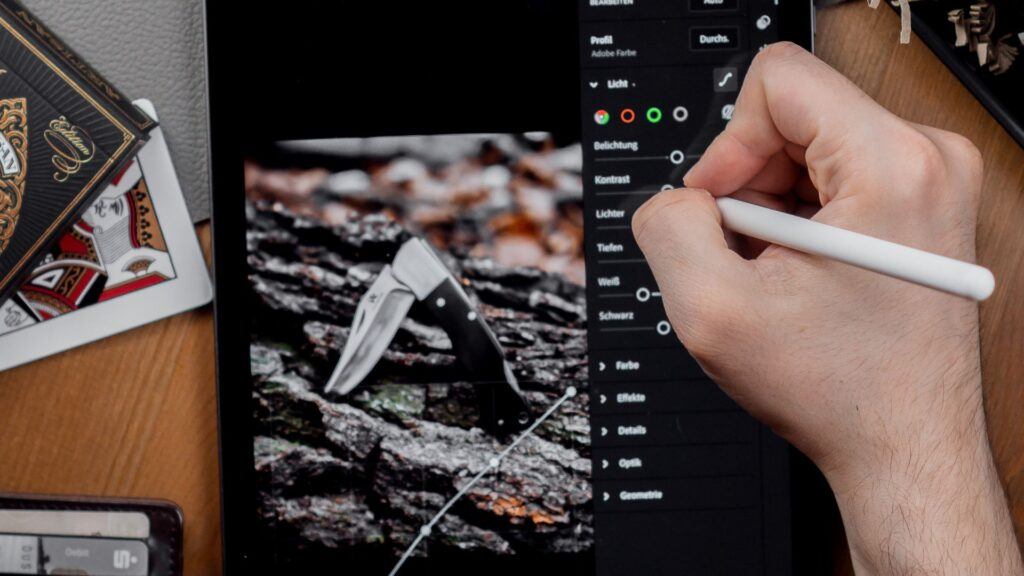
Mastering Procreate hacks for brush tools is key to elevating your digital artwork and achieving consistent, professional results. This section will navigate you through creating personalized brush sets, importing brushes and optimizing them for various effects, and employing shortcuts to efficiently toggle between your go-to brushes.
Creating and Saving Custom Brush Sets
To maintain a streamlined workflow and ensure consistency across your projects, create and save your custom brush sets. Start by tweaking existing brushes to suit your style. Then, group them into sets by tapping the “+” sign in the brushes panel and selecting “New Set.” Name it and save your preferred brushes for easy access during future work sessions.
- Tap brush to modify it
- Adjust settings as needed
- Use “Save” to add it to your custom set
Importing and Optimizing Brushes for Different Effects
Enhancing your toolset with imported brushes can significantly add versatility to your artistry. You can import brushes from trusted sources or shared by other artists. Once imported, it’s crucial to optimize these brushes for different effects:
- Tap on the imported brush to select it.
- Adjust settings like opacity, flow, and streamline to adapt the brush to your specific needs.
- Experiment with stroke settings to modify how the brush behaves with each gesture.
Remember, it’s about prepping your tools to match the task at hand, ensuring both precision and efficiency.
Shortcut for Switching Between Favorite Brushes
Procreate accommodates shortcuts to swiftly switch between your favorite brushes, keeping your workflow fluid and uninterrupted. To utilize this:
- Swipe left on the three most-used brushes in your custom set to set them as QuickMenu shortcuts.
- Access them rapidly during sketching or painting by tapping the QuickMenu button, so you never lose momentum.
By following these succinct strategies, you can maintain a productive rhythm in your digital art process with the smart use of brushes in Procreate.
Procreate Hack #4: Using Procreate’s Text Tool to Save Time
Efficiently managing text in Procreate can dramatically streamline your workflow. You can add, edit, format, and manipulate text with ease using Procreate’s text tools, ensuring that your productivity remains high.
Adding and Editing Text Within Procreate
To add text, tap the Add tab and select Add Text. A text box appears on your canvas, ready for you to type in. Once you’re done, you can resize or move the box to align with your design. To edit the text, tap the Edit Style button after typing; this allows you to adjust font properties such as size and color for greater impact.
Keyboard Shortcuts for Text Manipulation
Utilize the following keyboard shortcuts when a keyboard is connected to your iPad, saving time on text manipulation:
| Action | Shortcut |
|---|---|
| Select All | Cmd + A |
| Copy | Cmd + C |
| Cut | Cmd + X |
| Paste | Cmd + V |
| Bold | Cmd + B |
| Italic | Cmd + I |
These shortcuts enable rapid formatting changes without having to navigate through menus.
How to Use Text Style Presets for Brand Consistency
For consistent branding, you can save your frequently used text styles as presets. When adding text, select the desired preset from the Style dropdown. This ensures that your brand’s typography remains uniform across different artwork. Create presets by adjusting your text to the preferred styling, tap the Style button, and select Add Style. This productivity hack helps maintain consistency with minimal effort.
Procreate Hack #5: Leveraging Procreate Features for Efficiency
Procreate offers a suite of powerful tools designed to streamline your art process. Armed with these features, you can focus more on creativity and less on the tedious parts of digital art creation.
QuickShape for Perfect Geometric Shapes
Use QuickShape to instantly create flawless geometric shapes. Simply draw a rough shape and hold your stylus or finger in place; Procreate intuitively corrects it into a precise figure, saving time and hassle when you need perfect circles, squares, triangles, or lines.
Using Alpha Lock, Clipping Masks, and Layer Masks to Edit Without Affecting Underlying Work
- Alpha Lock: Quickly confine changes to existing artwork by tapping a layer twice and selecting ‘Alpha Lock’. This confines paint to the non-transparent parts, ideal for shading and texturing.
- Clipping Masks: Attach a new layer to the one below by swiping right with two fingers. Paint or adjust on the clipping mask layer without disturbing the original, streamlining tasks such as coloring.
- Layer Masks: Add a layer mask to hide parts of your layer non-destructively. Painting with black conceals and white reveals, enabling error-free and flexible edits.
Assistive Tools Like Drawing Guide and Snapping
- Drawing Guide: Activate this by tapping the wrench icon, then ‘Canvas’, and switch on ‘Drawing Guide’. Customize it for precise perspective lines or symmetrical patterns, amplifying productivity in structured pieces.
- Snapping: Align objects effortlessly with snapping. It guides your elements to align with edges or center points, reducing guesswork and accelerating your design process.
By integrating these Procreate tools into your workflow, your productivity in the creation of digital art, whether in a studio or during remote work, is bound to increase.
Procreate Hacks to Improve Your Artistic Workflow
Implementing Procreate hacks can significantly enhance your productivity and artistic output.
In this article, you’ve been equipped with ten powerful Procreate hacks ranging from brush customization to mastering layer techniques. Each tip is designed to optimize your creative approach, ensuring that your time is spent developing artwork, not wrestling with inefficiencies.
Integrate These Procreate Hacks into Daily Use
To truly benefit from these hacks, integrate them into your daily creative practice. The efficiency gains compound over time, turning these simple adjustments into essential components of your workflow. Consistency is key, so make it a point to explore these hacks within your schedule, allowing them to become second nature.
Final Thoughts
Artistic proficiency and productivity go hand-in-hand with a commitment to learning and practice. As you continue to explore Procreate’s capabilities, your skill set will expand, providing you with a broader canvas of possibilities for your digital art. Stay motivated and curious, knowing that every hack you master is a step towards a more productive and fulfilling artistic journey.
If you’re looking for more ideas on how to boost your productivity or need a little help getting started, be sure to check out our post on 9 Essential Tips for Procreate.
