Drawing on Procreate has revolutionized digital art, offering a comprehensive suite of tools that cater to both beginners and seasoned artists. As you embark on your creative journey, we will provide you with nine tips for drawing on Procreate. These tips will help you navigate the interface, streamline your process, and harness the full potential of Procreate’s features to bring your artistic vision to life. Mastering the basics can transform your experience, leading to more fluid and expert use of this powerful application.
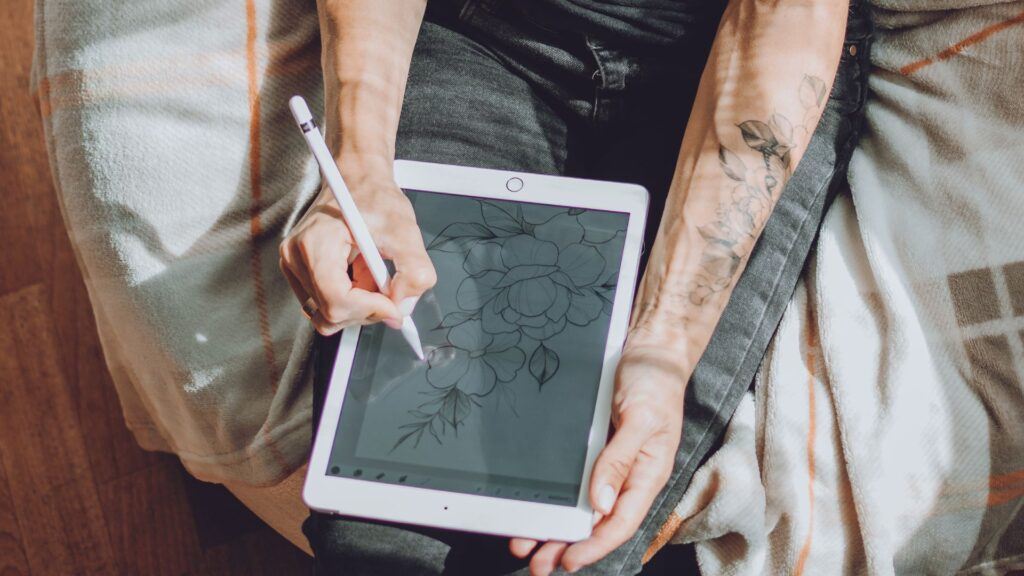
You’ll discover how gestures can speed up your workflow, from utilizing the three-finger swipe to copy and paste to tapping with four fingers to switch to full screen and immerse yourself completely in your art. Familiarize yourself with the Brush Library not only to explore the variety of available brushes but also to customize and manage your tools, ensuring that your brushes are tailored to your specific style and needs. Understanding color management, from creating custom palettes to setting defaults, will enhance your approach to adding vibrancy and depth to your drawings.
In addition to workflow efficiency, specific techniques like utilizing QuickShape for perfect geometric forms and leveraging the advanced layer capabilities will refine your drawings further. Knowing how to effortlessly draw straight lines or achieve smooth shading will elevate the quality of your artwork. With these tips at your disposal, you’ll be well-equipped to turn the blank digital canvas into a piece that’s uniquely yours.
1. Setting Up Your Procreate Canvas
Optimizing your canvas settings in Procreate is crucial to ensure a seamless drawing experience. The right canvas size, layers, and drawing tools dictate the quality and flexibility of your artwork.
Choosing the Right Canvas Size
When you begin a new project in Procreate, selecting the appropriate canvas size is crucial. Here’s a quick way to set it up:
- Tap the “+” icon in the top right corner of the gallery.
- Choose a predefined size or tap the small “+” for a custom size.
Considerations for custom canvas sizes:
- Print Resolution: For print, set your DPI (Dots Per Inch) to at least 300.
- Digital Display: If your work will only be displayed digitally, a DPI of 72 is typically sufficient.
| Purpose | Width x Height (pixels) | DPI |
|---|---|---|
| Social Media | 1080 x 1080 | 72 |
| Print Poster | 2400 x 3000 | 300 |
| Full HD Video | 1920 x 1080 | 72 |
Understanding Layers and Layer Count
Layers are one of the most powerful features in Procreate. They allow you to segment your drawing, make isolated changes, and experiment without affecting the entirety of your piece.
- Layer Count: The number of layers available to you is based on the canvas size and the iPad’s memory. Larger canvases will have fewer layers available.
- To add a layer, tap the stacked squares icon in the app’s top-right corner and select the “+” sign.
Use layers strategically by segmenting elements of your drawing to maintain editing flexibility.
Using the Drawing Guide for Precision
For precision and symmetry in your work, Procreate’s Drawing Guide is an indispensable tool.
- Enable the Drawing Guide by tapping “Actions” (the wrench icon), then “Canvas,” and toggle “Drawing Guide” on.
- You can customize the guide with options like 2D Grid, Isometric, Perspective, and Symmetry to fit your project’s needs.
A well-set canvas, efficient layer management, and effective use of the drawing guide can greatly enhance your drawing experience in the Procreate app.
2. Mastering Procreate Brushes
In Procreate, brushes are more than just tools; they are the foundation of your digital artwork. Mastering their use through the Brush Library, custom creations, and property adjustments paves the way for versatility and precision in your creations.
Exploring the Brush Library
Procreate’s Brush Library is a rich repository of pre-made brushes, each serving a unique purpose for your artwork. Explore various categories like sketching, inking, painting, and effects to identify brushes that align with your art style. Preview strokes help you understand how each brush behaves under different pressure applications. For backup and experimentation, duplicate any brush by swiping left on it and tapping ‘Duplicate.’
Creating Custom Brushes
Creating custom brushes in Procreate allows for a tailored experience that enhances your art’s uniqueness. To start, tap the “+” icon within your Brush Library. Select a shape and grain source, adjusting the sliders to fine-tune the behavior of your brush. Custom brushes can be created from imported images or existing shapes, providing endless possibilities for texture and detail in your work.
Utilizing Brush Tool Properties
The Brush Tool comes packed with adjustable properties that affect its behavior. Tweak settings like opacity and size under the ‘Brush’ menu for on-the-go changes, or dive into the advanced settings by tapping ‘About this Brush.’ Here, you’ll find comprehensive options for streamlining the brush to your liking, adjusting attributes such as streamline, jitter, fall-off, and blending for sophisticated control over your digital brushstrokes.
3. The Power of Color in Procreate
Procreate equips you with a robust set of tools for selecting, adjusting, and harmonizing colors that can elevate your digital art. From creating personalized color palettes to using the eyedropper for precise color matching, you have full control over the hues in your creations.
Developing Your Color Palette
Your color palette serves as the core of your artwork’s color scheme. In Procreate, you can create custom palettes by tapping the + icon within the Palettes tab of the color panel. To build a cohesive palette, consider using the color circle to select complementary, analogous, or triadic colors. Add these to your palette by selecting a color and tapping an empty square. When arranging these colors, think about the mood and atmosphere you wish to convey in your art.
The Color Picker and Eyedropper Tool
Accuracy in color selection is critical. Procreate’s color picker allows you to fine-tune the exact hue you need. For quick color matching, the eyedropper tool can be activated by tapping and holding anywhere on the canvas, picking up the color beneath your finger. This is especially useful when you’re looking to recolor a section or to maintain color consistency throughout your work.
Implementing Gradients and Special Effects
Gradients can add depth and dimension to your art. Create seamless transitions by dragging and dropping colors from your palette onto the canvas and using blending tools to smooth out the gradient. Procreate’s special effects can further enhance these transitions, adding texture and complexity to your gradients. Delicately apply these techniques to achieve realistic lighting effects or to add a flair of surrealism to your piece.
Experimenting with the array of color capabilities in Procreate will allow you to create vibrant and dynamic digital art that stands out.
4. Navigating the Procreate Interface
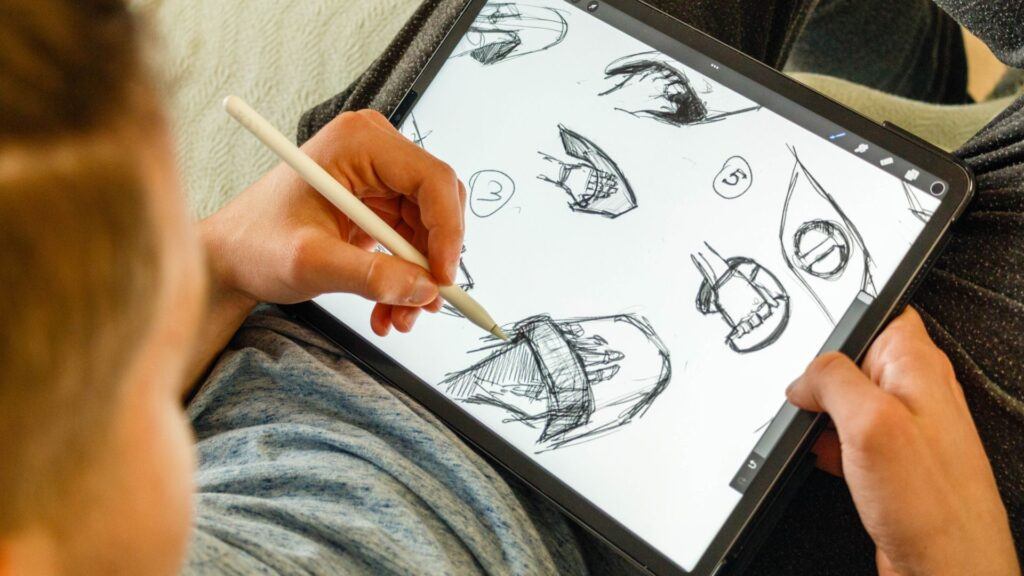
Mastering the Procreate interface significantly enhances your drawing experience. Learn to navigate the canvas with intuitive gestures, access essential tools like QuickShape and the paint bucket tool, and perform actions like zooming and undoing with simple finger taps.
Gestures and Shortcut Efficiency
Procreate’s multi-touch gestures streamline your workflow. Swipe with two fingers to undo, or three fingers to access the Redo function rapidly. These gesture controls allow for quick corrections, making sure you can stay focused on your artwork without reaching for buttons. Familiarize yourself with Procreate’s selection of shortcuts to boost your drawing pace.
Zoom, Undo, and Redo Functions
- Zoom: Pinch your fingers together or spread them apart on the canvas to zoom in or out. This function aids in detailed work.
- Undo: Tap with two fingers to undo an action, an essential step in the creative process.
- Redo: Tap with three fingers to redo an action, helping you to manage changes easily.
These simple gestures provide an efficient way for you to polish details and navigate your mistakes.
Using the QuickShape and Paint Bucket Tools
Using Procreate’s QuickShape tool, draw a shape and hold your pencil in place to auto-correct it into a perfect geometric figure. For filling areas with color, drag your color from the top right palette onto the canvas to engage the Paint Bucket tool effect, filling the designated area with your chosen color. Harness these tools to save time and increase the precision of your artistic elements.
5. Effective Layer Management
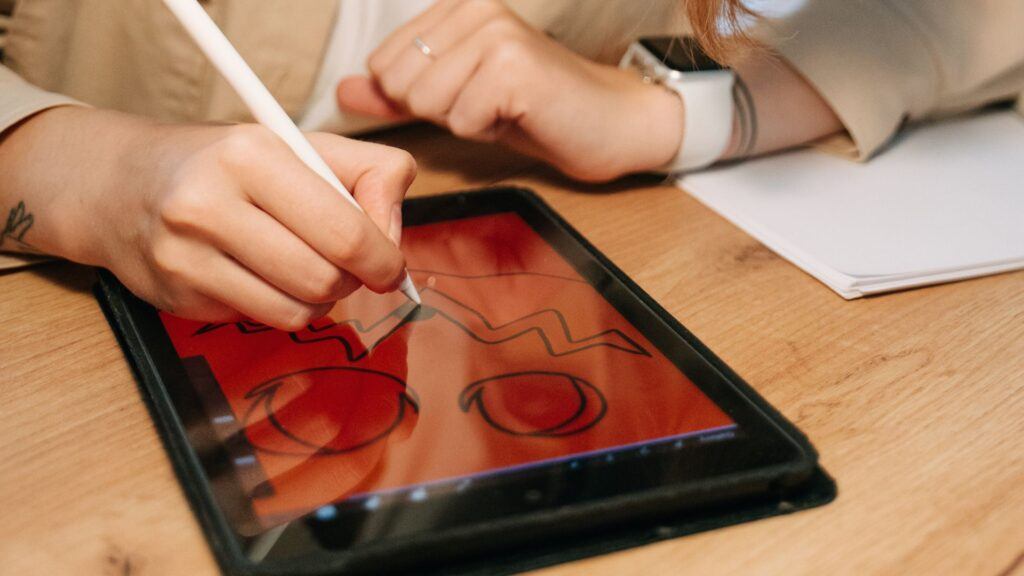
Effective layer management is crucial for making the most of Procreate’s functionality without overwhelming your canvas. Proper use of masks, layer locks, and the understanding of when to merge or flatten can impact your workflow.
The Role of Masks in Layering
Masks are fundamental tools for non-destructive editing, allowing you to hide and reveal parts of your artwork without altering the original layer. Layer masks help you apply these changes with precision; adding a mask to a layer and painting on it in black conceals parts of the layer, while painting in white will reveal them.
The Use of Clipping Masks and Alpha Lock
- Clipping Masks: These allow you to have control over which parts of a layer are visible by clipping it to a layer below. To use a clipping mask, you add a new layer above the one you want to affect and toggle the ‘Clipping Mask’ option.
- Alpha Lock: This feature restricts your painting to the non-transparent parts of a layer. To activate Alpha Lock, tap on your desired layer and select ‘Alpha Lock’ from the pop-up menu.
Using these tools, you can build complex images while maintaining the flexibility to adjust each component without affecting the others.
Merging and Flattening Layers to Simplify
Reducing your layer count is sometimes necessary, as Procreate limits the number of layers based on your canvas size. Merging layers combines two adjacent layers, while flattening turns all visible layers into a single layer. Both actions cannot be undone, so ensure you are satisfied with your artwork before flattening or merging.
See our guide on layers for a full tutorial if you want to learn more.
6. Advanced Drawing Techniques
Mastering advanced techniques in Procreate can dramatically enhance your digital artwork. These tools empower you to create precise and dynamic images, whether you’re drawing architecture, designing characters, or producing intricate patterns.
Working with the Perspective Grid
To create accurate depth in your drawings, the Perspective Grid is essential. When you activate this feature, Procreate allows you to define a set of perspective lines that converge on one or more vanishing points. Here’s how to set it up:
- Go to the Actions Menu (wrench icon) and select Canvas.
- Tap on Drawing Guide and then Edit Drawing Guide.
- Choose the Perspective option to customize your grid.
Now, with Drawing Assist turned on for a layer, your strokes will snap to the grid, ensuring that each line adheres to the chosen perspective.
Experimenting with Blend Modes and Opacity
Blend modes and opacity settings are pivotal in creating texture and depth. Each blend mode alters how layers interact based implicitly on color and luminance values. Here’s a brief guide:
- Access blend modes by tapping the ‘N’ on the layer panel.
- Experiment with different modes like Multiply for shadows or Overlay for highlights to see how they change your image.
Adjust brush opacity to modulate how your strokes affect the underlying colors. You’ll find the opacity slider in the top slider group when a brush is active. Lowering opacity is particularly useful when building up to the full intensity of a color or effect.
Utilizing Symmetry and Drawing Assist Tools
The Symmetry tool, located under the Drawing Guide, offers a way to create perfectly mirrored images. This is useful for character design, mandalas, and patterns. You have options like vertical, horizontal, and radial symmetry. Enable it by:
- Accessing the Drawing Guide settings.
- Choosing the Symmetry option under the guide types.
With Drawing Assist toggled on for a layer, Procreate helps you maintain symmetry or follow the Perspective Grid. This not only saves time but creates a harmonious balance in your compositions. You can also hold a stroke at the end and let Procreate transform it into a straight line, further aiding precision.
7. Optimizing Your Procreate Workflow
To enhance your creative process effectively, it’s crucial to tailor Procreate’s interface and controls to suit your unique workflow.
Customizing the Interface for Efficiency
Your efficiency in Procreate begins with tailoring the interface to your needs. Adjust the QuickMenu to have your most essential tools at your fingertips and customize the toolbar to access your favorite features swiftly. Minimizing on-screen clutter by hiding tools that you use less can help maintain focus on your canvas.
Streamlining Actions with Gesture Controls
Gesture controls in Procreate are powerful for streamlining actions. Assign multi-touch gestures for quick access to frequently used commands like undo (two-finger tap) or redo (three-finger tap). Establish a habit of using QuickShape for perfect geometric shapes by quickly dragging your stylus after sketching a shape.
Procreate Tips and Tricks for Speed
Exploit Procreate’s features to speed up your drawing process. Use ColorDrop to fill areas quickly, and employ Alpha Lock to edit without affecting other layers. Remember, practice makes perfect – the more you use these tricks, the faster and more fluid your workflow will become.
By personalizing Procreate to fit your workflow, utilizing gesture controls for speed, and implementing quick tips, you can make your drawing experience not only smoother but also more enjoyable.
8. Creating Text and Typography
In Procreate, your ability to craft visually compelling text is paramount. You have access to a suite of tools for adding and editing fonts, mastering calligraphy and lettering, and employing design and composition techniques to elevate your artwork.
Adding and Editing Fonts
Your journey into type starts with adding the desired fonts into Procreate. You can import your favorite fonts easily—either by using the drag and drop feature or through Procreate’s import options. Once loaded, tap the wrench icon, select ‘Add’ and choose ‘Add Text’. To modify any text, simply select the text layer you wish to alter and employ precision controls for type design, styling, and attributes, ensuring your typography sits flawlessly within your composition.
- Importing Fonts: Drag and drop or use the import feature
- Editing Text: Select the relevant layer and adjust to your needs
Calligraphy and Lettering with Procreate
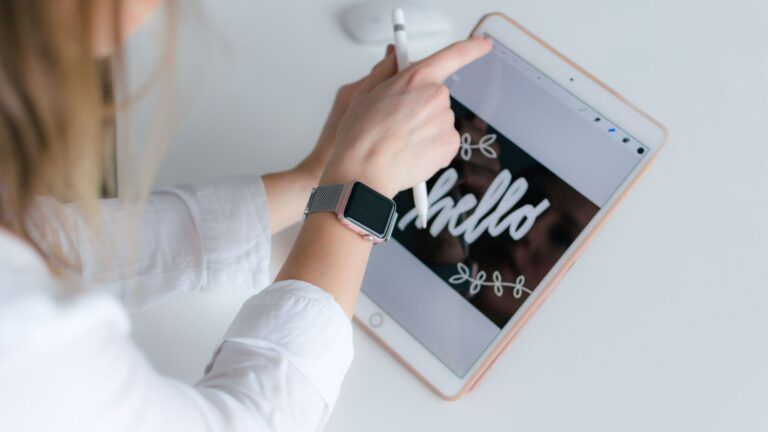
Calligraphy and lettering are the cornerstones of dynamic typography. Begin by selecting a suitable brush for calligraphy, such as the ‘Calligraphy’ or ‘Brush Pen’ options Procreate offers. Experiment with varying pressures and angles with your Apple Pencil to create strokes that range from thin and delicate to bold and expressive. For lettering, use Procreate’s QuickShape tool to perfect your shapes, ensuring crisp and consistent characters every time.
- Select Brushes: ‘Calligraphy’ or ‘Brush Pen’ for varied strokes
- Use QuickShape: For perfect shapes and consistent characters
Design and Composition Techniques
Composition is key in typography. Balance your text aesthetically within the canvas, and employ layering tricks to add depth, such as creating shadows for a 3D effect. Don’t forget about the hierarchy; use different sizes, weights, and colors to guide the viewer’s eye and emphasize important elements. Procreate’s transform tool comes in handy for scaling and rotating text, making sure every piece fits harmoniously.
- Layering for Depth: Add shadows and layer text for a 3D effect
- Hierarchy and Emphasis: Utilize sizes, weights, and colors strategically
- Transform Tool: Scale and rotate text for perfect composition
By combining these techniques, you can achieve typography in Procreate that’s both beautiful and communicative. Remember to play with spacing and alignment for a clean look and to maintain consistency in your design elements to create a cohesive piece.
9. Finishing Touches and Exporting
Before you share your illustration or consider it complete, applying final adjustments and exploring export options can significantly enhance the final quality. These steps ensure your artwork is polished and ready for any desired platform or format.
Applying Final Adjustments
Once your illustration is nearing completion, assess the overall image for any necessary effects or enhancements. Use Adjustments to tweak brightness, contrast, or saturation to make your colors pop. If your artwork feels flat, consider adding shadows or highlights to bring depth and dimension. Each effect should complement the others, ensuring a cohesive and refined end result.
- Brightness/Contrast: Fine-tune these to ensure your artwork looks vibrant on all screens.
- Saturation: Enhance the intensity of colors where necessary.
- Shadows/Highlights: Carefully apply to create depth.
Using the Share and Export Options
When you’re satisfied with your illustration, Procreate’s Share and Export options allow you to save and share your artwork in various file formats. For printing, select the .PSD or .PDF format to maintain quality. For digital sharing, options like JPEG, PNG, or even an animated GIF could be more suitable.
- For Print: Go to Actions > Share > choose .PSD or .PDF.
- For Digital: Go to Actions > Share > choose .JPEG or .PNG.
When exporting, be mindful of your chosen platform’s requirements, as social media might compress images, affecting the quality. Procreate also allows you to export with transparency (using PNG) for designs that need a clean, no-background look. Always double-check your final piece before exporting to ensure all layers and effects are as you intended them.
Check out our full guide for more Export Options on Procreate.
Frequently Asked Questions: Tips for Drawing on Procreate
Frequently Asked Questions
As you dive into Procreate, you’ll encounter a range of features. These FAQs are centered on essential tips and tricks to enhance your drawing experience on the platform.
