Exporting your artwork from Procreate doesn’t have to be a complicated task. Whether you’re an experienced artist or a newcomer to the app, knowing how to efficiently export your files ensures that your creative efforts are preserved in the highest quality. To export from Procreate, start by tapping the wrench icon in the top toolbar to open the Actions panel and then choose the Share tab to select your preferred file format.

The type of file you choose depends on how you plan to use your artwork. For the best resolution, exporting as a PNG file is recommended, especially if you need to preserve details in digital designs. This preserves the full detail of your work. If you’re looking to back up your projects with all the layer information intact, opting for the Procreate format will give you the flexibility to make future edits.
Knowing how to effectively manage and share your creations makes the process smoother and more rewarding. With Procreate’s user-friendly interface, you can ensure that your files are not only saved correctly but also shared in the highest quality, suitable for any platform or purpose.
Understanding the Environment and How to Export from Procreate
When exporting from Procreate, familiarity with its core environment is essential. Key areas include the Procreate Gallery, file types suitable for export, and crucial settings you need to adjust.
Procreate Gallery Overview
The Procreate Gallery is your central hub where all your artworks reside. It provides a visual layout of your projects, allowing you to easily manage and organize your work.
You can create stacks to group similar projects, making navigation more efficient. Use the Gallery to duplicate, delete, and export your files effortlessly. Swipe left on a file for quick options or tap on a file to open it directly for detailed editing.
File Format and Type Introduction
Procreate supports a variety of file formats, catering to different needs.
Common formats include PSD (for compatibility with Photoshop), PNG (for lossless quality and transparency), and JPEG (for standard image quality).
Each format serves different purposes:
- PNG is ideal for high-quality images with transparent backgrounds.
- JPEG is efficient for web use due to its smaller file size.
- PSD retains layers for further editing in Photoshop.
Select the format that aligns with your end-use to ensure the best quality.
Settings and Preferences for Export
Before exporting, you should review several key settings in Procreate to ensure optimal output quality. These settings are tailored under the Actions Panel:
- Canvas Dimensions: Define width, height, and DPI.
- Color Profile: Choose between RGB (for digital use) or CMYK (for print).
- Time-lapse Settings: Option to include a time-lapse video of your work process, configurable for full-length or shorter highlights.
Adjust these settings in the Share tab of the Actions Panel to match your specific requirements. Fine-tuning these parameters contributes significantly to the final output’s quality and suitability for your intended use.
Preparing Artwork for Export
Before exporting artwork from Procreate, managing layers effectively, ensuring high resolution, and setting up transparent backgrounds are crucial steps to achieve the desired quality. Properly following these steps will help you export professional-grade images.
Layer Management for Exporting
Managing layers is essential for maintaining the integrity of your artwork. Begin by organizing your layers into groups if necessary, which can simplify the export process. Be sure to flatten non-essential layers to reduce file size and avoid unnecessary complexity.
- Ensure each crucial element remains on a separate layer.
- Group related layers to streamline the workflow.
- Flatten layers that do not require further editing.
Efficient layer management can significantly enhance the quality and efficiency of your exports.
Ensuring Quality and Resolution
High-quality exports depend on the initial setup of your canvas. Start with a high DPI (dots per inch), typically 300 DPI, which ensures clarity in print and digital formats. Check your canvas dimensions under the Dimensions tab and adjust them to meet your project’s requirements.
- Set your canvas to 300 DPI for high-resolution output.
- Adjust canvas dimensions to the appropriate size for your project.
- Regularly check resolution settings before adding intricate details.
Maintaining high resolution and proper size from the beginning ensures that your exported artwork meets professional standards.
Setting Up Transparent Backgrounds
Transparent backgrounds are vital for certain uses, such as logos or web graphics. To create a transparent background in Procreate, follow these steps:
- Open your artwork and turn off the background layer by unchecking the visibility box.
- Ensure that no other layers cover the transparent areas.
- Export in a format that supports transparency, like PNG.
This process preserves the transparency of your artwork, making it suitable for diverse applications.
Export Options in Procreate
Understanding how to export your artwork from Procreate efficiently allows you to share your work in high quality or preserve essential elements like layers and time-lapse videos. This section covers the key options available for exporting single images, multiple layers, and time-lapse videos from Procreate.
Exporting Single Images
To export a single image, open the Actions Panel by clicking the wrench icon in the top toolbar. Navigate to the Share tab, which displays a range of formats to choose from.
Procreate offers various export formats such as PNG, JPEG, TIFF, and PDF. Each format serves different purposes. PNG is ideal for high-quality images with transparency, while JPEG is commonly used for smaller file sizes. TIFF retains high image quality and is suitable for professional printing. PDF can be useful for sharing a document version of your artwork. Select your preferred file format and ensure your canvas resolution is set correctly in the Dimensions tab to maintain high quality.
Exporting Multiple Layers
Exporting multiple layers from Procreate allows flexibility for further edits in other software. Begin by opening the Actions Panel and selecting the Share tab. Choose the PSD format to export your file with layers intact.
PSD files are compatible with Adobe Photoshop and other image editing software, which makes them versatile for post-editing. If you prefer to back up the file for future editing in Procreate, you can export in the native .procreate format. This maintains all layer information, blend modes, and other settings unique to Procreate. Simply select the desired format and destination for your file.
Exporting Time-lapse Videos
Procreate automatically records your drawing process, making it easy to export time-lapse videos that showcase your artistic progression. Access the Actions Panel, then go to the Video tab.
You have options for Full Length or 30-second compressed versions of your time-lapse. Select the preferred option and format, typically MP4 or HEVC for high-quality video export. MP4 is broadly compatible and can be easily shared on social media. HEVC offers high efficiency for saving storage space without sacrificing quality. Make your selection and save or share your time-lapse video directly from Procreate.
Sharing and Saving Exported Files
When exporting your artwork from Procreate, you have several options for sharing and saving the files. Depending on your needs, you can quickly share your work using AirDrop, save it directly to your iPad or iCloud, or even transfer it to a Mac or PC.
Using AirDrop to Share
AirDrop is an excellent way to instantly share your Procreate files with nearby Apple devices.
First, ensure that both Wi-Fi and Bluetooth are enabled on your iPad and the receiving device. Open your artwork in Procreate, tap the wrench icon to open the Actions panel, and select the Share option. Next, choose the file format you prefer, such as JPEG or PNG, and tap AirDrop. Select the device you want to share with, and the transfer will begin. This method is quick and does not require any cables.
Saving to iPad or iCloud
Saving your Procreate files locally or to iCloud is straightforward.
In the Actions panel, tap the Share tab and select your desired file format. For saving directly to your iPad, choose the “Save Image” option. This saves the file to your Photos app. Alternatively, to store your art in iCloud, choose “Save to Files” and navigate to your iCloud Drive folder. This ensures your work is backed up and easily accessible from any device connected to your iCloud account.
Transferring to a Mac or PC
Transferring files to a Mac or PC offers more flexibility for further editing or backup.
For Mac users, you can quickly send files using AirDrop, as described earlier. If you’re using a PC, connect your iPad to the computer using a USB cable. Open iTunes and select your device. Navigate to the File Sharing section and find Procreate in the list of apps. From there, you can drag and drop your files to the desired location on your PC. You can also use cloud storage services like Google Drive or Dropbox to transfer files, uploading them from your iPad and then downloading them on your computer.
Alternative Export Methods
Exploring alternative export methods in Procreate can enhance your workflow, whether you need high-quality prints, animations, or reliable backups. Each method retains the integrity of your artwork while offering versatility for different uses.
Exporting for Print Purposes
For high-quality prints, consider exporting your artwork as a PNG or TIFF file to preserve detail and color accuracy. First, click on the wrench icon and select Share. Then, choose the file format best suited for printing.
Benefits:
- High Resolution: PNG and TIFF formats support high resolutions and maintain image clarity.
- Color Preservation: These formats preserve your artwork’s colors accurately.
- Transparency: PNG supports transparent backgrounds, useful for overlay effects.
Ensure that your artwork is set to the desired print dimensions before exporting to avoid resizing issues.
Exporting as Animation or GIF
Procreate also supports exporting animations and GIFs. To export an animated project, navigate to the wrench icon, select Share, and then choose Animated GIF.
Steps to Follow:
- Adjust Settings: You can set the frames per second (FPS) to control the animation speed.
- Transparency Options: Select whether the animation should have a transparent background.
- Preview and Export: Preview the animation and then export it to your preferred destination.
Animated GIFs are excellent for sharing quick, lightweight animations on social media or websites.
Backing Up Procreate Artwork
Regularly backing up your Procreate files ensures you don’t lose valuable work. You can export your files in the native .procreate format to retain all layers and settings.
Steps for Backup:
- Access Actions Panel: Click on the wrench icon and go to Share.
- Select Procreate Format: Choose the .procreate file format for backup.
- Save Location: Save to a cloud service like Google Drive for easy access and added security.
Backing up in the .procreate format keeps your projects fully editable, allowing you to revisit and modify them later without losing any work.
Using these alternative export methods ensures that your artwork is versatile and secure, ready for any intended use.
Troubleshooting Common Export Issues
When exporting from Procreate, artists often encounter issues such as export failures, format compatibility problems, and layer limits. Here’s how to address these common challenges effectively.
Handling Export Failures
Export failures can disrupt your workflow. Ensure your canvas size and DPI are set correctly before starting your project. If your artwork becomes pixelated, resizing it afterwards won’t help.
Check if you’re using the latest version of Procreate. Bugs in outdated versions can lead to export issues. Also, verify that your device has enough storage space, as large files can cause export failures.
Steps to update Procreate:
- Open the App Store.
- Search for Procreate.
- Tap “Update” if an update is available.
Restarting your device and Procreate can also resolve temporary issues.
Resolving Format Compatibility Queries
Choosing the correct file format is crucial for maintaining the quality and usability of exported images.
Commonly used formats:
- PNG: Ideal for web use, supports transparency.
- JPEG: Good for smaller file sizes, not lossless.
- TIFF: Retains image quality and layers, useful for printing.
- PSD: Use this if you’re working with Adobe® Photoshop®.
Before exporting, decide where and how the image will be used. Use JPEG for web images and TIFF or PSD for high-quality prints or further editing.
To export in your chosen format, tap on the wrench icon, select “Share,” and then pick your preferred format.
Addressing Layer Limit Concerns
Layer limits depend on your canvas size and the capabilities of your device. Large canvases with high DPI can restrict the number of layers you can use.
To manage layer limits:
- Reduce your canvas dimensions.
- Lower the DPI if a high resolution isn’t necessary.
- Merge layers carefully to avoid loss of editable elements.
Use the “Layer” menu to merge layers:
- Tap the layer you wish to merge.
- Select “Merge Down” to combine it with the layer below.
Maintaining a balance between quality and layer count ensures smooth progress without hitting Procreate’s layer limit constraints. Adjust your approach based on the project’s needs.
Optimizing Workflow and Efficiency
To streamline your Procreate export process, focus on creating export presets, utilizing shortcuts, and organizing files for quick access.
Creating Export Presets
Setting up export presets can significantly save time. Start by determining your most frequently used export formats—such as PNG, JPEG, or PSD. Navigate to the Actions menu and select Share.
Choose the desired format, then configure the export settings like image dimensions, resolution, and color profile.
After optimizing these settings, save them as a preset for future use. This ensures consistent quality and reduces the number of steps each time you export your artwork.
Utilizing Shortcuts for Faster Export
Shortcuts can expedite the export process. In Procreate, you can create custom shortcuts for commands you use often. Go to Settings, and under Gesture Controls, assign shortcuts to functions like exporting or sharing your artwork.
This allows you to execute complex tasks quickly. For example, assign three-finger swipes to initiate the export to a preferred format. With practice, these shortcuts will become second nature, improving your workflow.
Organizing Files for Quick Access
Efficient file organization helps you locate and manage your Procreate exports easily. Create a structured folder system within your Procreate Gallery.
Label folders based on projects, dates, or clients for quick visibility. Use clear and consistent naming conventions, which can include the export date or project type. This can aid in locating and sharing specific files without delay.
Additionally, utilize cloud storage options to keep your files accessible from any device, ensuring you can share and export your artwork as needed, regardless of location.
A Beginner’s Guide to Procreate
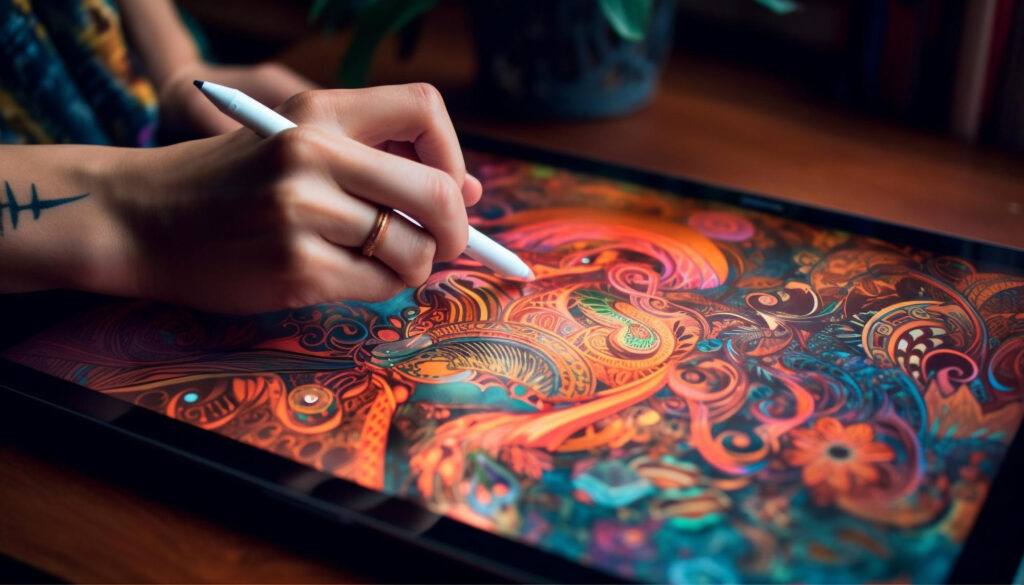
Our Beginner’s Guide to Procreate is the ultimate resource to kickstart your digital art journey. It covers everything from the basics of navigating the app to advanced techniques for creating stunning artwork so that you can not only get off to a strong start but gain confidence quickly. Dive in and unleash your creativity with Procreate!
Frequently Asked Questions
This section addresses common concerns and provides straightforward solutions for How to Export from Procreate efficiently and effectively.
