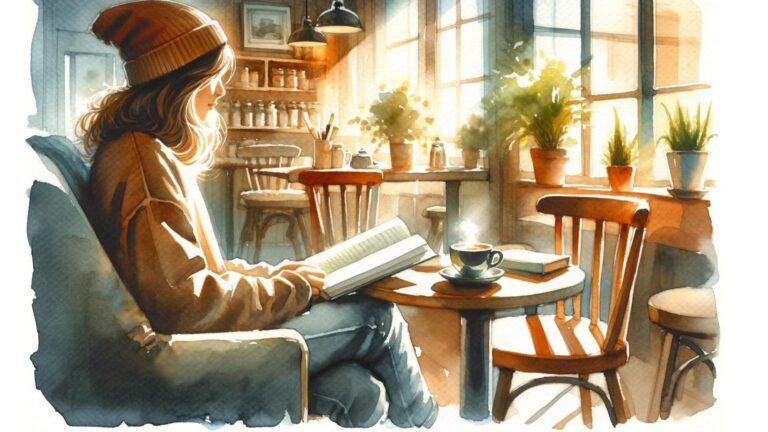
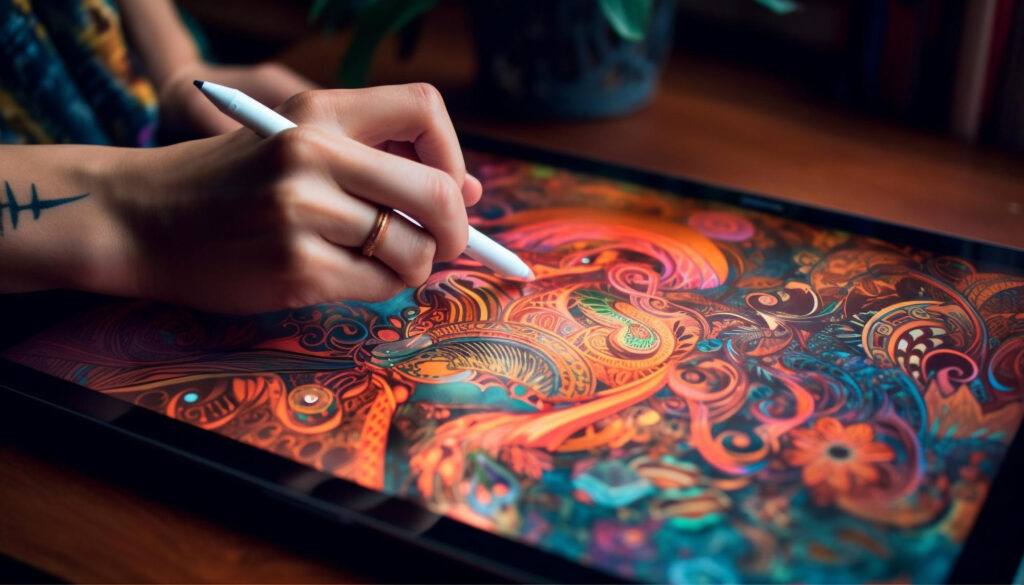
Procreate is a great tool for digital artists who want to try watercolor painting. With its many brushes and features, you can create beautiful artwork that looks like real watercolors. You can make amazing Procreate watercolor drawings on your iPad without the mess of real paint and paper.

Want to get started with watercolor in Procreate? There are lots of fun ideas you can try. From landscapes to portraits to abstract designs, the options are endless. Let’s look at 10 cool watercolor drawings you can make in Procreate to spark your creativity and improve your skills.
1) Dreamy Cherry Blossoms

Cherry blossoms are a perfect subject for your next Procreate watercolor piece. Their delicate petals and soft colors make for a dreamy, ethereal artwork.
Start by sketching a few branches with light pencil strokes. Don’t worry about making them perfect – nature isn’t perfect either!
Next, use a light pink watercolor brush to add the base color for your blossoms. Build up the color gradually, leaving some white spaces for highlights.
Add depth to your flowers with darker pink tones. Dab these colors gently around the edges of the petals and where they meet the branches.
For the branches, use a thin brush with brown and gray tones. Paint them with quick, light strokes to keep that loose, watercolor feel.
Finish up by adding some falling petals. Use your pink brush to create small, irregular shapes floating around your main branches.
Remember, the key to a dreamy cherry blossom piece is to keep things soft and loose. Don’t aim for photorealism – let the watercolors do their magic!
2) Whimsical Beach Waves

Ready to make a splash with your digital art? Try creating whimsical beach waves in Procreate! This fun project lets you play with colors and shapes to bring the ocean to life.
Start by picking a soothing blue palette for your background. Think of the sky meeting the sea on a sunny day. Next, use wavy brush strokes to form the basic shape of your waves.
Add some white foam at the wave crests for extra realism. Don’t worry about making it perfect – a bit of messiness adds to the charm! You can also throw in some seashells or starfish for a playful touch.
Want to add some magic? Try putting a mermaid tail peeking out from behind a wave. Or maybe a group of colorful fish swimming by. Let your imagination run wild!
Remember to play with different brush textures in Procreate. Experiment with opacity levels to create depth in your waves. This will make your artwork look more dynamic and interesting.
With a bit of practice, you’ll be creating dreamy beach scenes in no time. So grab your iPad and dive into the world of digital watercolor waves!
3) Rustic Autumn Leaves

Autumn leaves make for a perfect watercolor subject in Procreate. You can capture their warm, rich colors and delicate textures with ease.
Start by sketching the outline of a leaf. Choose colors like deep reds, oranges, and browns for a rustic feel. Use a watercolor brush to apply light washes of color.
Build up layers gradually. Add darker shades along the edges and veins of the leaf. This creates depth and makes your painting more realistic.
Try painting a few leaves scattered on a simple background. You can add some splatters or dry brush strokes to mimic fallen leaves.
Experiment with different leaf shapes. Oak, maple, and birch leaves all have unique forms that are fun to paint.
Don’t forget to add small details like leaf stems or curled edges. These touches make your artwork more interesting.
Practice blending colors to create smooth transitions. This technique is great for showing how leaves change color in fall.
Remember, imperfections add charm to watercolor paintings. Embrace any unexpected results as you create your rustic autumn leaves.
4) Magical Fairy Lights

Imagine a dark forest scene lit up by tiny, glowing fairy lights. You can create this enchanting image using Procreate’s watercolor brushes. Start with a deep blue or purple background to set the nighttime mood.
Add trees and bushes using darker shades. Then comes the fun part – the fairy lights! Use small, round brush strokes in yellow, white, and pale orange to create the glow. Vary the size and opacity of each light for a more natural look.
Don’t forget to add some sparkle! Use a fine brush to draw delicate lines coming from each light. This gives the impression of magic in the air.
For extra charm, you could include a silhouette of a fairy or two. Place them near the lights, as if they’re tending to their magical garden.
Remember to play with layers in Procreate. Put the lights on a separate layer above the background. This lets you adjust their brightness and color without affecting the rest of your drawing.
5) Serene Mountain Scenery

Want to create a peaceful mountain scene? Grab your iPad and open Procreate. Start with a light blue wash for the sky. Use gentle strokes to blend colors smoothly.
Add distant mountains using cool gray tones. Layer lighter shades on top to create depth. Don’t forget to leave some white spaces for snowy peaks.
For the closer mountains, mix greens and browns. Use a dry brush technique to add texture and details. This will make your mountains look more realistic.
Paint a tranquil lake at the base of the mountains. Reflect the scenery in the water using soft, watery strokes. Add some trees along the shoreline for extra interest.
Finish with small details like rocks or wildflowers in the foreground. These touches will bring your serene mountain landscape to life. Remember to keep your color palette harmonious for a calming effect.
With practice, you’ll soon master creating beautiful mountain scenes in Procreate. Have fun exploring different brush textures and color combinations!
6) Vintage Floral Patterns

Ready to add some old-world charm to your digital art? Vintage floral patterns in Procreate are a great way to do it. You can create beautiful, timeless designs that look like they came straight from a Victorian-era garden.
Start by picking muted, earthy colors for your palette. Think soft pinks, dusty blues, and warm yellows. These colors will give your flowers that aged, vintage look.
Next, choose brushes that mimic ink or engraving styles. Procreate has some great options that can help you get that classic, etched appearance.
When drawing your flowers, go for classic blooms like roses, peonies, or daisies. Add some leaves and stems to fill out your design. Remember, vintage patterns often have a repeating element, so try to create a motif you can use over and over.
Don’t forget about texture! Adding a paper texture overlay can really sell that vintage vibe. Procreate has some great paper textures built-in, or you can import your own.
With a little practice, you’ll be creating stunning vintage floral patterns in no time. They’re perfect for everything from digital scrapbooking to custom wallpapers.
7) Enchanted Forest Path

Want to create a magical scene in Procreate? Try painting an enchanted forest path. This dreamy subject lets you play with light, shadows, and vibrant colors.
Start by sketching a winding path through tall trees. Add glowing fireflies or floating lights to give it a magical feel. Use soft watercolor brushes to blend greens and blues for the forest background.
For the path, try warm yellows and oranges to make it glow. Add some misty effects with a light touch of white or pale blue. Don’t forget to include some mysterious elements like mushrooms or hidden creatures.
Layer your colors to create depth. Start with light washes and build up to darker tones. This technique helps capture the enchanted atmosphere.
Experiment with different brush textures for tree bark, leaves, and grass. Mix in some sparkle brushes for extra magic. You can even add a character walking the path to tell a story.
Remember, there’s no right or wrong way to create your enchanted forest. Let your imagination guide you and have fun with it!
8) Mystical Galaxy Swirls

Want to paint the cosmos on your iPad? Try creating mystical galaxy swirls in Procreate. This fun project lets you play with vibrant colors and dreamy textures.
Start by picking a dark background color like deep blue or black. Then choose some bright purples, pinks, and blues for your galaxy.
Use a soft brush to make swirling shapes across your canvas. Blend the colors together gently to create a misty effect. Don’t worry about being too precise – galaxies are meant to look a bit messy!
Add some stars by using a small round brush with white paint. Tap it all over to create tiny dots. You can also make larger, glowing stars by using the light pen tool.
For extra magic, try adding some cosmic dust. Use a sparkle brush or sprinkle in some gold flecks. This will make your galaxy really shine.
Remember, there’s no wrong way to paint a galaxy. Let your imagination run wild and have fun with it!
9) Cozy Winter Cabin

Want to create a warm and inviting scene? Try painting a cozy winter cabin in Procreate. This project lets you play with soft, snowy textures and warm, glowing lights.
Start by sketching the basic shape of your cabin. Add details like windows, a chimney, and a snow-covered roof. Don’t forget to include some trees in the background for that forest feel.
Next, use watercolor brushes to add color. Pick a muted palette with lots of blues and whites for the snowy landscape. Add pops of warm yellow for the cabin’s windows to create a cozy glow.
For the snow, experiment with different brush textures. Try layering light washes to build up depth and dimension. Add some sparkle with tiny white dots for falling snowflakes.
Finish your piece by adding final touches like smoke from the chimney or footprints in the snow. These small details can really bring your winter cabin scene to life.
10) Ethereal Sunset Silhouette

Create a dreamy sunset scene with a silhouette in the foreground using Procreate’s watercolor brushes. Start by painting the sky in soft oranges, pinks, and purples. Blend the colors gently to mimic the gradual shift of hues in a real sunset.
Add some wispy clouds using a light touch with a textured brush. This will give your sky more depth and interest. For the silhouette, choose a simple shape like a tree, person, or animal.
Use a solid black brush to create the silhouette. Make sure its edges are crisp and clean against the colorful background. You can add small details to the silhouette to make it more interesting.
Play with the opacity of your watercolor layers to create a sense of light and atmosphere. Experiment with different brush settings to achieve various textures and effects in your sunset sky.
This project is perfect for practicing color blending and creating mood in your digital artwork. It’s also a great way to explore Procreate’s watercolor brushes and learn how to use them effectively.
Mastering Basic Watercolor Techniques
Learning to control water and layer colors are key skills for watercolor painting in Procreate. These techniques help create depth and texture in your digital artwork.
Check out the guidelines below or see our full tutorial Procreate Watercolor Tutorial.
Understanding Water Control
Water control is crucial in Procreate watercolor. Adjust brush wetness to change how paint spreads. Lower wetness for sharper edges, higher for softer blends. Try different brush sizes to see how water behaves.
Play with opacity settings. Lower opacity makes lighter, more transparent strokes. This mimics watery washes in traditional watercolor.
Experiment with brush pressure too. Light touches create delicate effects, while firmer strokes lay down more color. Practice these variations to master water control in your digital paintings.
Layering Colors Effectively
Layering brings life to your Procreate watercolors. Start with light colors and build up to darker shades. This creates depth and richness in your artwork.
Use separate layers for different color groups. This lets you adjust each layer without affecting others. Try blending modes like Multiply or Overlay for interesting color mixes.
Don’t rush – let each layer dry before adding the next. This prevents unwanted blending and keeps colors crisp. Use the Alpha Lock feature to paint within shapes without going over the edges.
Remember, less is often more with watercolor. Build up thin layers slowly for a natural look.
Tools and Materials
To create watercolor art in Procreate, you’ll need the right digital tools and settings. These will help you make realistic-looking paintings on your iPad.
Choosing the Right Brushes
Pick brushes that mimic real watercolor effects. Look for ones with textures and wet edges. Try different opacity levels to get light or dark colors. Use a mix of brushes for various effects:
• Round brushes for general painting • Flat brushes for washes • Splatter brushes for texture
Adjust brush settings like wetness and flow. This helps control how the paint spreads. Test out brushes to find what works best for you. Don’t be afraid to make your own custom brushes too.
Selecting Watercolor Paper
Choose a paper texture that looks like real watercolor paper. Procreate has built-in paper textures you can use. Or you can import your own textures.
Pick a texture with some grain to it. This helps the paint look more natural. You can adjust how strong the texture shows through your paint.
Try different colors of paper. White is common, but cream or light gray can be nice too. Make sure your canvas size is big enough for your project.
Remember to save your favorite paper settings. This way you can use them again for future paintings.
Beginners Guide to Procreate
Our Beginner’s Guide to Procreate is the ultimate resource to kickstart your digital art journey. It covers everything from the basics of navigating the app to advanced techniques for creating stunning artwork so that you can not only get off to a strong start but gain confidence quickly. Dive in and unleash your creativity with Procreate!