Creating a mandala in Procreate might seem intimidating, but you’ll find it surprisingly simple with the right guidance. Start by enabling the Symmetry Drawing Guide in Procreate, which helps you draw one segment and mirrors it across the canvas. This method ensures that your mandala is perfectly symmetrical without much effort.
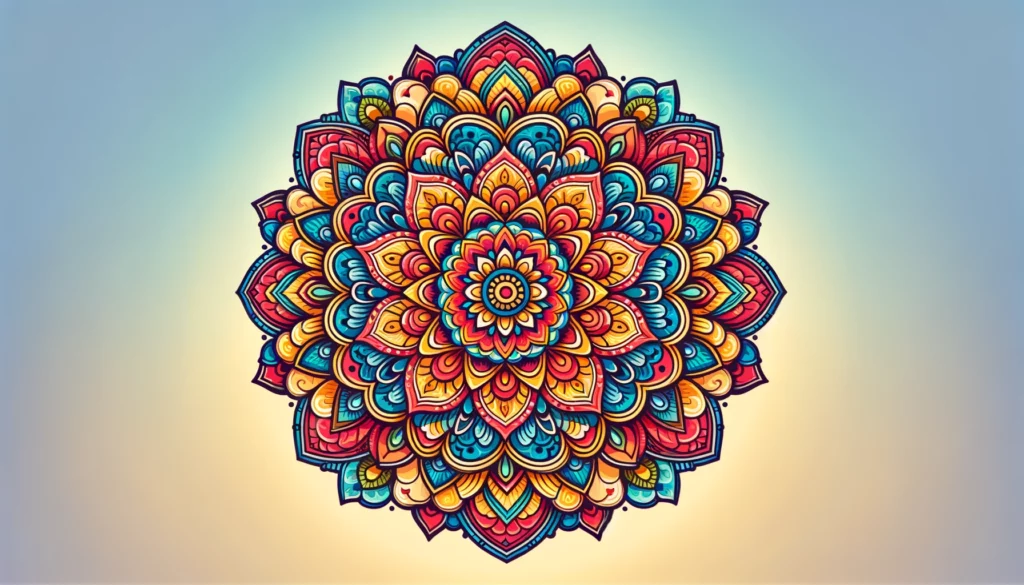
Once the Symmetry Guide is set up, choose the Radial Symmetry option for an even more stunning design. With your symmetry guide active, every line you draw will be replicated across multiple segments, giving you that intricate, detailed look of a traditional mandala.
By the end of this tutorial on How To Draw a Mandala in Procreate, you’ll have a beautiful mandala that showcases your creativity. Dive in to learn the step-by-step process and unlock your artistic potential with ease.
Understanding Mandalas
Mandalas are intricate, circular designs often used in spiritual practices. Originating from ancient cultures, they represent the universe and are tools for meditation.
When drawing a mandala, you create a balance of visual elements symbolizing harmony and unity. These designs usually feature repetitive patterns, enhancing their symmetrical beauty.
Mandalas can be simple or complex. Whether filled with geometrical shapes, floral elements, or abstract patterns, their essence lies in symmetry.
In Procreate, you can leverage technology to simplify the creation process. Using tools such as the Symmetry Guide ensures that each segment mirrors the others perfectly, saving you time while maintaining precision.
Experimenting with different styles and patterns can make each mandala unique. Whether for relaxation, decoration, or spiritual purposes, mandalas offer a creative and fulfilling artistic outlet.
Explore various color palettes to enhance your designs. Bright and vivid colors can make your mandala pop, while muted tones can create a more calming effect.
Drawing mandalas in Procreate combines traditional artistry with digital convenience, enabling you to create intricate designs with ease.
Essential Tools and Setup
Drawing a mandala in Procreate requires the right tools and a proper setup to ensure a smooth and enjoyable experience. This section will guide you through selecting the appropriate iPad, installing the Procreate app, understanding the Procreate interface, and setting up your canvas.
Choosing the Right iPad
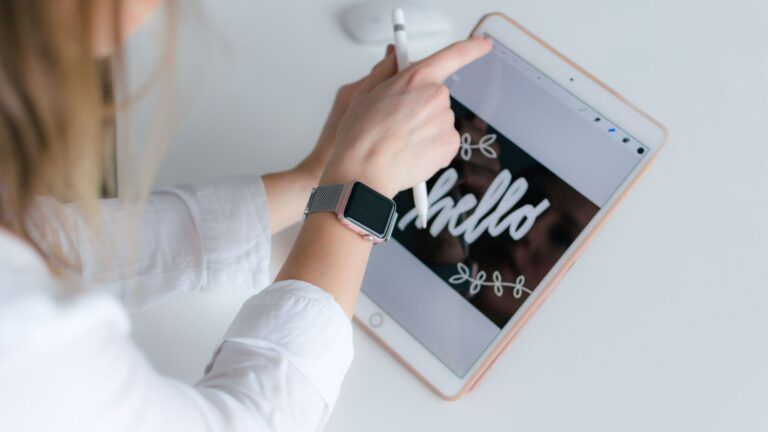
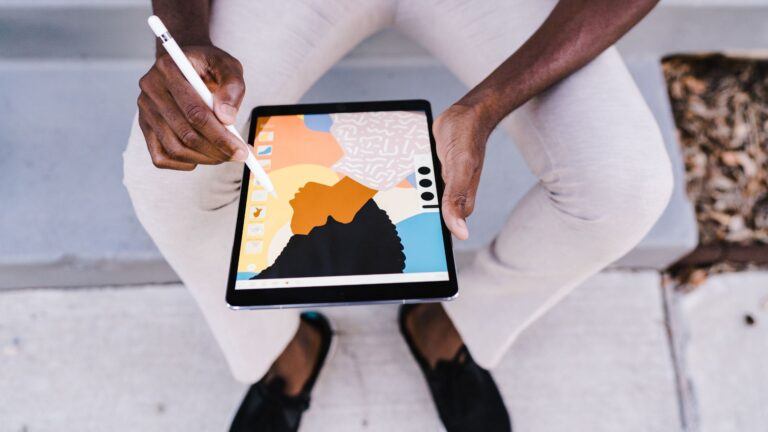
To get the best experience, you should use an iPad that supports the Apple Pencil. Models such as the iPad Pro, iPad Air (3rd generation onwards), and iPad mini (5th generation) are ideal. These devices offer fine-tuned pressure sensitivity and low latency, which are vital for detailed work like drawing a mandala.
You also want a device with a powerful processor and ample storage. At least 64GB of storage is recommended to handle multiple Procreate files efficiently.
Installing Procreate App
Begin by accessing the App Store on your iPad. Search for “Procreate” and purchase the app (usually around $9.99 USD). Once installed, open Procreate and grant it the necessary permissions for full functionality. Procreate is an industry-standard digital illustration app, known for its user-friendly design and robust feature set.
Make sure to keep your app updated to benefit from the latest features and improvements.
Understanding Procreate Interface
The Procreate interface is designed to be intuitive. Familiarize yourself with the toolbar at the top, which includes essential functions such as undo/redo, brush selection, and eraser. On the left, the tool sidebar provides quick access to frequently used features like brush size and opacity. The gallery allows you to organize your artwork and create new canvases.
Explore the layers menu, which is crucial for building complex illustrations. Mastering these basics will help streamline your workflow.
Setting Up Your Canvas
Start by tapping the “+” icon in the gallery to create a new canvas. For mandala art, a square canvas (e.g., 2048 x 2048 pixels) is recommended to ensure symmetry. Use high resolution to allow for intricate details.
Enable radial symmetry by going to Actions > Canvas > Drawing Guide > Edit Drawing Guide. Choose the Symmetry option and select Radial. Now, anything you draw will be mirrored across all sections, perfectly suited for mandalas. Adjust the settings to match your preferences and start creating.
Basic Shapes and Symmetry
Designing a mandala in Procreate involves creating basic shapes and using the symmetry tool to ensure a balanced and aesthetically pleasing design. Accurate positioning of elements is also crucial to maintain the intricate patterns characteristic of mandalas.
Creating Basic Shapes
Start with a circular shape at the center of your canvas. Use the ellipse tool to draw a perfect circle. This central circle serves as the foundation.
From here, add simple geometric shapes like triangles, squares, and petals. These basic shapes form the repeated patterns seen in a mandala. Procreate’s shape tool can help you achieve precise shapes.
Maintain balance by distributing shapes evenly around the circle. This creates a harmonious design that is both symmetrical and visually appealing.
Using Symmetry Tool
Procreate’s symmetry tool is vital for creating mandalas. Activate the symmetry guide through the Actions Panel (wrench icon) then tap on Canvas and toggle the Drawing Guide.
Select Symmetry, then choose Radial or Quadrant symmetry. Radial symmetry divides the canvas into multiple segments that mirror each other as you draw, perfect for intricate mandalas.
Make sure “Drawing Assist” is enabled. This ensures that every stroke you make in one section is mirrored in the others, maintaining symmetry effortlessly.
Positioning Elements Accurately
Accurate positioning of elements ensures your mandala’s final look is balanced. Use Procreate’s grid and snapping tools for precision.
Activate the Snapping option through the Modify Panel, which helps align shapes and patterns accurately. This reduces the chance of misalignment.
Utilize layers to separate different elements of your design. This not only helps in managing your project easily but also allows for more precise adjustments and refinements.
Make minor adjustments frequently to keep every segment aligned. This ensures that your mandala maintains its intended symmetry and balance.
Designing The Mandala
When designing a mandala in Procreate, focusing on layer organization, pattern creation, and texture application is crucial. Each element should be balanced to achieve a harmonious and visually appealing design.
Adding Detail Layers
Begin by setting up multiple layers in Procreate. This helps you manage different parts of your mandala separately. Use the Drawing Guides feature to maintain symmetry.
Access this by tapping the wrench icon, selecting “Canvas,” and enabling “Drawing Guide.” Choose the Symmetry option. This ensures all shapes and lines are perfectly mirrored.
Detail layers can include intricate shapes, dots, and lines. Use a mix of different line weights and brush sizes to add depth. Remember, the beauty of mandalas lies in their complexity.
Exploring Mandala Patterns
Patterns are the heart of a mandala. Start with a central shape, such as a circle or hexagon. Gradually build outwards with repeating elements.
For inspiration, look at traditional geometric patterns. Incorporate repeating motifs like lotus petals, stars, or spirals.
Experiment with spacing and size to create variety. Use the radial symmetry tool to ensure consistency. Playing with different pattern styles can create a visually dynamic piece that captures attention.
Incorporating Textures and Brushes
Textures add a nuanced touch to your mandala. Procreate offers a range of brushes that simulate different textures like watercolors, ink, or chalk.
Switching brushes gives your mandala a mixed-media feel. Try using textured brushes for background layers and finer, smooth brushes for detail work.
Adjust the brush opacity to layer textures on top of each other. This technique can create a rich, tactile impression. Combining textures keeps your mandala interesting and visually complex.
How to Draw a Mandala in Procreate: Coloring Techniques
Exploring various coloring techniques is essential for bringing your mandala drawing to life. Attention to detail in choosing a color palette, applying base colors, and adding shading and highlights will enhance the final artwork.
Choosing a Color Palette
Selecting a color palette helps set the tone of your mandala. Opt for a harmonious scheme by choosing analogous or complementary colors. Analogous colors, which are next to each other on the color wheel, create a cohesive look. Complementary colors, opposite each other, add contrast and excitement.
Experiment with different palettes using Procreate’s color harmony tools. These tools suggest color combinations that work well together. You can access them by selecting the color disc and tapping the “Harmony” tab.
Creating a custom palette is also a good idea. Tap the color panel, choose “Palettes,” and then “Create new palette.” Add colors manually to keep them consistent throughout the artwork.
Applying Base Colors
Start by filling large areas of your mandala with base colors. Use the Color Drop feature: drag a color from the color panel and drop it onto a closed area. This technique quickly fills sections.
Layer your color: create a new layer for each section. It helps in adjusting colors without affecting other parts of the design.
Use the Alpha Lock feature to keep colors within specific regions. Activate Alpha Lock by swiping right on the layer or tapping the layer and selecting “Alpha Lock.” This ensures precision during filling and prevents colors from spilling out.
Shading and Highlights
Adding shading and highlights gives your mandala depth and dimension. Employ the Airbrush tool for smooth transitions. Adjust the opacity and size to gradient shading effectively.
For highlights, select a lighter version of your base color. Use the Soft Brush with low opacity for subtle highlights. Place these strategically to simulate a light source.
Shading can be applied using darker tones. Utilize the Selection tool to isolate areas and apply shading without overlapping into other sections. Experiment with blending modes like Multiply or Overlay for more realistic effects.
Finish by refining edges with the Eraser tool set to a soft brush, ensuring clean transitions between colors and shading layers.
Finishing Touches
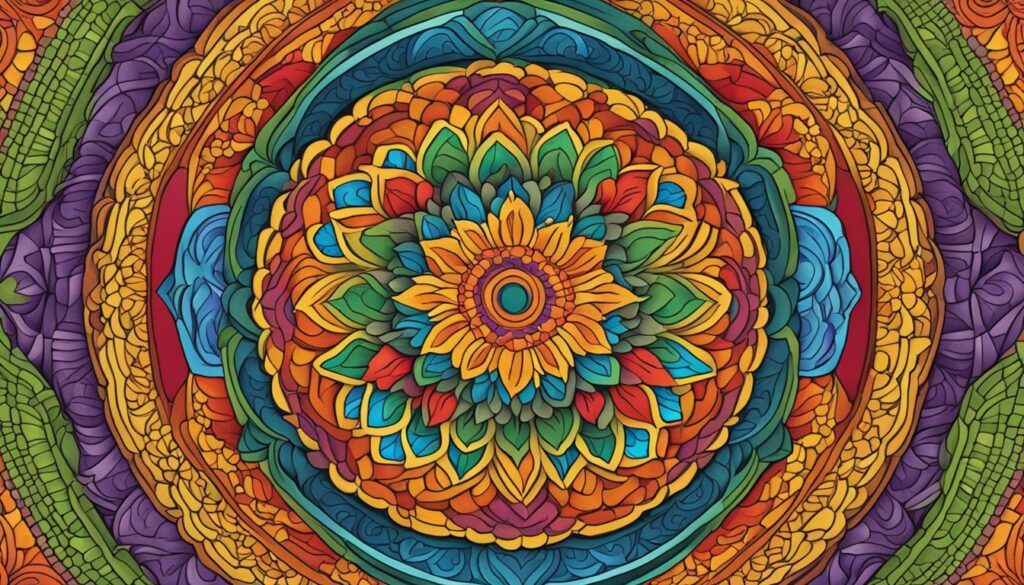
Once your mandala design is complete, focus on refining edges, adding an appropriate background, and preparing to export your final piece.
Refining Edges
Carefully zoom in on your design to spot any areas requiring touch-ups. Use the Eraser tool in Procreate to smooth out jagged lines and refine details.
For cleaner edges, utilize the QuickShape feature that allows for perfect circles and straight lines.
Ensure symmetry by continually checking the overall balance of your design, and use the Symmetry Tool to correct any imbalance. Adjust Stroke Width and Opacity to maintain consistency across the mandala.
Adding Background
Select a background that complements your mandala without overpowering it. To do this, open the Layers panel and create a new layer beneath your mandala.
Experiment with solid colors, gradients, or subtle patterns. Use Procreate’s Color Picker to match or contrast the colors in your design effectively.
Consider adjusting the Opacity of your background layer to ensure it supports rather than detracts from your mandala. A soft, neutral background can often bring out the intricate details of your artwork.
Exporting the Final Piece
Save your work in a format that preserves the quality of your design. Procreate offers several options such as PNG, JPEG, and PSD.
Go to the Actions menu, tap on Share, and select your desired file type. For most uses, PNG is ideal due to its lossless compression.
Ensure that the resolution is suitable for your intended use, whether it’s for digital sharing or printing. Adjust the DPI (dots per inch) settings to ensure high print quality. Backup your file in Procreate format to keep layers intact for future edits.
Frequently Asked Questions
Creating mandalas in Procreate involves setting up your canvas, using symmetry tools, finding the right brushes, and following tutorials to improve your skills. Below are answers to common questions about drawing mandalas in Procreate.

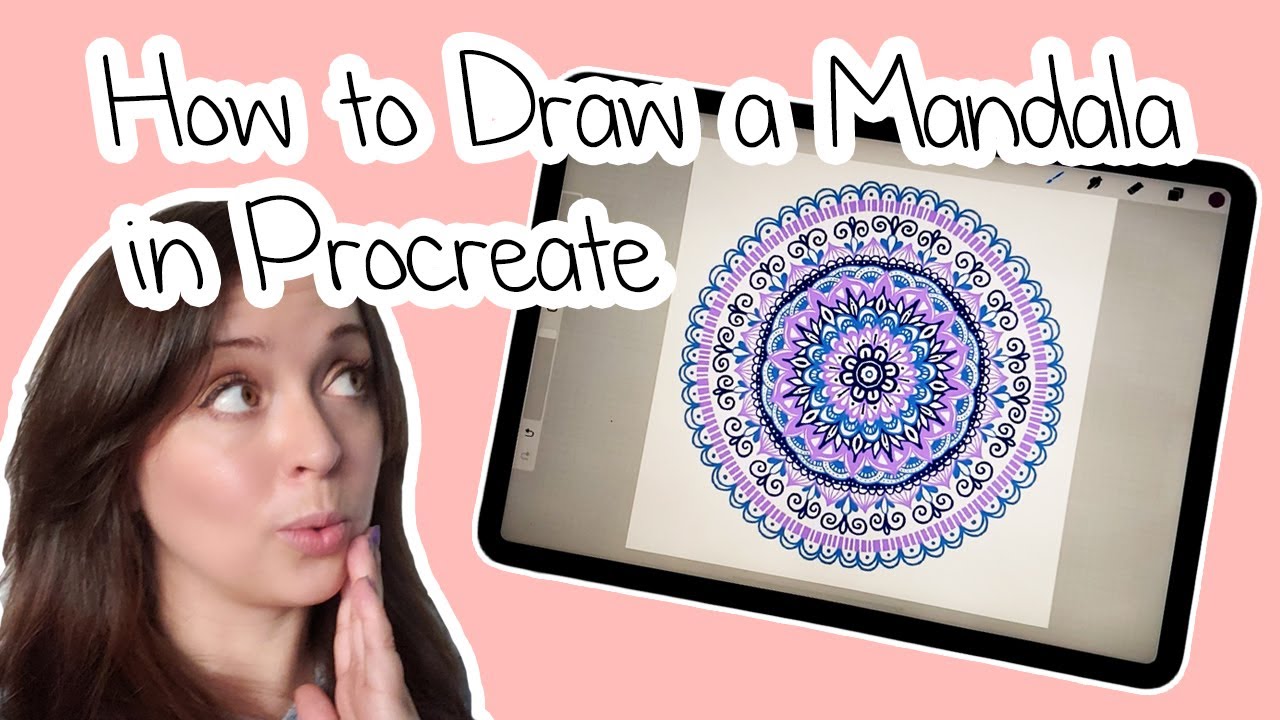



Wow! Those mandalas are amazing and so intricate. How long on average would it take to complete one? For example the one at the beginning of your post? Do think that just as much skill is required to draw with procreate as there is to draw on paper? I don’t see any difference with regards to creativity but imagine it would be a much quicker process. I imagine it’s easy to get in the zone and get lost in the artwork. Which is a good thing.
Hi Lyn,
Depending on how intricate your design is, it could take anywhere from 30 minutes to a full day to draw a mandala in Procreate. If you’re using simple, repeatable shapes and patterns, you could probably draw one in under an hour. Using Procreate’s tools, such as symmetry guides and layers, can help speed up the process and make it more efficient. However, the actual time will still depend on you and your workflow.