Managing your brush library in Procreate effectively can streamline your digital art process, allowing for a smoother workflow and easier access to your most-used tools. When your brushes are organized, you can spend less time searching for the right tool and more time bringing your creative visions to life. With Procreate’s customizable brush library, you have the power to arrange your brushes in a way that suits your personal workflow, whether you’re sketching, painting, or lettering.
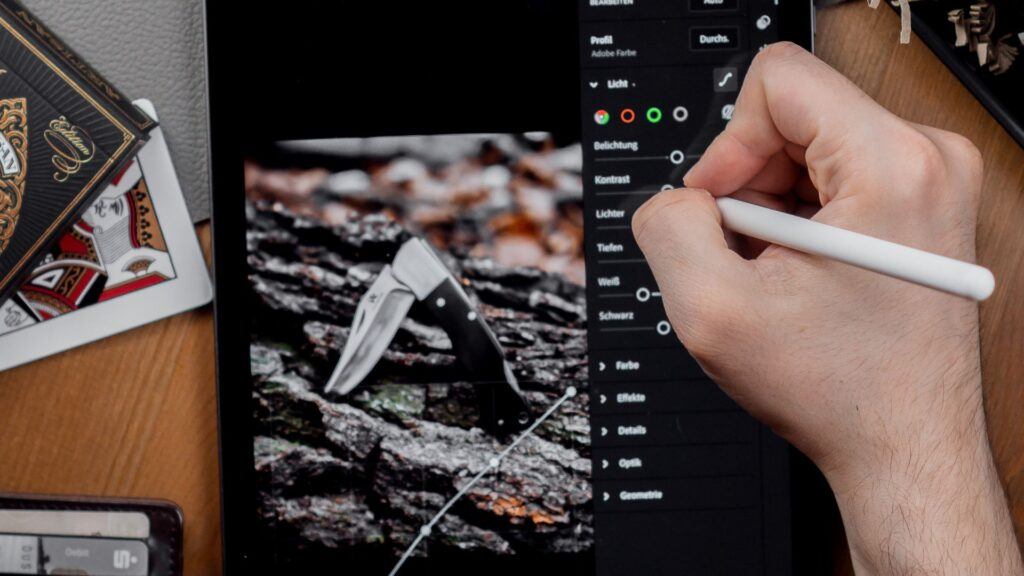
To organize brushes in Procreate, consider categorizing them into sets based on their function or the projects you use them for. This reduces clutter and enhances your efficiency. You can create new sets, rename existing ones, and even move brushes from one set to another by tapping and dragging them. This flexibility allows you to tailor your brush library to fit your specific needs, enabling you to focus on your creativity without the disruption of an unruly brush menu.
Remember, there are no hard and fast rules for how you should organize your brushes—the goal is to make your brush library intuitive for you. As you become more familiar with Procreate and its tools, you may find your organizational preferences evolve. Adjusting your library periodically will help maintain a setup that continues to work well for your changing workflow.
Getting Started with Procreate
Procreate offers robust capabilities to enhance your digital artistry on the iPad, especially when it comes to brush management. Familiarizing yourself with the Brush Library, importing brushes, and creating custom brushes is essential for a seamless creative experience.
Understanding the Brush Library
The Brush Library in Procreate is the focal point where all your brushes are displayed and accessed. When you open Procreate, you’ll find the Brush Library on the left side of the screen. It’s organized into various default sets like painting, drawing, and airbrushing. You can select a brush set to reveal individual brushes within.
Importing Brushes
To enhance your artwork, Procreate allows you to add to your collection by importing brushes. Brushes typically come in .brush or .brushset file formats. Here’s how you can import them:
- Tap the ‘+’ sign at the top right of the Brush Library.
- Choose ‘Import’ from the dropdown menu.
- Navigate to the Files App where your downloaded brushes are stored.
- Select the .brush or .brushset files to add them to your library.
Your imported brushes will appear at the top of the Brush Library, ready for use.
Creating Custom Brushes
Creating custom brushes in Procreate empowers you to put a personal stamp on your art. To start:
- Open the Brush Library and tap the ‘+’ at the top.
- Adjust settings like shape, grain, dynamics, and behavior to define your brush’s appearance and feel.
- Once you’re satisfied, give your brush a name and save it. It will then be available in your Brush Library for future projects.
With these tools at your disposal, you’re ready to explore the full creative potential that Procreate has to offer.
Brush Management Basics
Effectively managing your brushes in Procreate ensures a streamlined workflow and keeps your creative process organized. From importing new brushes to renaming them for better identification, mastering these fundamentals will enhance your digital art experience.
Adding New Brushes
To expand your brush library, you have the option to import custom brushes. Importing Brushes can be done through tapping the “+” sign at the top of the Brush Library and choosing ‘Import’. Alternatively, use Drag and Drop for brushes received via apps like Dropbox, by dragging the file into Procreate’s canvas area or directly into the Brush Library.
- Import: Tap “+” then ‘Import’
- Drag and Drop: Drag the brush file to the Canvas or Brush Library
Removing Brushes
If you need to declutter your Brush Library, removing brushes is straightforward. Swipe left on the brush you wish to delete and tap ‘Delete’. Be careful, as this action cannot be undone.
- Remove Brush: Swipe left on the brush and select ‘Delete’
Renaming Brushes
To rename a brush, which aids in quick identification and selection, swipe left on the brush and choose ‘Rename’. Enter your desired name and confirm to keep your brushes well-organized.
- Rename Brush: Swipe left, select ‘Rename’, and type the new name
Organize Brushes in Procreate
When working with Procreate, managing your brush library effectively can streamline your workflow and spark your creativity. With proper organization, you’ll spend less time searching and more time painting.
Using Folders
To begin organizing your brushes, use Folders to categorize them effectively within Procreate. Here’s how:
- Tap the Brush Library icon.
- Select the “+” sign to create a new folder.
- Name the folder according to the type or style of brushes it will contain.
By establishing folders, you create a structured system that compartmentalizes your brushes, making them easily accessible.
Categorizing Brushes
Categorizing your brushes requires understanding their Styles and Functions. Use the following steps to categorize them:
- Tap and hold a brush and then drag it into a related folder for organizational ease.
- Create Categories based on use-case, such as “Inking,” “Painting,” “Textures,” or custom names fitting your workflow.
Effective categorization allows for quick identification and selection of the right brush for your project.
Sorting and Prioritizing
To further refine your Brush Library, consider sorting and prioritizing brushes based on frequency of use or preference:
- Rearrange brushes within a folder by dragging and dropping them into a desired order.
- Place brushes used most often at the top of the list for quick access.
This strategy reduces time spent scrolling through brushes and brings your favorites within immediate reach.
Brush Sets Customization
Customizing brush sets in Procreate allows you to streamline your workflow, enabling easy access to your favorite brushes and ensuring efficiency. This process includes creating, modifying, and sharing brush sets to fit your specific art style or project needs.
Creating Brush Sets
To create a new brush set, open your Brush Library where your current brushes are displayed. Tap the plus (+) icon in the top right corner of the library. You can name your new set according to its intended use or brush type. To add brushes to your set, press and hold a brush from an existing set and drag it into your new set.
Modifying Brush Sets
After creating your custom brush sets, you may find the need to rename or reorder them for better organization. Tap the name of the brush set to enter its Settings, where you’ll find options to rename it. To reorder, simply drag the brush set to your preferred location within the Brush Library. If needed, you can also adjust individual brush settings within a set to further tailor it to your needs.
Sharing Brush Sets
Once you are satisfied with your custom brush set, you may want to share it with others or transfer it to a different device. Swipe left on the brush set you wish to share and tap the Share button. Choose your method of exporting—options include AirDrop, email, or cloud services—and your brush set will be exported as a .brushset file, ready to be used on another iPad or shared with your peers.
Advanced Brush Features
Exploring the advanced features of Procreate’s brush library can significantly enhance your workflow and the uniqueness of your artwork. You have the flexibility to tailor brushes to your artistic needs, adding dimension and texture with these sophisticated functionalities.
Dual Brushes
Dual Brush technology allows you to paint with two brushes at once, creating intricate and layered effects. By selecting a primary brush and a secondary brush, you can blend characteristics like shape, grain, and pattern to produce strokes that comprise both elements. This feature is particularly effective for creating natural elements like water or foliage, where the complexity of the texture is key.
Brush Studio Customization
In the Brush Studio, customization is taken to another level. There, you can adjust multiple aspects of a brush’s behavior:
- Shape & Grain: Modify the fundamental structure and texture of the brush.
- Opacity: Control the transparency of your brush strokes for subtle shading or overlays.
- Stamp Customization: Change how the brush stamp behaves with each stroke to create a consistent pattern or a randomized design.
Each setting allows you to precisely dictate how the brush interacts with your canvas, ensuring that every stroke is a reflection of your unique style.
Combining Brushes
While working with multiple brushes simultaneously may seem daunting, Procreate simplifies the process. You can create custom brushes by combining different shapes and grains, and even save them for future use. This allows for a high level of customization, where you can experiment with and refine the interaction between the brushes until you achieve the perfect stroke.
Remember, by leveraging these features, you’re not just drawing or painting; you’re crafting a toolset tailored to your distinctive artistic vision and style.
Stylizing and Effects
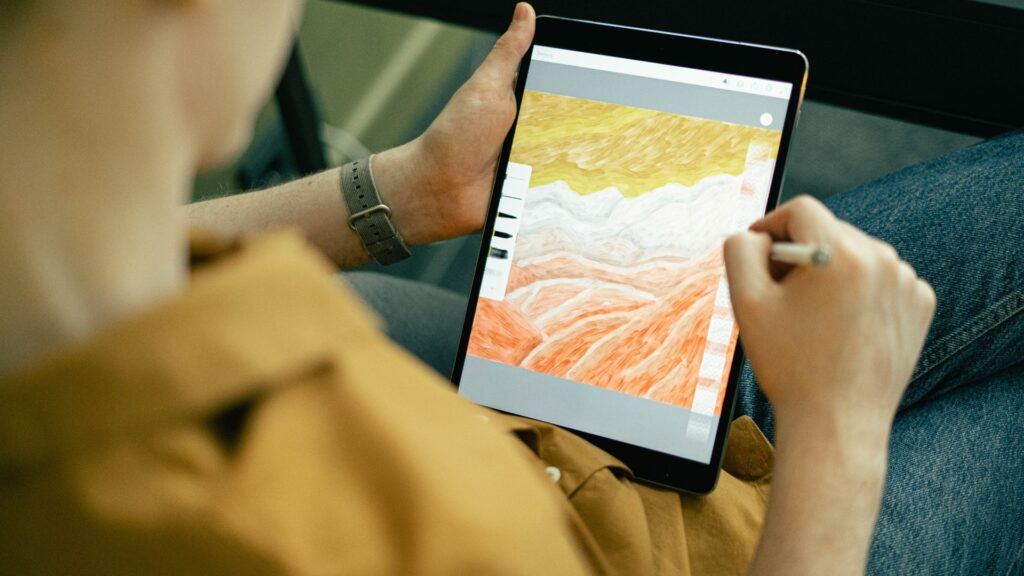
In the realm of digital art, Procreate equips you with a diverse array of brushes that can imbue your creations with texture, style, and visual appeal. From intricate lettering to fluid watercolor effects, Procreate’s brush library is designed to cater to every artistic need and enhance the stylization of your illustrations.
Using Textured Brushes
Textured brushes are instrumental in adding depth and dimension to your artwork. When you select a brush, you can tailor its Grain and Shape settings, which allows you to simulate various textures that can range from gritty surfaces to the subtle weave of canvas. Experiment by adjusting the grain slider to control the intensity of the texture or play with the scale to vary the appearance.
| Brush Setting | Purpose |
|---|---|
| Shape | Determines the brush contour |
| Grain | Adds texture to strokes |
| Scale | Alters texture size |
Lettering and Calligraphy
For lettering and calligraphy, pressure-sensitive brushes that respond to your touch are your tools of choice. They create delicate thinstrokes and bold downstrokes seamlessly. You can fine-tune the streamline setting to smooth out your lines for a polished look. In Procreate, there exists a variety of brushes designed specifically for calligraphy, offering you styles from elegant to modern.
- Pressure Sensitivity: Controls stroke thickness
- Streamline: Aids in creating smoother curves
Painting and Watercolor Techniques
To capture the essence of painting and watercolour in Procreate, use brushes that mimic the flow and blending of real paint. The key is to select brushes with wet edges or those that allow for color mixing on the canvas. Adjustments to opacity and flow settings will give you control over paint density and transparency, contributing to the ethereal effects characteristic of watercolor.
- Wet Edges: Simulate a watercolor bleed
- Flow: Governs the spread of color
Practical Brush Uses
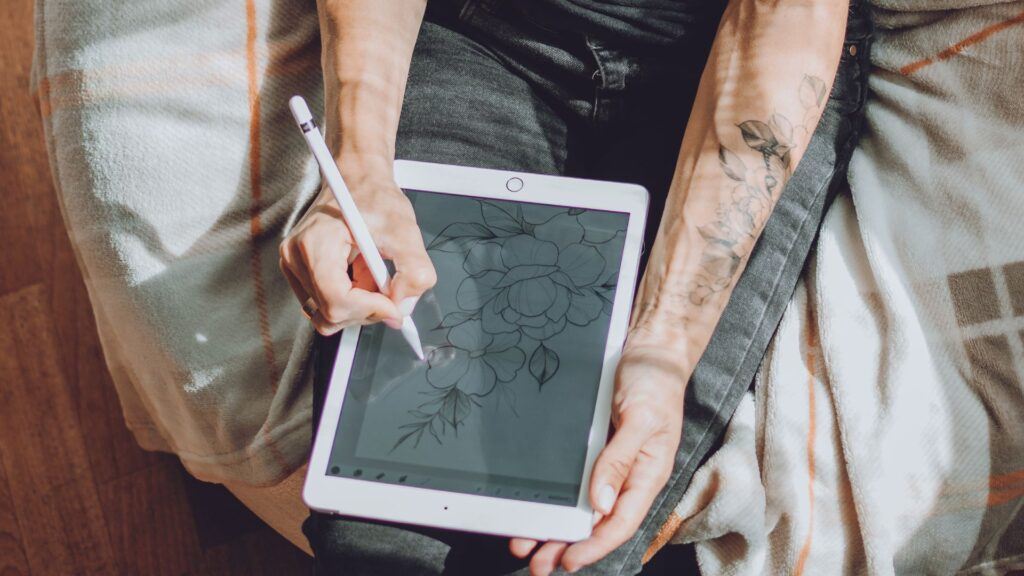
In Procreate, utilizing the right brush for a task not only enhances your workflow but also elevates the quality of your art. Whether you’re sketching, inking, or blending, understanding the practical uses of brushes can significantly impact your work.
Sketching with Brushes
When you start sketching, prioritize using brushes that emulate the feel of traditional sketching tools. Brushes resembling pencils or charcoal are ideal for this phase as they offer a textured look that can add depth to your drawing. Here’s a breakdown of brush types:
- HB Pencil: This simulates a traditional pencil and is perfect for rough sketches.
- 6B Pencil: Use this for darker lines and shading within your sketch.
Remember, sketching is about laying the foundation for your artwork, and the flexibility of pencil-like brushes allows you to make adjustments easily.
Inking Artwork
Once your sketch is complete, you’ll switch to inking to define your line work. Here, precision and flow are key. Use brushes that replicate the look of ink pens or markers for crisp, clean lines. Consider the following options:
- Technical Pen: Offers a uniform line perfect for clean edges and fine details.
- Studio Pen: With pressure sensitivity, this brush varies in thickness, giving you a dynamic range.
Inking transforms your sketch into a bold, finalized drawing, so it’s important to choose brushes that facilitate sharp, defined strokes.
Smudging and Blending
The smudge tool in Procreate is powerful for creating smooth transitions and textures. It’s essential for areas of your art where gradients or soft edges are present. Use the following brushes for smudging and blending in your artwork:
- Soft Airbrush: It’s great for subtle, smooth gradients.
- Blender Brushes: These are specifically designed for smudging without losing the underlying detail of your work.
The use of the smudge tool results in a more cohesive and polished piece of art by softening lines where necessary and integrating colors and tones seamlessly.
Workflow Optimization
In optimizing your Procreate workflow, planning your brush sets, streamlining your projects, and utilizing custom templates and stamps are essential steps. Each method has its own significance to enhance your efficiency.
Creating Efficient Brush Sets
Your brush collection can be transformed into a well-organized library by categorizing them into sets. Start by analyzing your usage patterns and grouping your brushes based on frequency of use, type, or the artist who created them. A Favorites Folder can prove invaluable, allowing you to access your most-used brushes quickly. An example plan could be categorizing brushes into sets such as ‘Sketching’, ‘Inking’, and ‘Texture’.
- Plan: Envision how you want your brush sets organized.
- Workflow: Categorize and prioritize brushes for quick access.
- Experiment: Adjust brushes and move them as your style evolves.
To create a set:
- Open the Brushes panel.
- Tap
+to create a new set. - Name the set according to its intended use.
- Drag and drop brushes into this set.
Streamlining Projects
By organizing your brush sets, you can reduce the time spent searching for the right tool and maintain focus on your artistic process. Implementing a structure for your project files can also expedite your workflow. Keep layers well-labeled and consider using Layer Groups for additional organization. Leverage Blend Modes to manage how layers interact without the need for extensive manual adjustments.
Streamline tips:
- Label Layers clearly.
- Use Layer Groups for similar elements.
- Choose Blend Modes strategically.
Custom Templates and Stamps
To save time on repetitive elements, create custom templates and stamps for consistent project starts or frequently used design elements. Templates can standardize canvas size and layer structure, while stamps can be used for logos or recurring design motifs. This can dramatically reduce setup time and ensure a level of consistency across your projects.
For template and stamp creation:
- Select an existing brush to modify as a stamp.
- Customize and save your template with necessary layers.
- Export your custom stamps to share or to use across various projects.
3 Tips to Maintain an Organized System
Maintaining an efficient system for organizing your Procreate brushes ensures that your workflow is streamlined and your creative process is unhindered. It is important to regularly curate your brush collection, ensure you have a reliable backup, and effectively handle large brush sets.
Regular Updates
You should routinely review and update your brush library. This process involves sorting through your brushes and discarding those you no longer use, as well as categorizing new downloads. When moving brushes to new groups, simply tap and hold the brush and drag it to the desired location within the Procreate app. Keeping your brushes up-to-date enhances your drawing experience, especially when using the Apple Pencil, as it relies on the nuances of your brush settings for precision.
Backup and Recovery
Backup your Procreate brushes regularly to prevent loss of data. You can Export your entire brush set or individual brushes by swiping left on the brush set and choosing “Share” to save it to the Files app on your iOS device. This means you can easily restore your collection if you move to a new iPad or encounter data loss. It’s crucial to integrate backup into your routine to ensure the longevity of your organized system.
Managing Large Collections
If you have amassed a large collection of brushes, consider using categories to keep them organized. Heavy collections require a systematic approach:
- Group brushes by medium (pencil, ink, watercolor) or their function (sketching, detailing, texturing).
- Rename brush sets to reflect their content, which simplifies navigation.
- To store and manage these files efficiently, utilize the Files app on your device, where you can create folders for different sets.
By adhering to these practices, you can swiftly locate and select the appropriate brush from your collection, allowing for a seamless transition between tools during your creative process.
For more on productivity tips in Procreate, check out our blog post 5 Procreate Hacks to Boost Your Productivity.
Frequently Asked Questions
In this section, you’ll find concise answers and step-by-step guidance to your most common brush organization queries in Procreate.



How I wish I had artistic talent. What attracted me to your website was my son who is an artist.
Procreate sounds like something my son might be interested in. He might already know about this and maybe not. I am going to send him the link to your website for him to read. I do hope this is okay with you.
The brush library and the brush management sections are very interesting and valuable information. Procreate does so much I am sure my son will be impressed once he reads your article.
Jeff
Hi Jeff,
Of course — please feel free to send your son any links from our website that might benefit him. In the last weeks, we’ve added several tutorials on Procreate, as well as troubleshooting articles since we get a lot of questions about issues with the Apple pencil. I hope he enjoys the content on our site, and it’s great that you’re supporting his artistic talent!
Laura