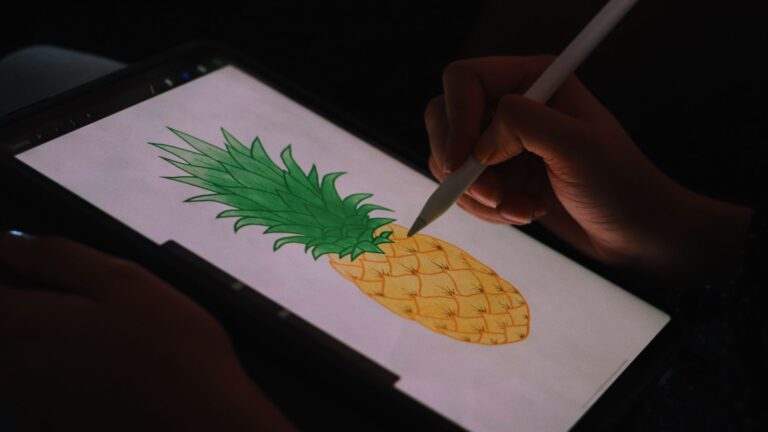
If you learn how to Draw birds in Procreate, you open up a world of creative possibilities. Whether you’re a beginner or an experienced artist, Procreate’s versatile tools make the process straightforward and enjoyable. Using brush packs like the 35 Birds Stamps & Brushes or the Birds Brushpack 57+ — both designed for Procreate — can streamline your workflow, allowing you to create adorable bird illustrations with ease.
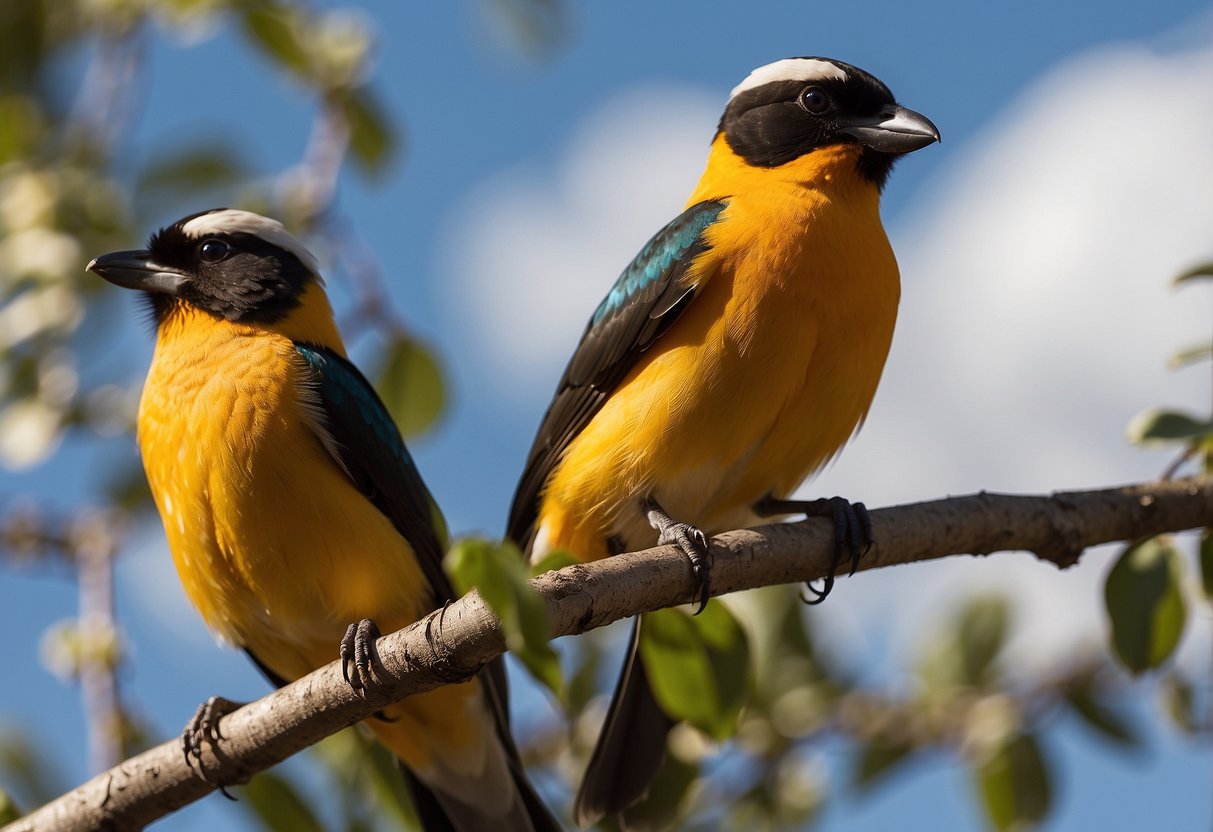
You’ll be guided through the basic forms and structures of birds, making it easier to capture their unique shapes and details. By the end of the tutorial, you’ll be able to draw anything from a simple sparrow to an elegant kingfisher. The emphasis on practice and the use of reference images from resources like Pexels or Unsplash will help you hone your skills further.
Exploring these techniques in Procreate not only improves your digital art skills but also enhances your understanding of bird anatomy and design principles. Get ready to embark on a creative journey that transforms your sketches into masterpieces.
Step 1: Getting Started with Procreate
To begin drawing birds in Procreate, you’ll need to familiarize yourself with the app’s interface, set up your canvas properly, and select the right brushes and tools. These initial steps are crucial for maximizing your creativity and efficiency.
Understanding the Procreate Interface
The Procreate interface on your iPad is user-friendly but packed with features. The top toolbar houses tools like actions, adjustments, and selection. The side toolbar includes your brush, smudge, eraser, layers, and color options. Using shortcuts with the Apple Pencil enhances your workflow.
For example, double-tapping the Apple Pencil to switch between current tools can save you time. Layers help you manage different parts of your drawing, making it easier to edit specific sections without affecting the whole artwork.
Setting Up Your Canvas
Setting up your canvas is your starting point. Open Procreate and tap the “+” at the top right to create a new canvas. Choose the appropriate dimensions for your project. Common sizes include 2048 x 2048 pixels for general use or higher resolution if planning to print.
In the canvas settings, you can also select color profiles like sRGB or P3 for vibrant, accurate colors. Adjusting the dpi (dots per inch) is important if you intend to print your art. A setting of 300 dpi is a good standard.
Choosing Your Brushes and Tools
Procreate offers an array of brushes tailored for different textures and effects. For drawing birds, look into bird-specific brushes or create custom ones using the Brush Studio. Experiment with different Procreate brushes to find your preferred styles for outlining, shading, and detailing. Utilizing the eraser effectively is also key, as it allows refining and detailing your sketches gracefully.
Step 2: Fundamentals of Bird Anatomy
Understanding bird anatomy helps in achieving realistic and accurate drawings. This section covers the primary shapes, wing and tail structures, and the characteristics of beaks and heads.
Basic Shapes in Bird Drawing
Birds can be broken down into simple geometric shapes. Start with an oval for the body, a smaller circle for the head, and connecting guides for the neck. This foundational step creates a solid framework. Observe different birds to see how these shapes vary, such as the elongated oval of a kingfisher or the rounded form of a parrot.
Outline the basic structure using circles and ovals, and gradually refine. Focus on proportion and alignment. Use light strokes to adjust as needed. This method is crucial for maintaining correct proportions.
Anatomy of Wings and Tails
Wings consist of primary and secondary feathers. The primary feathers extend from the wing tips, while secondary feathers are closer to the body. Start by sketching the wing shape as a folded triangle.
Each feather is slightly curved and overlaps. Pay attention to the layers and directions of the feathers. Tails often fan out and include layers of long feathers. Different species have unique tail shapes, from the long, tapered tail of a swallow to the fan-shaped tail of a pigeon.
Detailing involves adding textures, such as feather lines and shading. Use references to capture the specific wing and tail features of the bird.
Beaks and Heads
Heads generally follow the initial circular shape. Different species have distinctive features around this basic form. For beaks, notice the variations – a hawk’s hooked beak differs greatly from a sparrow’s short, pointed one.
Draw the beak in proportion to the head, using smooth lines. Observe the junction where the beak meets the head, as this can affect the overall look. A bird’s eye placement is critical, often located towards the top-middle of the head circle.
Feathers on the head can vary; some birds have crests or tufts while others are smooth. Use light, feathery strokes to suggest texture. Attention to these details brings your bird drawings to life with accuracy and realism.
Step 3: Sketching Techniques
When sketching birds in Procreate, focus on developing a solid framework with basic shapes, refining details, and using available sketching aids to simplify and enhance your artwork.
Creating Your Rough Sketch
Start by breaking down the bird’s body into simple shapes like circles and ovals. Use these basic forms to map out the head, body, and wings. This foundational step helps you maintain correct proportions.
Place a circle for the head and larger oval for the body where they should be. Add guidelines for the beak, tail, and legs. These preliminary marks ensure that every detail is correctly positioned before you move on to detailed sketching.
Use the lightest pencil brush in Procreate to make these marks, which will be easier to erase or adjust later. Working from reference photos can also guide your rough sketch for more accurate results.**
Refining the Sketch
After laying out the rough structure, begin refining the sketch by adding details.
Focus on the bird’s unique features, such as the shape of the beak, the placement of the eyes, and the feather arrangement. Use a sharper pencil brush for clearer lines. Draw precisely over your initial shapes and guidelines, gradually adding detail without overloading the sketch with too many lines.
Make adjustments to the initial shapes as needed. For example, curve the tail feathers or adjust the wing’s position to reflect a more natural stance.
Layering can help keep different parts of the sketch distinct. Use separate layers for the head, body, and wings so each can be fine-tuned independently.
Using Sketching Aids
Procreate offers several tools that can help improve your sketching process. Utilize the Character Drawing Toolkit if you have it; this tool provides premade shapes and elements which can streamline the creation of complex parts like wings or beaks.
Experiment with the QuickShape tool to create perfect circles and ovals for the rough sketch. This ensures symmetry and accuracy in your sketches.
Stabilization settings in Procreate can also smooth out your lines, making them look cleaner and more professional. Additionally, use reference layers to lock in certain elements while you work on others, keeping your workflow organized and efficient. If you are adding a tree to your illustration, also be sure to check out our tutorial on How to Draw Straight Lines in Procreate.
Step 4: Adding Color and Texture
You can bring your bird illustrations to life by focusing on choosing a suitable color palette, applying textures, and detailing feathers and markings. These elements are crucial for creating striking and realistic art in Procreate.
Choosing a Color Palette
A vibrant and cohesive color palette ensures your bird illustration stands out. Consider the bird species you’re drawing and its natural hues. Use the color wheel in Procreate to create complementary shades.
Experiment with color blending using tools like the smudge tool or the Oberon brush to achieve seamless transitions. Adding lighter and darker shades helps in creating depth and dimension. You can also include local colors and shades found in nature for a more realistic appearance.
Applying Textures to Birds
Textures add a realistic touch to your digital birds. Start by observing real-life bird textures and noting how light interacts with them. You can use our tutorial on creating textures in Procreate for more practice if you wish.
Layer textures using the Clipping Mask feature to apply them specifically to certain parts of the bird without affecting other layers. Implement multiple layers to fine-tune the textures, enhancing the realism of your bird illustration.
Detailing Feathers and Markings
Fine-tuning feathers and markings is essential for authenticity. Use the Ancestry brush for detailed feather work, ensuring you capture the intricacies of bird plumage. You can use varying brush sizes and opacity settings to add depth to feathers.
Layer small markings and unique patterns characteristic to the bird species, such as stripe markings or spotted textures. This helps in differentiating between species and adds to the visual appeal. Pay attention to areas like the wings and the tail to make the overall illustration more detailed and lifelike.
Step 5: Advanced Drawing Techniques
Mastering advanced techniques in Procreate will elevate your bird illustrations. Focus on creating realism and capturing dynamic poses to bring your art to life.
Creating Realism in Bird Illustrations
Achieving realism in bird illustrations requires attention to detail. Start with high-resolution reference photos to capture the intricacies of feathers and anatomy. Use layering to build depth, starting with a base color and gradually adding details.
In Procreate, utilize brush packs that mimic real-life textures, such as feathers and beaks. Adjust the opacity and blending modes to create subtle transitions and shadows.
Pay special attention to lighting. Realistic lighting can make your bird appear three-dimensional. Practice adding highlights and shadows where light naturally hits. Don’t forget to include small details like reflections in the eyes and variations in feather colors.
Dynamic Poses and Expressions
To depict birds dynamically, study various bird species and observe their movements and behavior.
Sketch quick thumbnails to explore different poses. Use Procreate’s liquify tool to adjust and refine the shapes, ensuring the proportions remain accurate. Capture expressions by focusing on the bird’s eyes and beak positions. Birds often convey emotions through these features, so subtle changes can make a significant impact.
Consider using motion lines to illustrate movement, giving a sense of direction and speed. Layering several sketches on top of one another can also help in understanding and refining the positioning of wings and tail feathers during flight.
Lastly, experiment with gesture drawing to infuse energy and fluidity into your artwork. By combining these techniques, your bird illustrations will become more engaging and lifelike.
Step 6: Finalizing Your Bird Illustration
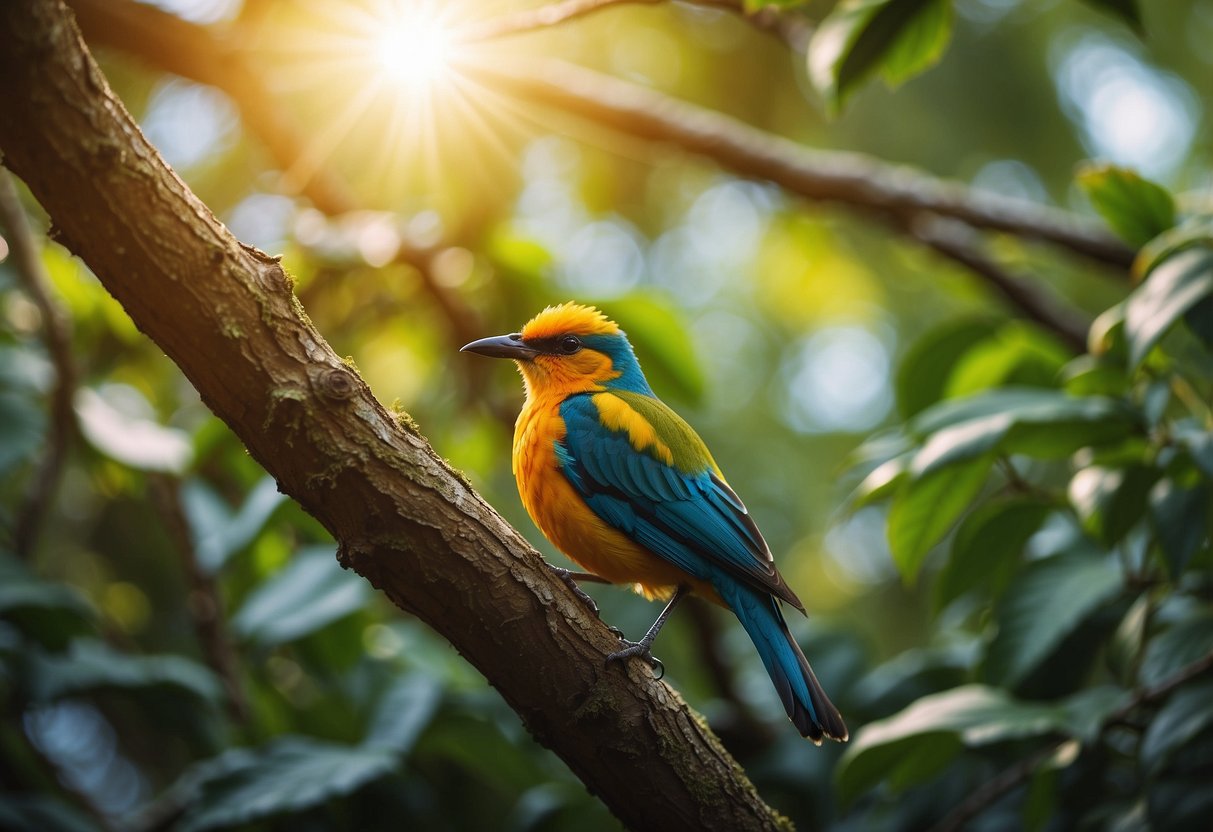
Once you have completed the main structure of your bird drawing, it’s essential to focus on refining details and balancing proportions to elevate your artwork.
Reviewing and Adjusting Proportions
Begin by closely examining the proportions of your bird. Use Procreate’s Edit feature to make adjustments. Check the overall balance between the head, body, wings, and tail.
Ensure each part is in harmony to avoid awkward or unrealistic appearances.
Utilize the Transform tool to resize or rotate elements. This tool allows precise control, helping you maintain the natural look of your bird.
If something appears off, don’t hesitate to redraw sections. Take time to flip your canvas periodically. This technique can reveal proportion issues not noticeable otherwise.
Adding Final Details and Highlights
Now, add the intricate details that bring your bird to life. Begin with the eyes, which are often the focal point. Use small brushes for added control and detail.
Adjust the opacity and size to achieve desired effects.
Next, focus on feather texture. Use a variety of brushes from fine to broad, adding depth and realism.
Incorporate subtle highlights on the feathers by creating new layers and setting them to “Overlay” or “Soft Light”. This method adds a pop without overwhelming the drawing.
Finally, add any background elements or simple textures to the image to provide context without distracting from the main subject.
By concentrating on these aspects, you can significantly enhance the realism and visual appeal of your bird illustration.
Utilizing Drawing Resources
To master bird drawing in Procreate, effective use of drawing resources can boost your work’s accuracy and creativity. Use reference images for precision, explore freebies and brush packs, and take advantage of recommended brushes designed for bird illustrations.
Using Reference Images for Accuracy
Utilizing reference images is crucial for achieving realistic bird drawings. Search for high-quality photos that capture different angles, poses, and species. Websites like Unsplash and Pixabay offer a plethora of bird images for free.
Use reference layers in Procreate to overlay these images while sketching. This helps in understanding the anatomy and proportions of birds. Adjust the opacity to refine your sketches without losing sight of the underlying structure.
Recommended Brushes for Drawing Birds
Selecting the right brushes can make a significant difference in your artwork. For outlining, consider brushes with clean, sharp strokes for clarity, and then consider a specialty brush back for illustrating birds specifically. To that end, we’ll outline our two favorite options below:
35 Birds Stamps & Brushes Set for Procreate
The 35 Birds Stamps & Brushes Set for Procreate includes 30 high-quality bird stamps and 5 bird brushes, designed to enhance your artwork by adding detailed bird elements or background features. Ideal for artists seeking to incorporate birds into their drawings effortlessly. Available for $3, with an option for commercial use at $5, which allows usage without crediting the creator. Easy download instructions are provided for seamless integration into the Procreate app.
Birds Brushpack 75+ for Procreate
In addition to brushes specifically to help you draw different kinds of birds such as crows, pigeons, hawks, and sparrows, the Birds Brushpack 75+ for Procreate includes an additional 12 brushes to help you define and refine feathers, plus 4 more brushes that are perfect for drawing nests. There is a free version of this brushpack as well, but this one is priced at less than $5, making it an affordable choice.
Brush Set Comparison
So, which brush set is right for you? The 35 Birds Stamps & Brushes pack focuses on high-quality stamps and brushes for detailed bird elements and backgrounds, while the Birds Brushpack 75+ offers a larger variety of brushes, including specific bird types and related elements like feathers and nests, providing more detailed options for bird-related artwork. So, if you’re just getting started, the 35 Birds Stamps and Brushes Pack is plenty to get you started, but if you are certain that you want to draw specific types of birds, then we recommend the Birds Brushpack 75+ for Procreate.
Tips and Tricks for Efficient Drawing
Maximize your efficiency in Procreate with intelligent use of shortcuts and layers, along with strategies to troubleshoot common challenges you might encounter during your drawing process.
Effective Use of Shortcuts and Layers
Procreate offers a variety of shortcuts that can significantly streamline your workflow. For instance, using the two-finger tap for undo and the three-finger swipe for redo are essential for quick corrections.
Layers are another crucial feature. Rename each layer to stay organized, and use the Alpha Lock to color within specific areas without bleeding into others. Clipping Masks are equally beneficial for adding details without directly altering the base layers.
Grouping layers can simplify complex illustrations. For instance, organize all components of a bird (body, wings, tail) into groups, making it easier to edit each part separately.
Navigate through layers efficiently with the Layer Select tool. It helps you quickly find and access the desired layer. Lastly, leverage the QuickMenu for customizing tools and functions that you frequently use, saving time and minimizing disruption to your creative flow.
Troubleshooting Common Challenges
When your sketches seem off, check your reference images. Poor references can lead to anatomical mistakes. Ensure you’re using high-quality photos or illustrations.
Another common issue is shaky or uneven lines. Procreate’s Stabilization feature can help smooth out your strokes, giving you cleaner lines. Access this through Brush Settings under the Stroke* menu.
Colors can appear differently on various devices. Use a Color Profile consistent with your output medium (e.g., sRGB for digital screens). Incorrect layer blending modes or opacity settings can also cause unintended color shifts. Double-check these settings if your colors look wrong.
Brush lag can hinder your drawing speed. Closing other apps running in the background can free up resources. Additionally, adjusting the Streamline setting under the Brush Dynamics* can reduce lag.
Learning and Improvement
Enhancing your bird drawing skills in Procreate involves both understanding feedback and seeking continuous education from reliable sources.
Analyzing Review and Feedback
To grow as an artist, actively seek reviews and constructive feedback on your work. Participate in online communities or forums dedicated to digital art. Share your bird drawings and encourage other artists to critique your sketches. This will provide you with varied perspectives on areas where you can improve.
Additionally, self-assess your progress by comparing your current and past bird drawings. Look for improvements in form, structure, and detail. Identify patterns in feedback and work on those specific areas. Remember, growth comes from consistently challenging your drawing skills and refining your techniques.
Continuing Education with Tutorials and Books
Explore various tutorials available online that focus on bird drawing in Procreate. Websites like YouTube offer a range of tutorials for all experience levels. Platforms such as Bardot Brush and wooly pronto provide structured lessons aimed at improving your bird drawing skills.
Also invest in books that teach digital art. Look for those that cover Procreate specifically. They often include step-by-step guides and advanced techniques that can enhance your understanding of digital illustration. Combining book knowledge with hands-on practice will solidify your skills and inspire new ideas.
Small yet consistent learning efforts lead to significant improvements in your ability to draw birds in Procreate.
Beginner’s Guide to Procreate
Our Beginner’s Guide to Procreate is the ultimate resource to kickstart your digital art journey. It covers everything from the basics of navigating the app to advanced techniques for creating stunning artwork so that you can not only get off to a strong start but gain confidence quickly. Dive in and unleash your creativity with Procreate!
Frequently Asked Questions for How to Draw Birds in Procreate
Drawing birds in Procreate can be straightforward and enjoyable with the right techniques and resources. Below, find answers to common questions regarding methods, beginner tips, and resources for drawing birds in Procreate.
