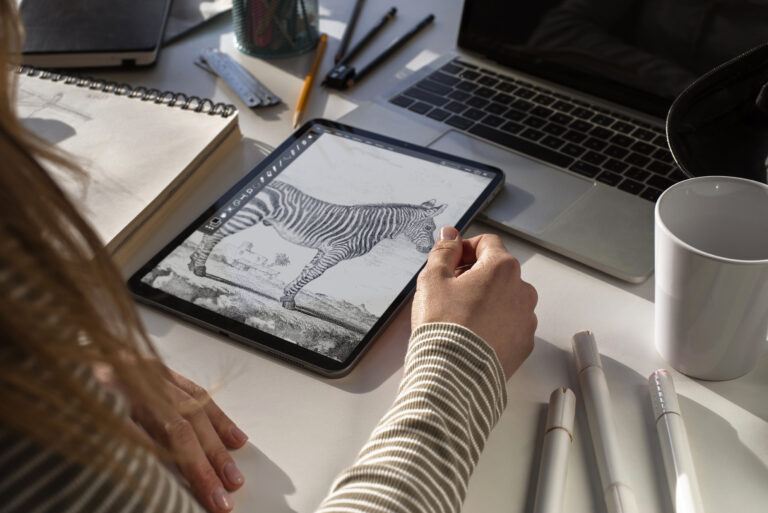
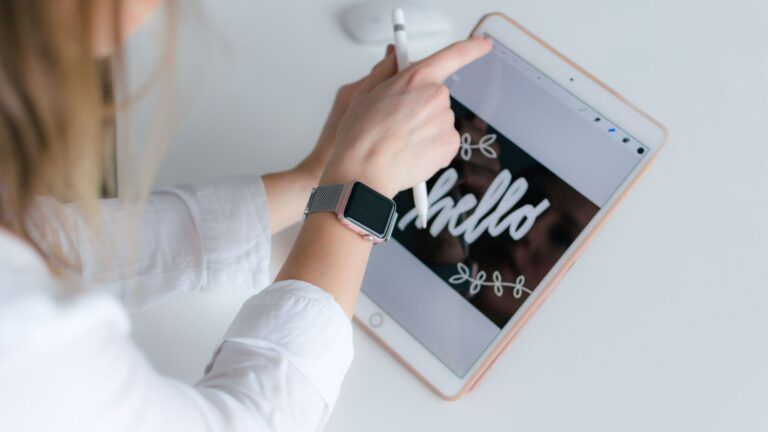
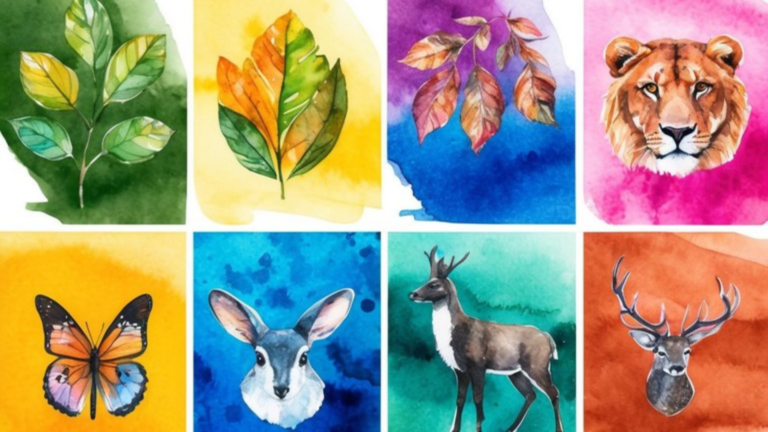
Creating symmetrical artwork on Procreate has never been easier thanks to the built-in mirroring feature. The Procreate symmetry tool allows you to draw on one part of your canvas while Procreate automatically mirrors your strokes on the opposite side. You can access this powerful feature by tapping the wrench icon, selecting Canvas, and then enabling Drawing Guide where you’ll find the symmetry options.
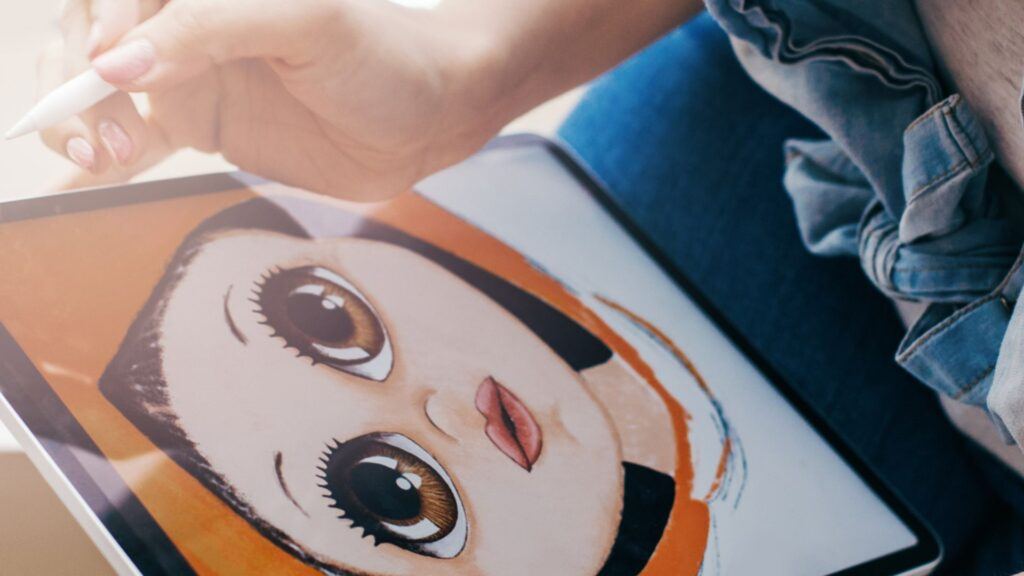
Procreate offers four different symmetry options to enhance your digital artwork. You can choose vertical mirroring for creating faces and symmetrical characters, horizontal mirroring for reflections, quadrant mirroring that repeats your strokes in all four quadrants, or radial symmetry for creating mandala-like designs. Each option gives you different ways to achieve perfect balance in your illustrations without the tedious work of manually duplicating your strokes.
When you enable the Procreate symmetry tool, you’ll notice a line appearing on your canvas that serves as the axis for mirroring. You can adjust this line by moving it to your preferred position, allowing for customized symmetry that suits your specific project needs. This feature is particularly useful for character design, pattern creation, and any artwork where precision and balance are essential.
Understanding Mirror Drawing in Procreate
Mirror drawing in Procreate allows you to create perfectly symmetrical artwork by automatically replicating your strokes across a defined axis. This powerful feature saves time and ensures balanced compositions without requiring manual duplication.
The Procreate symmetry tool works by reflecting everything you draw on one side of your canvas to the other side in real-time. You can choose vertical, horizontal, quadrant, or radial symmetry depending on your project needs.
To access this feature, tap the wrench icon to open the Actions menu, then select Canvas and turn on Drawing Guide. Next, tap Edit Drawing Guide and select the Symmetry option at the bottom of the screen.
Procreate offers several symmetry options to customize your mirroring experience:
- Vertical: Mirrors from left to right (or vice versa)
- Horizontal: Mirrors from top to bottom (or vice versa)
- Quadrant: Divides canvas into four sections that mirror simultaneously
- Radial: Creates circular symmetry around a central point
You can adjust the position of your symmetry line by dragging it across the canvas. This flexibility allows you to place the mirror axis exactly where needed for your specific design.
Mirror drawing is particularly useful for creating mandalas, geometric patterns, character faces, and other designs that benefit from symmetrical balance. The tool automatically replicates your strokes with perfect precision that would be difficult to achieve manually.
Setting Up Procreate for Mirror Drawing

Mirror drawing in Procreate transforms your artistic workflow by creating perfect symmetry with minimal effort. Setting up this feature properly is crucial for achieving seamless results across different symmetrical styles.
Accessing Drawing Guide
To begin mirror drawing in Procreate, you first need to access the Drawing Guide. Tap the wrench icon (Actions) in the top toolbar to open the Actions menu.
Select “Canvas” from the menu options that appear. In the Canvas menu, look for “Edit Drawing Guide” and tap it to continue.
This action will take you to the Drawing Guides screen where you can view and modify different guide options. The Drawing Guide is the foundation for all symmetry work in Procreate, so becoming familiar with this area is essential.
Activating Assisted Drawing
Once you’ve accessed the Drawing Guide screen, you need to ensure Assisted Drawing is turned on. Look for the toggle switch labeled “Drawing Assist” at the top of the screen and make sure it’s enabled.
When Drawing Assist is active, a checkmark will appear next to it, and the toggle will turn blue. This setting tells Procreate to follow the symmetry rules you’re about to set.
You can return to your canvas by tapping “Done” in the upper right corner. Your symmetry guide will now be visible on the canvas, but you’ll need to ensure “Drawing Assist” is also toggled on in the Layers panel for your current layer.
Choosing the Type of Symmetry
Procreate offers four main types of symmetry options to suit different artistic needs. Tap the “Symmetry” button at the bottom of the Drawing Guides screen to view these options.
Vertical Symmetry: Creates a mirror image along a central vertical line. Perfect for faces and symmetrical characters.
Horizontal Symmetry: Mirrors your drawing along a horizontal axis. Ideal for reflections in water or creating balanced landscapes.
Quadrant Symmetry: Divides your canvas into four sections, mirroring your strokes in all quadrants. Excellent for mandalas and decorative patterns.
Radial Symmetry: Creates a circular pattern that repeats your strokes around a central point. You can adjust the number of segments to create more or less complex designs.
You can adjust the position of your symmetry lines by dragging them to your preferred location on the canvas.
Starting Your Mirror Drawing
Mirror drawing in Procreate can transform your artwork with perfect symmetry. To get started, you’ll need to set up your canvas and select the right tools for your project.
Creating a New Canvas
To begin mirror drawing in Procreate, first create a new canvas by tapping the “+” icon on the gallery screen. Select your desired canvas size and resolution based on your project needs.
Once your canvas is open, access the Drawing Guide feature through the Actions menu (wrench icon) > Canvas > Edit Drawing Guide. Tap the “Symmetry” button at the bottom of the screen.
Procreate offers four different mirroring styles: Vertical, Horizontal, Quadrant, and Radial. Select the one that fits your artistic vision. The Vertical option is most common for beginners, creating a mirror effect down the middle of your canvas.
Adjust the position of your symmetry line by dragging it across the canvas. You can also customize the color and opacity of your guide lines in the Drawing Guide settings.
Selecting Brushes and Colors
Choose your brushes before beginning your mirror drawing. Navigate to the Brush Library (brush icon) and select a brush that suits your artistic style.
Procreate’s default brushes work well with the Procreate symmetry tool, but some brushes may produce more interesting effects than others. Experiment with different options to find what works best for your project.
For colors, tap the circle in the top right corner to open the Color Picker. Select a palette or create custom colors that complement your artwork. You can save favorite colors to your palette for quick access while drawing.
Consider starting with a limited color palette to create cohesive mirror artwork. Bold contrasting colors can help emphasize the symmetrical effects in your drawing.
Mastering Mirror Drawing Techniques
Mirror drawing in Procreate transforms your artwork by creating perfect symmetry. The Procreate symmetry tool allows you to draw simultaneously across multiple planes, saving time and ensuring balanced compositions.
Using Layers Efficiently
When working with mirror drawing, organizing your layers strategically enhances your workflow. Create separate layers for different elements to maintain flexibility in your symmetrical designs.
Begin by setting up a background layer that remains unaffected by symmetry settings. This gives you freedom to create asymmetrical backgrounds while keeping foreground elements perfectly mirrored.
For complex illustrations, consider creating dedicated layers for each symmetrical component. This approach allows you to adjust mirror settings independently for different parts of your artwork.
You can temporarily disable the mirror function on specific layers when you need to add unique details. Simply toggle the symmetry off when working on these layers, then reactivate it when returning to symmetrical elements.
Managing Symmetry Modes
Procreate offers four distinct mirroring styles to suit different artistic needs. Access these by tapping the wrench icon, selecting Canvas, then turning on Drawing Guide and editing it to find the symmetry options.
Vertical symmetry mirrors your strokes from left to right, ideal for creating faces or balanced compositions. Horizontal symmetry reflects top to bottom, perfect for landscapes or reflections on water.
Quadrant symmetry combines both vertical and horizontal mirroring, creating four identical sections. This works exceptionally well for mandala-like designs or decorative patterns.
Radial symmetry creates a circular reflection pattern with multiple axes. Adjust the number of sections based on your design needs, making it perfect for intricate circular designs.
You can fine-tune your symmetry settings through the Options menu within the Drawing Guide editor. Here you’ll find controls to adjust the position of the mirror axes to perfectly align with your composition.
Advanced Mirror Drawing Tips
Once you’ve mastered the basics of mirroring in Procreate, these advanced techniques will help elevate your symmetrical artwork to new heights. Properly utilizing textures and adjusting symmetry settings can transform simple designs into complex masterpieces.
Incorporating Textures and Effects
When working with mirrored drawings, textures can add depth while maintaining perfect symmetry. Apply textures after completing your base symmetrical design to ensure consistency across all mirrored sections.
Try using the Liquify tool with symmetry enabled to create flowing, organic patterns that remain perfectly balanced. The tool respects your symmetry guides while allowing for creative distortion.
Layer effects like Gaussian Blur or Noise can be added to mirrored artwork, but apply them to merged layers to maintain consistent texture across symmetrical lines.
For advanced texture work, create a textured brush in the Brush Studio with symmetry settings enabled. This allows you to paint with texture that automatically mirrors according to your selected symmetry style.
Adjusting Symmetry Options
Procreate offers several customization options for symmetry beyond the basic mirroring. Access these by tapping Actions > Canvas > Edit Drawing Guide > Symmetry.
Experiment with Rotational Symmetry to create mandala-like designs. You can adjust the number of sections (4, 6, 8) depending on your desired complexity.
The Quadrant option divides your canvas into four perfectly mirrored sections, ideal for creating intricate patterns or emblems.
Fine-tune your symmetry guides by adjusting their position on canvas. Simply drag the center point or rotation axis to place the symmetry lines exactly where you need them for your composition.
Toggle the Assisted Drawing option to temporarily turn symmetry on or off without removing your guides, giving you more flexibility when certain elements don’t require mirroring.
Troubleshooting Common Procreate Symmetry Tool Issues
When your symmetry drawing isn’t working as expected in Procreate, there are several common issues to check. First, verify that Assisted Drawing is enabled on your current layer.
To check this, open the Layers menu and tap on your layer thumbnail. Look for Assisted Drawing options and make sure they’re activated.
If symmetry isn’t turning off when you want it to, go to the Wrench icon, then Preferences, and check your Gesture Controls. There might be an Assisted Drawing option toggled on that you need to disable.
Sometimes the symmetry guide appears but doesn’t affect your strokes. In this case, navigate to Drawing Guide settings (accessible via the Wrench icon) and confirm that the symmetry option is properly configured.
Remember that radial symmetry works like mirrored symmetry by default. If you’re experiencing unexpected results, check if the rotational option is enabled.
For layers that won’t mirror properly, ensure you’re working on the correct layer and that the Drawing Guide is both enabled and edited to your specifications.
Try creating a new layer if mirroring issues persist. Sometimes layer-specific settings can become conflicted.
If all else fails, restart the app. Occasionally, Procreate needs a fresh start to properly implement symmetry settings.
Optimizing Your Workflow in Procreate
Efficient workflow techniques can dramatically improve your mirroring experience with the Procreate symmetry tool. These optimizations will help you work faster and create symmetrical designs with minimal effort.
Customizing Toolbars and Palettes
Procreate allows extensive customization of your workspace to support mirror drawing with the Procreate symmetry tool. You can reorganize your favorite brushes by dragging them to the top of your brush library for quick access during symmetrical work.
Create custom palettes specifically for your mirroring projects. Tap the “+” in the Color Palettes menu to start a new collection that complements your symmetrical designs.
Consider setting up a dedicated QuickMenu for mirroring tools. Access this by customizing the QuickMenu in Settings, then adding symmetry controls for instant toggling.
For frequent mirror drawing, save custom canvas sizes with symmetry guides already enabled. This saves time when starting new projects that require symmetrical elements.
Shortcut Gestures for Efficiency
Procreate offers several touch shortcuts that significantly speed up your mirror drawing process. Use a four-finger tap to quickly toggle symmetry on or off without disrupting your creative flow while you’re using the Procreate symmetry tool.
Double-tap the symmetry guide to access additional options like rotation angle and position adjustments. This allows precise control over your mirror lines without navigating through menus.
When working with vertical symmetry, swipe horizontally with three fingers to undo mistakes on both sides simultaneously. This maintains perfect symmetry even when correcting errors.
Use the pinch gesture to zoom in and out while maintaining your symmetry guides. This helps with detailed work while keeping your mirrored elements properly aligned.
Assign custom gestures in Settings > Preferences > Gestures to create personalized shortcuts for your most-used symmetry functions. This customization can reduce repetitive menu navigation by up to 40%.
Saving and Sharing Your Mirror Drawings
After creating your symmetrical artwork in Procreate, saving and sharing your work is straightforward. To save your mirror drawing, tap the wrench icon in the top toolbar to access the Actions menu.
Select “Share” and choose your preferred file format. For high-quality prints, export as a PNG or TIFF with a transparent background. For web sharing, JPEG works well as it has a smaller file size.
You can also share your creation directly to social media platforms from the Share menu. This is particularly useful when you want to showcase your symmetrical designs immediately.
Consider saving your work with layers intact by exporting as a Procreate file (.procreate). This allows you to return to your mirror drawing later and make adjustments to individual elements.
For professional purposes, you might want to include a progress video of your symmetrical creation. Tap the wrench icon, select “Video,” and then “Export Time-lapse Video” to generate a recording of your drawing process.
Remember to back up your mirror drawings to cloud storage like iCloud or Dropbox for safekeeping. This ensures your symmetrical masterpieces are protected and accessible across your devices.
Beginner’s Guide to Procreate
Our Beginner’s Guide to Procreate is the ultimate resource to kickstart your digital art journey. It covers everything from the basics of navigating the app to advanced techniques for creating stunning artwork so that you can not only get off to a strong start but gain confidence quickly. Dive in and unleash your creativity with Procreate!
Frequently Asked Questions for the Procreate Symmetry Tool
The Procreate symmetry tool can sometimes present challenges that require specific solutions. These common questions address the most frequent issues artists encounter when using symmetry features in the app.

