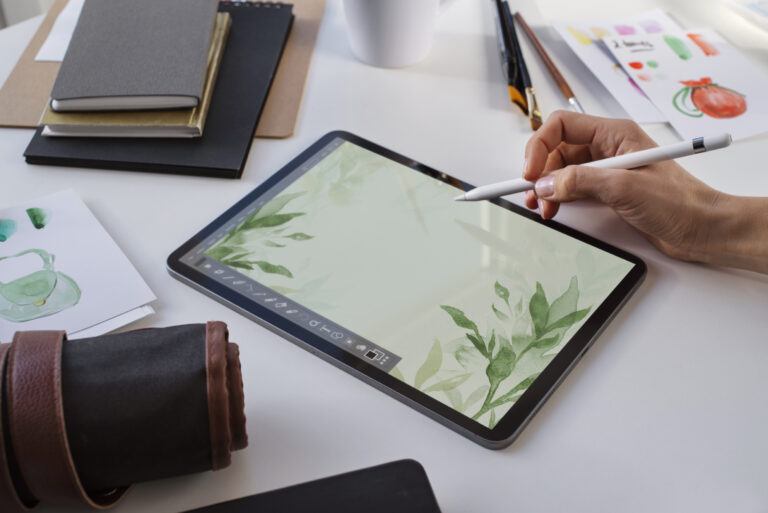
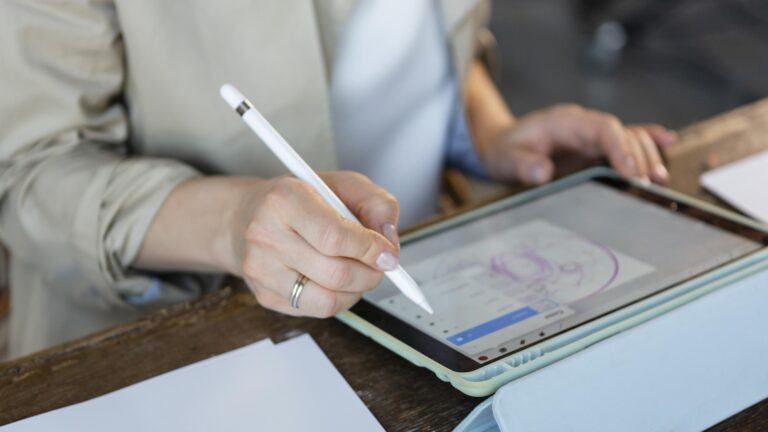
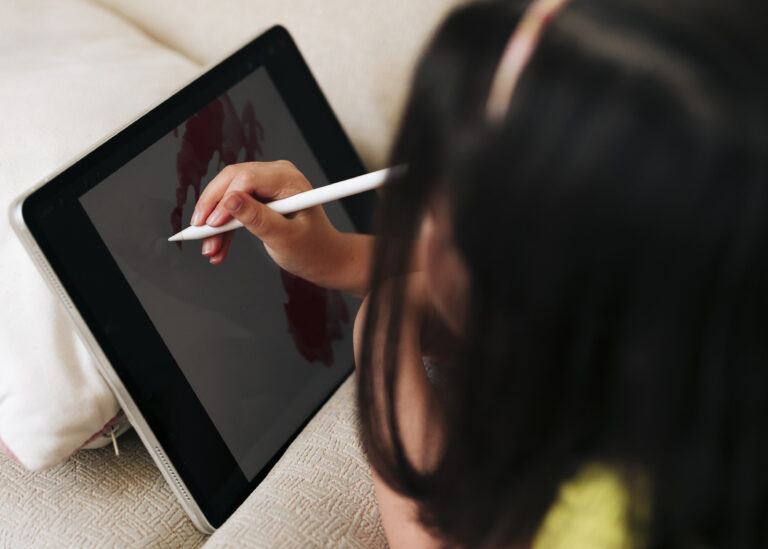
Connecting your Apple Pencil to your iPad can enhance your creative and productive tasks significantly. To pair the 2nd generation Apple Pencil, simply attach it to the magnetic connector located on the side of your compatible iPad. Your device is designed to recognize and pair with the Apple Pencil seamlessly.
For those using the 1st generation Apple Pencil, connect it to your iPad via the Lightning connector and look for the pairing option that appears on your screen. Ensure your Apple Pencil is charged to avoid any connection issues. Checking the device’s Bluetooth settings can also help if you’re encountering any difficulties.
These quick steps will get your Apple Pencil ready to use, allowing you to enjoy the benefits of a streamlined, versatile tool. Whether you’re sketching, taking notes, or navigating your device, the Apple Pencil paired with an iPad opens up a new world of possibilities.
Understanding Compatibility and How to Connect Apple Pencil to iPad
Ensuring that your Apple Pencil works seamlessly depends on compatibility with your specific iPad model. Identifying your iPad model and knowing which generation of Apple Pencil it supports are critical steps.
Identifying Your iPad Model
To determine your iPad model, go to Settings > General > About. You will see the model name and model number listed. This information is vital for ensuring compatibility with the Apple Pencil you have or plan to purchase.
Certain iPad models support only specific generations of Apple Pencils, so accurate identification is essential. For example, the iPad (10th generation) requires an adapter to connect and charge the Apple Pencil.
Compatibility of 1st Generation Apple Pencil
The 1st Generation Apple Pencil is compatible with a range of iPad models. These include the iPad mini (5th generation), iPad (6th, 7th, 8th, 9th, and 10th generations), iPad Air (3rd generation), and multiple iPad Pro models:
- iPad Pro 9.7-inch
- iPad Pro 10.5-inch
- iPad Pro 12.9-inch (1st and 2nd generation).
This broad compatibility makes the 1st Generation Apple Pencil a versatile tool for various devices.
Compatibility of 2nd Generation Apple Pencil
The 2nd Generation Apple Pencil is designed for newer iPad models, focusing on seamless integration and advanced features. Compatible models include iPad Pro 11-inch (1st, 2nd, and 3rd generation) iPad Pro 12.9-inch (3rd, 4th, 5th, and 6th generation), and iPad Air (4th and 5th generations).
These models support magnetic attachment and wireless charging, offering a more streamlined user experience compared to the 1st Generation Apple Pencil. Identifying whether your iPad supports this generation is crucial for taking full advantage of its capabilities.
Step 1: Preparing Your Devices
Before you connect your Apple Pencil to your iPad, make sure your iPad is running the latest version of iPadOS and that your Apple Pencil has sufficient charge.
Ensuring Your iPad Is Updated
First, verify that your iPad is up to date with the latest version of iPadOS. An outdated system may cause connectivity issues.
To check for updates, go to Settings > General > Software Update.
If an update is available, follow the on-screen instructions to download and install it. Keeping your iPad updated ensures that you have all the latest bug fixes and improvements, which can help in pairing your Apple Pencil seamlessly.
Checking Apple Pencil Charge Level
Next, check that your Apple Pencil is charged. A low battery can prevent the Pencil from pairing successfully.
For the second-generation Apple Pencil, attach it to the magnetic connector on the right side of your compatible iPad. The battery level should appear briefly on the screen. You can also check the charge level by adding the Batteries widget: Settings > Batteries > Add Batteries Widget.
For the first-generation Apple Pencil, plug it into the iPad’s Lightning port. You should see a pairing request if the battery is sufficiently charged.
Step 2: Pairing the Apple Pencil
Connecting your Apple Pencil to your iPad is essential for using its full range of features. The pairing process varies slightly between the 1st and 2nd generation Apple Pencils.
Pairing 1st Generation Apple Pencil
To pair a 1st generation Apple Pencil, ensure your iPad’s Bluetooth is on by navigating to Settings > Bluetooth. Attach your Apple Pencil to the Lightning port of your iPad. Wait a few seconds, and a Pair button should appear. Tap this button to complete the pairing process.
If the Apple Pencil does not connect, make sure it’s charged and attempt the pairing process again. Sometimes, forgetting the device in Bluetooth settings and re-pairing can resolve issues.
- Open Settings > Bluetooth.
- Forget This Device if listed under My Devices.
- Attach Apple Pencil to the Lightning port.
- Tap the Pair button when it appears.
Keep your Apple Pencil plugged in for a few minutes if it’s not charged.
Pairing 2nd Generation Apple Pencil
Pairing a 2nd generation Apple Pencil requires an iPad with a magnetic connector. To pair, simply attach the Apple Pencil to the magnetic connector located on the side of the iPad. A Tap to Connect prompt will appear on the screen. Tap this prompt to complete the pairing.
Ensure Bluetooth is enabled by going to Settings > Bluetooth. If the Apple Pencil does not pair, detach and reattach it to the magnetic connector, ensuring it snaps correctly into place.
- Enable Bluetooth: Settings > Bluetooth.
- Attach Apple Pencil to the magnetic connector.
- Tap Tap to Connect when prompted on the screen.
Charging occurs simultaneously when the Apple Pencil is connected to the magnetic connector.
Step 3: Verifying Connection and Troubleshooting
When connecting your Apple Pencil to an iPad, ensuring the connection is established correctly is crucial. Additionally, addressing potential pairing issues promptly will help maintain a smooth user experience.
Confirming Apple Pencil Connection
First, verify the connection by navigating to Settings > Bluetooth and checking if Bluetooth is enabled. Your Apple Pencil should appear under My Devices.
If the Apple Pencil is listed, it means the connection has been established. Tap on the Information icon and ensure the status displays “Connected.”
For Apple Pencil 1st Gen:
- Remove the cap and plug into the iPad’s Lightning port.
- Tap the Pair button that appears after a few seconds.
For Apple Pencil 2nd Gen:
- Attach magnetically to the side of your iPad.
- Wait for the Pair button to appear and tap it.
Troubleshooting Common Pairing Issues
If your Apple Pencil doesn’t connect, follow these steps to troubleshoot:
- Restart your iPad: Press and hold the power button until the slider appears. Turn off the iPad, wait a few seconds, and turn it back on.
- Forget This Device: In Settings > Bluetooth, find your Apple Pencil under My Devices. Tap the info icon and select Forget This Device. Reconnect the Pencil and try pairing again.
- Ensure Bluetooth is On: Check that Bluetooth is enabled in Settings.
- Use Correct Accessories: For 1st Gen Apple Pencil, ensure you use the proper Lightning adapter. For the 2nd Gen, ensure it attaches correctly to the side of the iPad.
If problems persist, visit Apple Support for additional assistance.
Optimize Your Apple Pencil Experience
To get the most out of your Apple Pencil, you need to fine-tune its settings and explore the variety of drawing and writing apps available. This ensures your pencil works seamlessly with your iPad, enhancing your productivity and creativity.
Customizing Settings for Your Apple Pencil
Customize your Apple Pencil settings through the iPad’s Settings app. Head to Settings > Apple Pencil to access various options.
Adjusting the pressure sensitivity allows you to change how hard you need to press down for your strokes to appear. This can make your drawing and writing feel more natural.
Enable the Scribble feature to convert your handwriting to text across all apps. This can be particularly useful for taking quick notes or marking up documents.
Activate Double-Tap and customize it to perform actions like switching between your current tool and eraser, showing the color palette, or displaying the last used app. This functionality speeds up tasks and increases efficiency.
Exploring Drawing and Writing Apps
A variety of apps can significantly enhance your Apple Pencil experience.
Procreate, for instance, is a powerful drawing app that supports extensive brush customization and high-resolution canvases. It’s particularly favored by artists for its advanced features.
Notability and GoodNotes are excellent for writing and taking notes. Both apps support a wide range of note-taking styles, including text conversion with the Scribble feature.
For markup and annotation, Adobe Acrobat and PDF Expert allow you to highlight, comment, and draw directly on PDFs. This is useful for reviewing documents or signing forms.
These apps leverage the Apple Pencil’s capabilities, providing a fluid and responsive experience for your creative and professional tasks.
Maintaining Your Apple Pencil
Proper maintenance of your Apple Pencil is key to ensuring its longevity and optimal performance. Focus primarily on regularly charging the device and knowing when and how to replace the tip for a better user experience.
Charging Your Apple Pencil
Charging methods vary based on whether you have the first or second generation Apple Pencil. For the first-generation Apple Pencil, you can charge it by inserting it into the Lightning connector on your iPad. Another option is using the USB-C to Apple Pencil Adapter to connect to a USB-C charger.
For the second-generation Apple Pencil, charging is more streamlined. Simply attach it to the magnetic connector on the side of your compatible iPad. Make sure you align it correctly so that it clicks into place. Charging will start automatically when connected.
Keep an eye on the battery level using the Batteries widget in the iPad’s Notification Center or in the Settings menu under the Apple Pencil section.
Replacing the Apple Pencil Tip
Over time, the tip of your Apple Pencil may wear down or become less responsive. To replace it, unscrew the old tip by turning it counterclockwise. Then, take the new tip and screw it on by turning it clockwise until it’s securely fastened.
Replacement tips can be purchased from Apple or authorized retailers. It’s essential to replace the tip as soon as you notice a difference in drawing or writing smoothness, ensuring continued precision and accuracy in your work.
To avoid damaging the new tip, store your Apple Pencil properly, ideally in a case or holder, and avoid using excessive pressure while writing or drawing. Regular maintenance of the tip will extend the life of your device and enhance your overall experience.
Advanced Features and Tips
Understanding the advanced features and tips can help you get the most out of your Apple Pencil and iPad experience. Mastering gestures, utilizing Markup, and using “Find My” for locating your Apple Pencil are essential techniques.
Using Gestures with Apple Pencil
Gestures enhance productivity by enabling quick actions. With the Apple Pencil 2, you can double-tap near the tip to switch between tools like the current tool and the eraser. Customize this in the Settings app under Apple Pencil.
If you often use the Control Center, familiarize yourself with Quick Notes. Swipe your Apple Pencil from the bottom right corner of the screen to open a Quick Note. This gesture is handy for capturing thoughts instantly.
Utilizing Markup and Screenshots
Apple Pencil’s compatibility with Markup makes editing screenshots and PDFs effortless. Take a screenshot by pressing the Home and Power buttons, then use the Apple Pencil to annotate directly on the image. The same method works for documents, making it easy to highlight, sign, or draw.
Use Markup in the Photos app, Files app, or while browsing PDFs. Tap the share button, choose the Markup option, and begin editing. This tool is also accessible through the Control Center for swift access.
Finding Your Apple Pencil with “Find My”
Misplacing your Apple Pencil can be frustrating. Luckily, the Find My app comes to the rescue. Open Find My on your iPad, and you’ll see the location of your paired Apple Pencil if it’s in close proximity.
Enable Bluetooth and ensure your Apple Pencil is charged for accurate location tracking. If you can’t locate it using physical proximity, use the Find My network to show the last known location. This feature is a lifesaver in busy or cluttered environments.
Accessorizing and Care
Selecting the right accessories and maintaining your Apple Pencil can enhance its lifespan and functionality.
Selecting the Right Accessories for Apple Pencil
Choosing the appropriate accessories for your Apple Pencil is essential for maximizing its potential. Begin with a protective case to prevent physical damage. Cases range in price but often include features like magnetic closures or slots for replacement tips.
Grips can enhance comfort, especially for extended use, and are available in various materials such as silicone or rubber.
When purchasing replacement tips, ensure they are compatible with your Apple Pencil’s generation. First-generation and second-generation models have different specifications.
Styluses and adapters can also extend functionality. Look for products that complement your usage, such as a charging adapter for the first-generation Apple Pencil or a magnetic stand for the second-generation model, which attaches magnetically to your iPad.
Clean and Store Your Apple Pencil Properly
Proper care is vital for maintaining your Apple Pencil. Clean the stylus regularly with a soft, lint-free cloth slightly dampened with water. Avoid using harsh chemicals that might damage the device.
Store your Apple Pencil in a protective case when not in use. This prevents scratches and accidental damage.
For Apple Pencil (2nd generation), make use of its magnetic feature by attaching it to your iPad when not in use. This keeps it safe and charged. If you own a first-generation Apple Pencil, store it in a secure place to avoid losing the cap or damaging the nib. Keep it charged to prevent battery deterioration.
By selecting the right accessories and maintaining proper care, you can ensure your Apple Pencil remains functional and lasts longer.
All About the Apple Pencil

Want to learn more about the Apple Pencil? Our beginner’s guide covers everything you need to know, from pairing the Apple Pencil with your device to utilizing its advanced features effectively. Learn about the Pencil’s pressure sensitivity, tilt functionality, and tips for maintaining its performance. Whether you’re an artist, student, or professional, this guide will help you get the most out of your Apple Pencil.
Frequently Asked Questions for How to Connect Apple Pencil to iPad
Learn the steps to connect your Apple Pencil to various iPad models and troubleshoot common connectivity issues. Discover solutions for pairing, maintaining, and resolving connectivity problems with your Apple Pencil.
