Learning how to draw a dog can be rewarding and enjoyable artistic endeavor, whether you’re a beginner or more experienced artist. Dogs make wonderful subjects with their expressive features and diverse breeds, offering endless possibilities for your artwork.

To draw a dog, start with basic shapes like circles and ovals to create the foundation of your drawing, then gradually add details like the eyes, nose, and fur. You can approach your dog drawing in either a realistic or cartoon style, depending on your preference and skill level. Many tutorials break the process down into 8 simple steps that make it accessible even for beginners.
When drawing a dog’s face, pay special attention to the eyes, which are more circular than human eyes. Begin with a circle, add eyelids relatively close to this circle, and place a pupil in the center to bring your canine character to life. This technique works well for both realistic portrayals and more stylized, cute cartoon versions of your favorite breeds.
Step 1: Understand Canine Anatomy
When drawing dogs, understanding their underlying anatomy is crucial for creating realistic artwork. The canine skeleton forms the foundation of your drawing, determining proportions and posture of your subject.
Dogs have a distinct skeletal structure with proportionally longer limbs than many other quadrupeds. Their spine is flexible, allowing for the characteristic curve from shoulders to hindquarters.
The head shape varies significantly between breeds but generally consists of a skull, muzzle, and jaw. Pay special attention to the cranial-to-facial ratio, as this differs dramatically between breeds like Bulldogs and Collies.
A dog’s musculature creates the visible contours beneath the fur. Major muscle groups include the shoulders, chest, haunches, and neck. These define the silhouette and create the characteristic shape of different breeds.
Key anatomical landmarks to note include:
- The stop (where forehead meets muzzle)
- Withers (highest point of shoulders)
- Elbow joints
- Hock joints in rear legs
Understanding fur patterns helps convey texture and dimension. Fur typically flows in specific directions, usually following the contours of the underlying muscles.
Weight distribution in dogs is centered around the chest, with approximately 60% of weight on the front legs. This influences their stance and movement patterns.
Practice observing real dogs or reference photos to internalize these anatomical principles. Your drawings will become more lifelike as you develop an intuitive understanding of how a dog’s body is constructed.
Step 2: Gather the Materials You Need
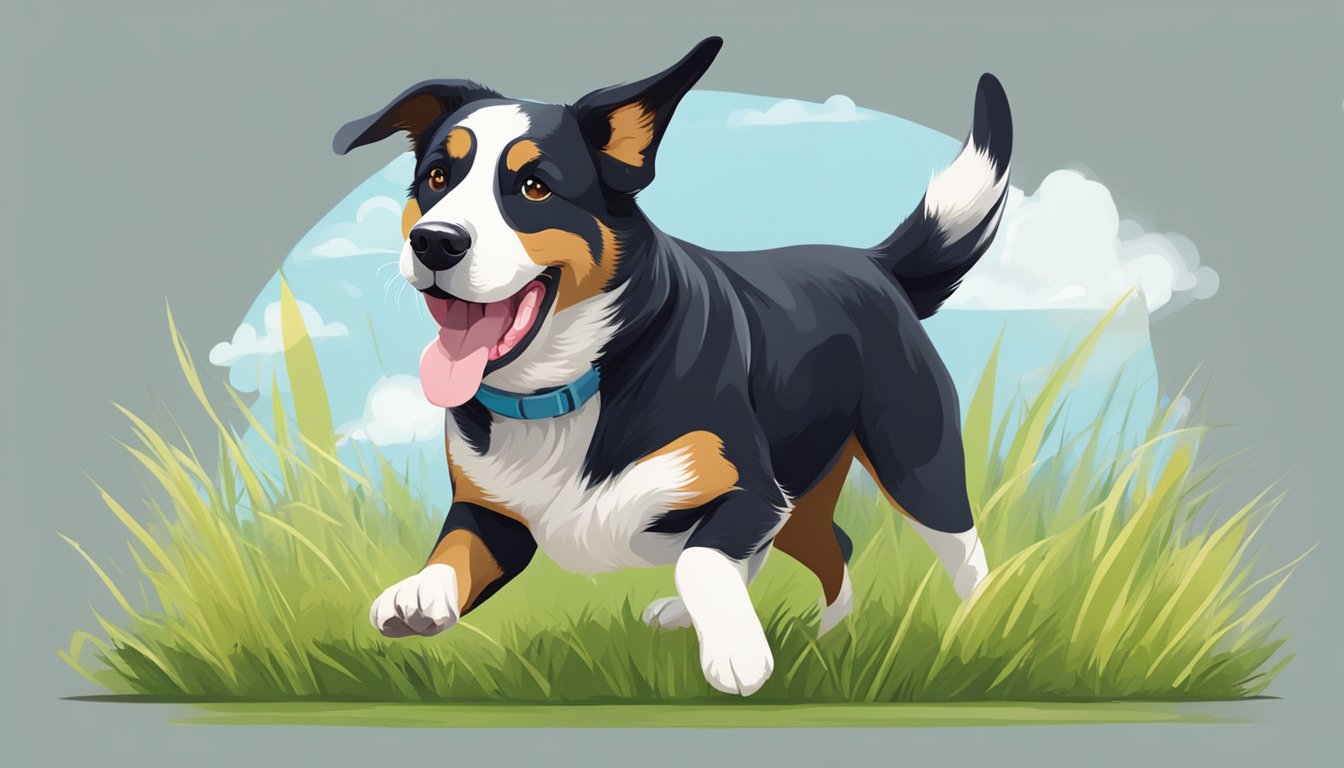
To draw a dog, you’ll need a few essential supplies to get started. Having the right materials will help you create more accurate and detailed drawings.
Basic Supplies:
- Pencils (range from H to B grades)
- Unlined paper or sketchpad
- Eraser
- Pencil sharpener
The pencil grade is important for different drawing techniques. Hard pencils (H) create lighter, thinner lines for outlines, while soft pencils (B) are perfect for shading and adding depth.
You might want to include colored pencils or markers if you plan to add color to your dog drawing. These can bring your artwork to life with realistic or stylized fur colors.
For more professional results, consider adding these items to your toolkit:
- Blending stumps or tortillons
- Kneaded eraser
- Drawing pens (for inking outlines)
- Bristol board or quality drawing paper
Lighting is also important when you’re drawing. Position yourself near natural light or use a desk lamp to see your work clearly without shadows obscuring details.
Remember that you don’t need expensive materials to start. A simple HB pencil and printer paper can work perfectly for practicing basic dog shapes and proportions.
Step 3: Learn about Basic Shapes and Proportions
Beginning with simple geometric forms is the key to drawing a realistic dog. Understanding proper proportions ensures your dog looks anatomically correct, while breaking down complex shapes into basic forms makes the drawing process manageable for artists of all skill levels.
Sketching the Dog’s Basic Body Structure
Start with an oval or elongated circle for the dog’s chest and ribcage. This forms the core of your drawing and establishes the overall size of your dog.
Add a smaller circle or oval that overlaps slightly with the first shape to create the hip and hindquarters. The positioning of these two main shapes will determine your dog’s posture—whether standing, sitting, or in motion.
Connect these shapes with a curved line along the top to form the spine and back. The curve should be gentle for breeds with straight backs or more pronounced for breeds like German Shepherds that have a sloping back.
For proportion guidance, most dogs’ bodies are approximately 2-3 head lengths long. Different breeds have varying body-to-leg ratios, so reference images of specific breeds can be helpful.
Adding the Head and Facial Features
Begin the head by drawing a circle or oval, with the size proportional to the body you’ve sketched. For most breeds, the head width should be similar to the width of the chest.
Add a muzzle by attaching a rounded rectangle or triangle shape to the front of the head circle. The length and width of the muzzle vary greatly between breeds—longer for collies or greyhounds, shorter for pugs or bulldogs.
Place two small circles for the eyes, positioned about halfway down the head circle. Eyes are typically set wide apart, facing forward on the head.
Sketch triangular or droopy shapes for the ears at the top of the head. Their size and position depend on the breed—upright for German Shepherds, floppy for Beagles.
Add a small circle or oval for the nose at the end of the muzzle, and a line for the mouth below it.
Drawing the Legs and Paws
For the front legs, draw two cylinders extending down from the chest oval. The upper segment should be slightly angled forward, while the lower segment is more vertical.
The back legs are more complex—start with a larger cylinder for the thigh, angling slightly backward from the hip oval. Add a second, shorter cylinder for the lower leg, angling forward.
For proper proportions, the legs should extend to make the dog’s back roughly level with 1.5-2 times the height of the head when standing.
Draw small oval or circular shapes for the paws at the end of each leg. Front paws typically point forward, while back paws often angle slightly outward.
Add toe divisions by drawing small curves at the front of each paw. Most dogs have four visible toes on each paw when viewed from the front or side.
Step 4: Create a Guideline
Before diving into the details of your dog drawing, establishing a proper framework is essential. A well-structured guideline serves as the foundation for capturing accurate proportions and placement of your canine subject.
Setting Up Your Drawing Space
Begin by selecting appropriate materials for your dog drawing. Choose a medium-weight paper that can handle multiple erasures and a selection of pencils (HB for guidelines, 2B-6B for details and shading).
Position your paper at a comfortable angle on a flat, well-lit surface. Many artists prefer natural light coming from their non-dominant side to prevent casting shadows while drawing.
Clear your workspace of distractions and gather reference images of the specific dog breed you want to draw. Having multiple angles of reference will give you a better understanding of the dog’s structure.
Consider using tracing paper over your initial sketch if you want to experiment with different poses without starting over completely.
Measuring and Placement Techniques
Start with basic shapes to establish your dog’s proportions. Most dogs can be broken down into simple forms: an oval for the chest, a circle for the head, and smaller circles for joints.
Use light, loose strokes when creating these initial shapes. They should be barely visible in your final drawing but crucial for accurate placement.
Measure the relationship between different body parts using your pencil as a ruler. Hold it at arm’s length, align it with your reference image, and transfer those proportions to your paper.
The head typically serves as your unit of measurement. For most dogs, the body length is about 1.5 to 2 times the head length. The height at the shoulder is usually similar to the body length.
Mark key points such as eye position, ear placement, and leg joints before connecting them with more defined lines. This prevents major proportion errors later in your drawing process.
Step 5: Define the Outline
Creating a clean, recognizable outline is the foundation of any dog drawing. The outline serves as the framework that will guide all your detailing work later in the process.
Refining the Body Contour
Start by sketching the basic shape of the dog’s body using light, flowing lines. Create an oval or elongated circle for the main body. Connect this to a smaller circle for the chest area.
Pay attention to the proportions of the breed you’re drawing. Larger breeds like German Shepherds require more substantial body outlines, while smaller breeds need more compact shapes.
Use curved lines rather than straight ones to capture the natural contours of the dog. When working on the legs, remember they’re not perfectly straight but have slight bends at the joints. Draw thin rectangles or slightly curved shapes for the legs, making the back legs typically more angular than the front.
Detailing the Head and Ears
The head shape varies significantly between dog breeds. Begin with a circle for the skull, then add the muzzle using curved lines extending from the circle. For longer snouts, extend these lines further.
Draw the eyes as simple circles within the head outline. Position them with appropriate spacing based on the breed. As noted in search results, dogs’ eyes are more circular than human eyes, so keep them rounded rather than almond-shaped.
For the ears, observe whether the breed has pointy, floppy, or medium ears. Draw triangular shapes for pointy ears or rounded rectangles for floppy ones. Connect them smoothly to the head outline. Remember that ears are three-dimensional, so add slight curves to show their depth rather than flat shapes.
Tail and Fur Texture
The tail shape depends entirely on the breed you’re drawing. For curly-tailed dogs like Pugs, draw a tight spiral. For dogs with straight tails, use a gently curved line extending from the back.
To suggest fur texture in your outline, vary your line weight slightly. Use lines that follow the natural growth direction of the fur. This creates more realistic contours without adding excessive detail at this stage.
Short-haired breeds require minimal texture indication, while long-haired breeds benefit from small curved lines extending slightly beyond the main body outline. These subtle extensions suggest fur without overcomplicating your drawing.
Don’t worry about perfection at this stage. Your outline should capture the essence and pose of the dog while leaving room for refinements as you progress to more detailed stages of your drawing.
Step 6: Add Shading and Texturing
The difference between a flat sketch and a lifelike dog drawing lies in the details of shading and texturing. Proper techniques create the illusion of fur, depth, and the unique characteristics that make dogs so expressive.
Techniques for Fur
When drawing dog fur, observe the direction and length of hair growth. Short-haired breeds like Labradors require subtle, short strokes following the body’s contours. For longer-haired dogs, use flowing, varied-length strokes that overlap naturally.
Create texture by varying your pencil pressure—lighter for highlights and firmer for shadows. Use a combination of pencils (HB for mid-tones, 2B-4B for darker areas) to achieve varied textures.
Try the layering technique: start with light, broad strokes in the fur’s direction, then gradually add darker, more defined strokes. For golden or yellow labs, leave small areas untouched to represent light reflecting off the fur.
Remember that fur isn’t uniform. It’s shorter around the face and paws, and longer on the tail and back.
Adding Depth and Dimension
Understanding light source is crucial for creating a three-dimensional dog. Establish where your light is coming from and consistently apply shadows on the opposite side.
Use these shading techniques for realistic dimension:
- Cross-hatching: Overlapping lines at different angles
- Stippling: Small dots concentrated in darker areas
- Blending: Smooth transitions using a blending stump or tissue
Pay special attention to natural shadows under the belly, below the chin, and where legs meet the body. These areas create natural pockets of darkness.
For highlighted areas like the top of the head or back, use your eraser as a drawing tool to lift graphite and create lighter patches. This technique works particularly well for showing the sun catching a lab’s coat.
Creating Realistic Eyes and Nose
Eyes are the emotional center of your dog drawing. Start with the basic almond shape, then add a dark pupil leaving a small white reflection point to create the “spark of life.”
Draw the iris with radiating lines from the pupil, varying in darkness. The eyes should appear moist, so leave highlights at the corners and along the lower lid.
For the nose, begin with its basic shape, typically a rounded triangle for labs. Add nostril openings as dark, slightly curved lines. The texture of a dog’s nose is distinctive—use stippling to create a leathery appearance.
The nose should appear slightly wet and reflective. Add a small highlight on one side to suggest moisture. This detail, along with expressive eyes, brings your dog drawing to life.
Step 7: Finalize the Drawing
The final phase of your dog drawing transforms it from a basic sketch into a polished artwork. This stage focuses on refining proportions, adding distinctive details, and creating highlights that bring your dog to life.
Evaluating Proportions
Begin by stepping back and examining your drawing objectively. Check if the dog’s head is appropriately sized in relation to its body—typically about one-third of the total body length for most breeds. Verify that the legs are properly positioned and proportional to the torso.
Use the technique of squinting at your drawing to better see the overall shapes without getting distracted by details. This helps identify any asymmetry or imbalance.
Compare the proportions of different body parts: the distance between the eyes should be approximately one eye-width apart, and the ears should align with the top of the head and extend based on the specific breed you’re drawing.
If proportions seem off, make gentle adjustments rather than drastic changes. Remember, dogs come in various shapes and sizes, so reference images of your specific breed remain valuable even at this stage.
Enhancing Details and Features
Focus on refining the dog’s facial features to capture its personality. The eyes should have depth—add a small white highlight to create the illusion of light reflection and bring them to life.
Define the nose with careful shading, ensuring it has the correct shape for your chosen breed. Add texture to the fur using directional strokes that follow the natural growth pattern of dog hair.
Key details to enhance:
- Whiskers (light, delicate lines)
- Fur texture (short or long, depending on breed)
- Paw pads with subtle creases
- Collar details if included
For realistic drawings, vary your pencil pressure to create depth in the fur. Darker strokes work well for shadows and overlapping fur, while lighter touches create the illusion of softer areas.
Using Eraser for Highlights
Your eraser is as important as your pencil for creating a dynamic dog drawing. Use a kneaded eraser shaped to a fine point to create precise highlights in the eyes, nose, and fur.
For the dog’s coat, strategically erase small areas to suggest light hitting the fur. This technique is particularly effective for depicting the ridge of fur along the back or the fluffier areas around the neck and chest.
Apply the following eraser techniques:
- Gentle dabbing for subtle fur texture
- Clean sweeps for stronger highlights on glossy areas like the nose
- Precision lifting for fine details like individual hairs or whiskers
When working on dark sections, try a white gel pen or correction fluid for very small, bright highlights that can’t be achieved with an eraser alone. These finishing touches add dimension and make your dog drawing appear more three-dimensional and lifelike.
Bonus: Add a Background and Environment
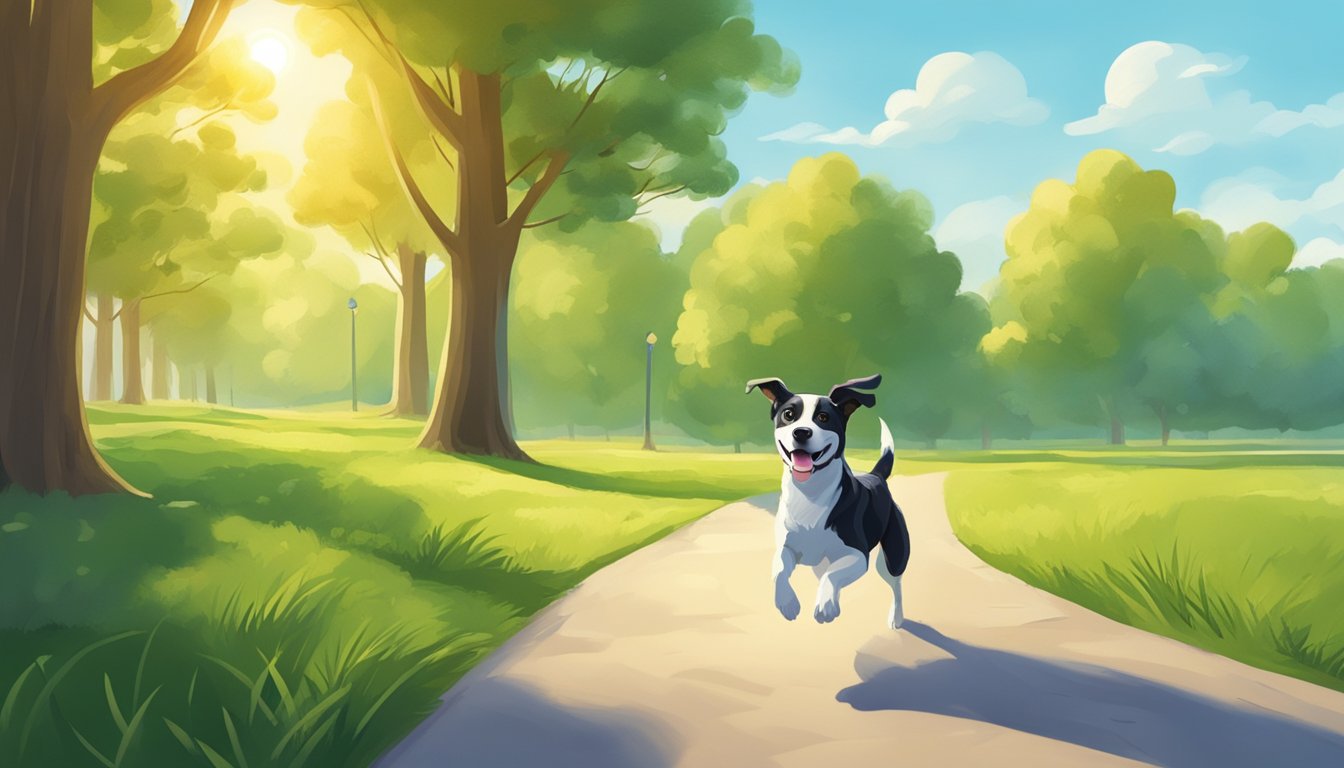
The setting in which you place your dog drawing can elevate the artwork from a simple sketch to a complete composition. Thoughtful backgrounds provide context and depth, while proper lighting creates dimension and realism.
Incorporating a Background
When adding a background to your dog drawing, consider the story you want to tell. A simple indoor setting with furniture suggests a family pet, while an outdoor landscape might portray a dog in its natural element.
Start with light sketching to establish the background elements without overpowering your main subject. Keep background details less defined than your dog to create depth and focus.
You can use perspective techniques to ground your dog in the environment. Adding a simple shadow beneath your dog connects it to the surface it’s standing on.
For beginners, start with minimal backgrounds—perhaps just a horizon line or simple shapes suggesting a park or home setting.
Considering Light Source and Shadow
Establishing a consistent light source is crucial for creating realistic dog drawings. Decide where your light is coming from—top right, left side, or directly above—and maintain this direction throughout your drawing.
Shadows add dimension and weight to your dog. The cast shadow should fall opposite your light source and will appear darker where it’s closer to the dog.
Study how fur reflects light differently based on color and texture. Lighter fur will show more highlights, while darker fur shows fewer but more pronounced light reflections.
Pay attention to how the dog’s facial features cast small shadows. The eyes often sit in slight shadow under brow ridges, while the nose may cast a shadow on the muzzle.
How to Draw for Beginners
Learning How to Draw can be an intimidating challenge for beginners, but we’ve got you covered. We cover everything you need to get started, from basic tools like a pencil, paper, and eraser, and how to focus on fundamental techniques such as practicing simple shapes and lines to build confidence and skill. Our comprehensive guide will walk you through the process of building your skills and confidence in no time.
Frequently Asked Questions for How to Draw a Dog
Drawing dogs can seem challenging, but with the right approach, anyone can create impressive canine artwork. These common questions address various techniques for artists of all skill levels.


