Learning how to draw a rose on Procreate can seem daunting due to the flower’s intricate layers and delicate petals. However, with Procreate’s intuitive tools and versatile brushes, creating a beautiful rose illustration can be simplified into approachable steps. This guide will assist you in mastering the process and techniques needed to render a rose digitally from the initial sketch to the final touches.
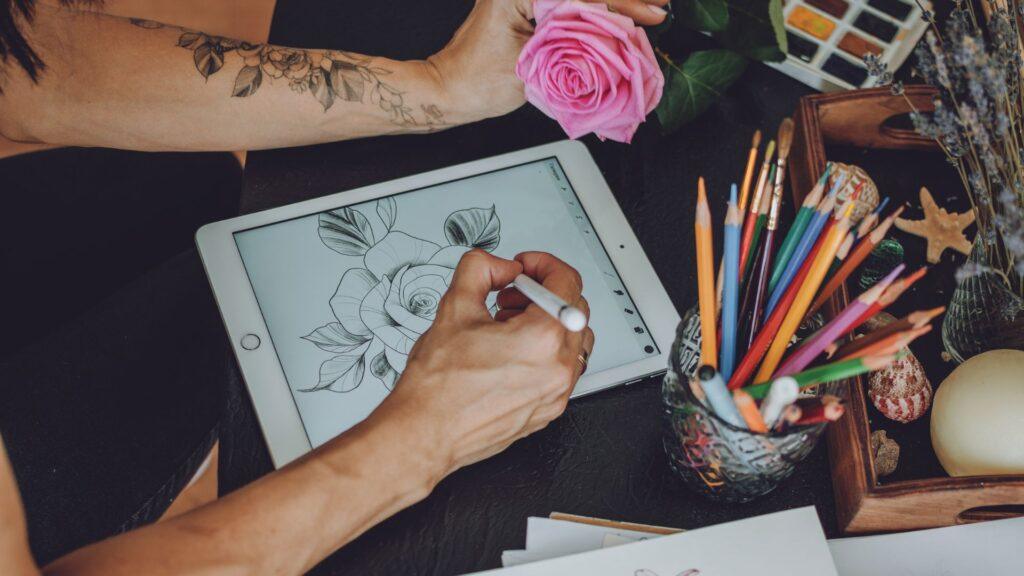
Before you start learning how to draw a rose on Procreate, familiarize yourself with the Procreate interface and ensure your Apple Pencil is ready. You will learn how to construct the rose’s basic shape, refine the outlines, and progressively add depth and details to your drawing. By exploring the various brush options Procreate offers and understanding which strokes best represent the rose’s texture, you will develop the skills necessary to produce a realistic or stylized rose that captivates the viewer.
Layer management is key in digital illustration, and with Procreate, you can easily organize your work. We’ll cover how to use layers to your advantage, breaking down the drawing process into manageable sections—beginning with the foundation and gradually building up to shading, coloring, and adding those final flourishing touches to bring your rose to life. Whether you’re a beginner or skilled artist, this guide will provide the insight needed to expand your digital artistry with confidence.
Getting Started with Procreate
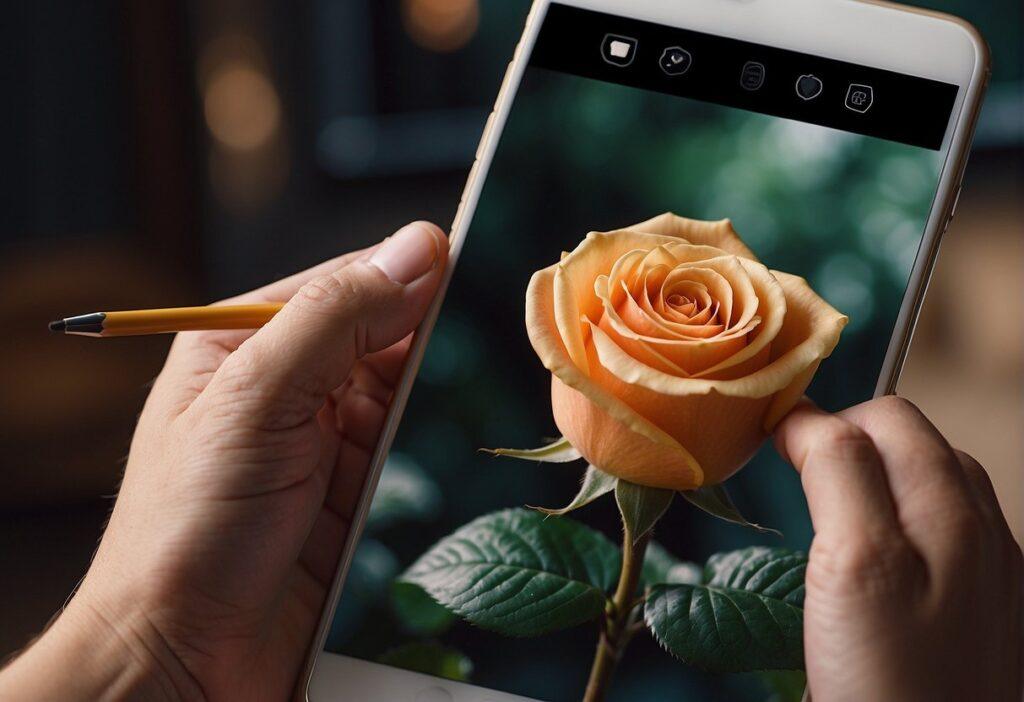
Before diving into creating artwork like a rose on Procreate, it’s crucial to familiarize yourself with the app’s interface and canvas settings. This will lay the groundwork for effective drawing.
Understanding the Procreate Interface
When you open Procreate, the Gallery is the first screen you see, housing all your artwork. The top right corner has a ‘+’ button to start a new project. Once you tap to create a new canvas, the main drawing interface appears. Key areas to know:
- Toolbar: Located at the top of the screen, it contains tools for painting, erasing, smudging, and adjusting layers.
- Color Picker: Top right, used to select and customize your palette.
- Brush Library: Accessed via the brush icon, it provides a selection of brushes and pencils.
- Layers Panel: Found on the right, this panel allows management of different elements in your drawing.
- Actions Menu: Represented by a wrench icon, this holds options for adjustments, canvas settings, and sharing.
Setting Up Your Canvas
To begin drawing, setting up your canvas to the desired specifications is essential:
- Tap the ‘+’ to create a new canvas.
- Choose a preset size or create a custom size by tapping the ‘Custom Canvas’ option.
Canvas Properties:
- Width & Height: Determine the size of your canvas in pixels (good practice for a detailed piece is to start with at least 3000 px on the long edge).
- DPI: Set the dots per inch for print quality (300 DPI is standard for high-quality prints).
- Color Profile: Tailor this to your final output, sRGB for web or CMYK for print.
Once these settings are in place, you’ll be ready to select a brush or pencil and begin drawing. The Procreate app offers a myriad of brushes in categories like inking, painting, and calligraphy to best suit your artistic needs. Remember, experimenting with different brushes can lead to unique effects for your digital rose artwork.
Drawing Fundamentals

In this section, you’ll learn the essential skills needed to draw a rose on Procreate, which includes starting with a simple sketch, understanding the role of basic shapes, and drafting the rudimentary outline of a rose.
Approaching Your First Sketch
To begin your sketch, select the Sketching brushes in Procreate. Your first stroke should capture the general gesture of the rose, focusing on fluidity rather than perfection. Aim to keep your lines light so that you can easily refine them later.
Mastering Basic Shapes
Roses are complex, but they can be broken down into simple components. Start by drawing a circle for the base of the flower.
- Circles: Serves as the main body of the rose.
- Ellipses: Represent the opening of the petals.
- Spirals: Help suggest the twist of the petals.
By visualizing and drawing these basic shapes, you establish a solid foundation for your rose.
Creating a Basic Rose Outline
Once you’ve got the basic shapes down,
- Draw a small spiral at the center of your circle. This spiral represents the rose’s tightly coiled center petals.
- Surround the spiral with short, curved lines to form the inner petals.
- As you work outward, create elongated ellipses to represent the larger petals, layering them to add depth.
By pairing these steps with your understanding of floral anatomy, you’ll develop a simple yet effective outline for your rose drawing on Procreate.
Rose Anatomy and Structure
Understanding the structure of a rose is crucial before you begin to replicate its form on Procreate. Recognizing each part and its function aids in a more accurate and realistic portrayal.
Identifying the Parts of a Rose
A rose consists of several key components:
- Petals: The colorful, often soft parts that overlap to form the shape of the rose.
- Sepals: The small green leaf-like parts that sit at the base of the petals.
- Stem: The long part that holds the rose upright.
- Leaves: Attached to the stem, they are typically green with a jagged edge.
- Bud: The immature stage of a flower that is usually tighter and smaller than the blooming rose.
When drawing, you should note that petals are not uniform and vary in shape and size, giving a rose its natural look. The sepals provide a contrast to the petals and help ground the flower visually.
Drawing the Center Point and Heart
To start drawing a rose:
- Center Point: Begin by sketching the center point of the rose, where the petals are the tightest and more detailed. This will be the focal point from which you will build the rest of the flower.
- Heart: Around the center point, add the ‘heart’ of the rose. This is where the petals are the most concentrated, and they should be drawn:
- Starting as tight, overlapping shapes near the center.
- Gradually becoming larger and more defined as they move outward.
Here’s how you might visually map out that process:
| Step | Action |
|---|---|
| Step 1 | Draw a small, tight circle for the center point. |
| Step 2 | Surround with curved shapes to form the heart. |
| Progression | Ensure each new layer of petals is less tight than the previous one, to simulate the blooming effect. |
Within each step, consider the bend and curve of each petal to reflect a three-dimensional form. Keeping in mind the overlapping nature of the petals will add to the realistic appearance of your rose drawing.
How to Draw a Rose on Procreate: Layering and Detailing Techniques

When drawing a rose in Procreate, mastering layering and detailing techniques is key to achieving a realistic effect. Organizing different elements like petals and textures on separate layers allows for a structured approach to detailing.
Utilizing Layers for Petal Overlap
Procreate’s layer system helps you create depth in your rose drawing by allowing petals to overlap naturally.
- Start by sketching your rose with a simple base layer for the overall shape.
- Add new layers above this for each set of petals, ensuring to draw them in the sequence they overlap in nature.
- Use the Move tool to position petals with a sense of depth.
Remember, the petal at the front should be on the topmost layer, thereby achieving a natural overlap.
Adding Texture and Veins
Creating a realistic petal involves adding texture and the delicate veins that are a signature characteristic of rose petals.
- Texture: Utilize brushes with a textured finish to give a natural feel to the petals. An uneven pressure can mimic the variations in a real petal.
- Veins: On a new layer above the petal color, use a finer brush to draw the delicate veins.
Adjust the opacity of the vein layer to ensure that the veins integrate well without overwhelming the petal’s color.
Applying Shading and Highlights
Shading and highlights give your rose depth and dimension, enhancing its realistic appearance.
- Shading: Identify where the light source is and add a darker tone to the areas that would naturally be in shadow.
- Use a soft brush to gently blend the shadow areas into the base color for a smooth transition.
- Highlights: Determine the points where the light hits the rose most intensely.
Use a lighter color and a smaller brush size to carefully apply highlights along the edges and tips of the petals where light would naturally reflect.
Advanced Drawing Techniques

To take your Procreate rose drawings to a higher level, focus on two main aspects: creating a sense of depth and applying softness to your shadows and highlights for a more realistic look.
Creating Realistic Depth and Perspective
When drawing a rose, depth is crucial to achieving a realistic appearance. Begin by sketching a basic outline of the rose in perspective, ensuring that the size and shape of the petals are consistent with how they would appear in real life from the chosen viewpoint. Use the Transform tool to adjust the petals’ positions, making some larger and others smaller to convey distance.
- Shading: Add depth by selecting darker hues for areas farther from the light source. Use a tapered brush to apply shadows within the folds of the petals and at the base of the flower.
- Highlights: Conversely, brighten areas closest to the light source with a lighter color to create the effect of light falling on the rose.
Remember, the key is to imagine your light source and consistently apply your shading and highlights according to this source.
Employing Gaussian Blur for Softness
Gaussian Blur is a powerful tool in Procreate that can bring softness to your rose, making it appear more realistic and less harsh.
- Use Gaussian Blur to subtly blend the shadows and highlights, which adds a gentle transition between colors and tones.
- Method:
- Select the layer with your shading or highlights;
- Tap on the Adjustments menu (the magic wand icon);
- Choose Gaussian Blur and slide your finger to the right to adjust the blur intensity.
Applying Gaussian Blur creates a delicate and diffuse effect, simulating the softness found in natural lighting and making your rose more lifelike. Be mindful not to overdo the blur; subtle application is often more effective.
Floral Variations
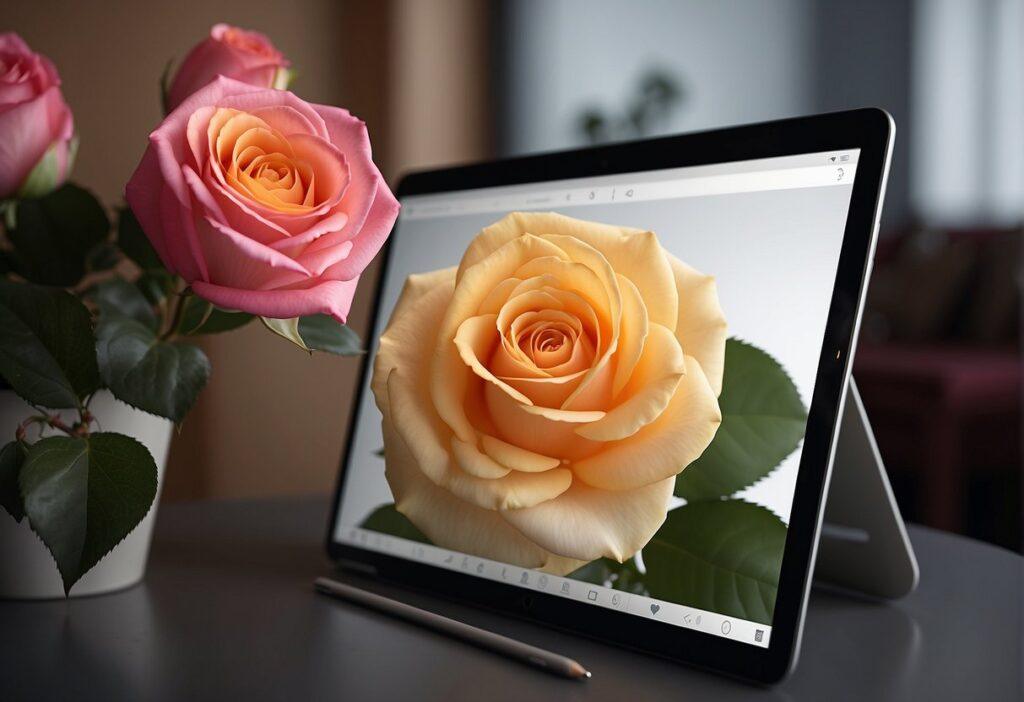
When drawing flowers on Procreate, it’s essential to experiment with different types and combinations to enhance the complexity and appeal of your composition.
Incorporating Different Flowers
While roses are a classic choice, integrating other flowers such as daisies and sunflowers can add diversity to your digital painting. To successfully incorporate these flowers:
- Daisies:
- Use a fine-tipped brush to create the thin petals.
- They have a simple structure, so start with a circle for the center and add elongated oval petals around it.
- Sunflowers:
- Begin with a large, textured circle for the dense center.
- Draw robust, individual petals emanating outward to represent their trademark look.
By combining various flowers, you develop a richer and more creative bouquet in your artwork.
Mixing Flowers with Leaves
Leaves provide visual interest and a natural balance to flower arrangements in your drawings. To mix flowers with leaves effectively:
- Use different shades of green to create depth in your leaves.
- Observe how leaves cluster around real flowers to inform your drawing. Typically, leaves grow at the base of flowers or along the stems.
Drawing flowers and leaves together requires attention to how they interact in nature, which ensures your digital painting feels authentic and cohesive.
Final Touches

Adding final touches to your rose drawing in Procreate involves a refined use of color and the strategic use of brushes. Here, you’ll learn to elevate your artwork by focusing on how to enhance details with specific tools and references.
Refining with Color and Brand Brushes
Once your rose has its basic form, it’s time to enrich the illustration with deeper colors and texture.
- Choosing Colors:
- Examine the layer with your rose’s base color.
- Select an appropriate brand brush that mimics natural petal texture.
- Use the Color Picker to choose a slightly darker shade for shadows and a lighter tint for highlights.
- Applying Brushes:
- Start with flower brushes that offer a more authentic texture.
- Layer colors using Clipping Masks for easy adjustments.
- Utilize opacity settings to gently blend the colors and give a realistic depth to the petals.
Utilizing References and Resources
Procreate’s vast array of resources can enhance your artwork’s authenticity and detail.
- Reference Material:
- Use photographs or live flowers as references for accurate shading and petal structure.
- Apply the texture from these references using custom brushes that match the required detail.
- Resource Integration:
- Incorporate Procreate’s brush sets aimed at floral designs.
- Revisit original resources as you add intricate details, ensuring that the final piece captures a true-to-life rendition of a rose.
For a full tutorial on How to Draw on Procreate, check out our detailed tutorial. We also have a tutorial on How to Draw with Apple Pencil as well!
Frequently Asked Questions
This section covers common inquires about crafting a rose illustration in Procreate, from basic techniques for beginners to creating realistic textures and finding suitable brushes.


