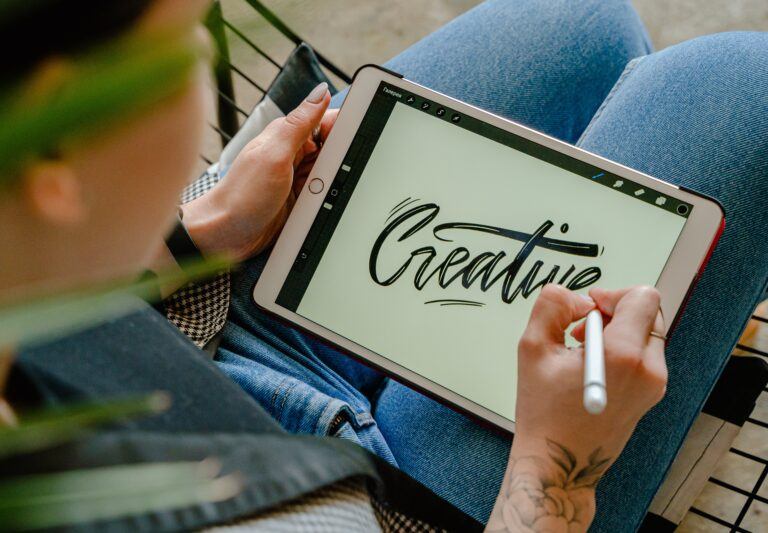
Learning how to paint with gouache in Procreate can be an exciting way to blend traditional and digital art techniques. Digital painting offers the convenience of experimenting without the fear of wasting materials, and Procreate’s intuitive interface makes it accessible to artists of all levels. To start, you will need a gouache brush set for Procreate that mimics the texture and blending properties of real gouache.
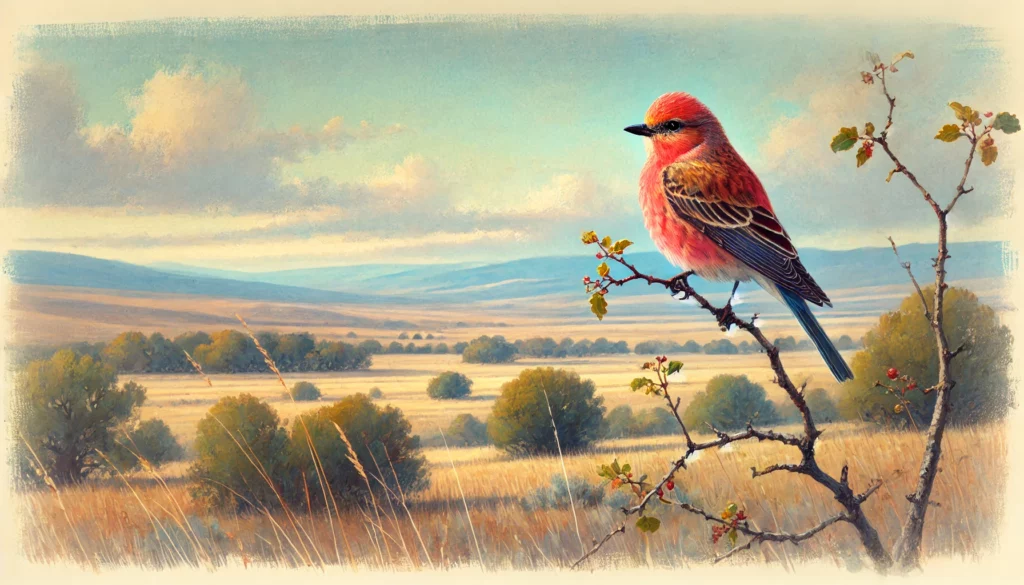
Using gouache brushes in Procreate allows you to achieve the creamy and opaque qualities that are characteristic of gouache. You can layer colors, create gradients, and add detailed finishing touches to your artwork. A key technique is to use light pressure with relaxed brush strokes to create smooth, realistic effects.
Exploring Procreate’s tools, such as layers and blending modes, can elevate your gouache paintings. You can separate different elements of your composition, making it easier to adjust and refine your work. With the right brush set and an understanding of gouache’s properties, you can create stunning digital paintings that capture the essence of traditional gouache art.
Understanding Gouache in Procreate
Gouache is a versatile medium known for its vibrant opacity and matte finish. When used in Procreate, it bridges traditional painting techniques with digital conveniences.
What Is Gouache?
Gouache is a water-based paint similar to watercolor but with higher pigment concentration, resulting in a more opaque and vibrant finish. It is often used for its matte look and ability to create flat color fields.
In Procreate, Gouache mimics these properties through digital brushes designed to replicate the texture and behavior of traditional Gouache. This allows artists to achieve the same rich, matte effects, with the added bonus of digital editing capabilities.
Key features of Gouache:
- High opacity
- Matte finish
- Intense pigmentation
Gouache Painting vs. Other Digital Painting Methods
Gouache in Procreate distinctly differs from other digital painting methods. Unlike watercolors, Gouache provides excellent coverage with less transparency. It is more forgiving, allowing you to layer colors without them blending too much.
Compared to vector art, digital Gouache maintains a more organic and natural brushstroke look. This makes it ideal for styles that require a hand-painted appearance.
When you use digital brushes designed for Gouache, you can recreate traditional techniques such as layering, blending, and adding texture. These brushes allow for the versatility and simplicity that physical Gouache offers, but with the advantages of undo, layering, and other digital tools in Procreate.
Advantages of digital Gouache:
- Flexibility with layers
- Easy corrections with undo
- Various brush choices to replicate real textures
Step 1: Set Up Procreate for Gouache Painting
Procreate provides powerful tools for digital painting. This setup guide will help you create the perfect environment for gouache painting, including canvas selection, brush options, and custom brush sets.
Choosing the Right Canvas
Selecting the appropriate canvas size and resolution is crucial for your gouache artwork. In Procreate, go to the gallery, tap the “+” icon, and choose a suitable canvas.
A 300 DPI resolution is recommended for high-quality prints. Opt for a larger canvas size, such as 3000×4000 pixels for detailed work. Larger sizes give you flexibility for intricate brush details and avoid pixelation.
Understanding Procreate Brushes for Gouache
To simulate real gouache, understanding different brushes in Procreate is essential. Procreate offers default brushes that can mimic traditional gouache paints, like the “Painting” and “Watercolor” categories.
Experiment with settings such as opacity, flow, and pressure sensitivity. Adjust these settings to match gouache’s unique characteristics, including its matte finish and opaque layers. Customize brush settings to perfect the look and feel of gouache.
Importing and Using the Gouache Lovers Brush Set
The Gouache Lovers Brush Set enhances your painting experience with tools specifically designed for gouache. Download and install this set from the provided source.
To import, use the Actions menu (wrench icon) > Insert a file, and navigate to your brush set file. Once imported, explore the brush collection to familiarize yourself with its features. These brushes offer a variety of textures and finishes, perfecting your digital gouache.
Creating a Custom Gouache Brush Set
Develop your own gouache brush set for a personalized touch. Start by duplicating an existing brush from the brush library. Access the brush settings by tapping on the duplicated brush.
Modify attributes like grain, shape, and flow to mimic real gouache. Save your custom brushes into a new set labeled “My Gouache Brushes”. Utilize diverse brush tip shapes and textures to expand your artistic possibilities.
Tailoring your custom brush set ensures that you have all the tools necessary for your specific painting style and needs.
Step 2: Learn Gouache Painting Techniques on Procreate
When painting with gouache in Procreate, mastering layer management, color blending, texture addition, flat style creation, and emulating the streaky semi-transparent look is essential. Understanding these techniques will greatly enhance your digital gouache painting skills.
Layer Management
Effective layer management is crucial in digital gouache painting. You should create separate layers for different elements in your composition. For instance, having distinct layers for the background, main subjects, and details enables you to edit each part without affecting others.
Using layer masks can help in non-destructive editing, giving you the flexibility to adjust without permanent changes. Additionally, using groups to organize layers can keep your workspace tidy and easily navigable.
Blending Colors
Blending colors in Procreate is key to achieving realistic gouache effects. Utilize the blending tool or smudge tool with gouache brushes to mix colors smoothly.
Pay attention to the pressure and opacity settings, as they can influence the blending process. Trying different gouache brush settings can help you achieve the desired blend consistency. Experimenting with blending modes, like multiply or overlay, can create unique effects that mimic traditional gouache blending.
Adding Textures and Details
Texture plays a significant role in gouache painting. To add textures, use various textured brushes available in Procreate’s library or custom gouache brushes.
Overlaying different textures on separate layers can add depth and richness to your artwork. For intricate details, zoom in and use fine-tipped brushes at lower opacity settings. Applying varying textures to different parts of your painting can make it more dynamic and interesting.
Creating Flat Style Illustrations
Flat style illustrations with gouache involve using solid colors with minimal shading. Start with a clean and vibrant color palette.
Utilize gouache brushes with uniform fill to ensure smooth, flat strokes. Keep your layers organized so you can easily adjust colors. Using the selection tool to isolate areas while applying color helps maintain sharp edges and clean lines. Consistency in brush size and color tones is vital for a cohesive flat-style illustration.
Emulating Streaky Semi-Transparent Looks
To emulate the streaky, semi-transparent look of traditional gouache, you need to adjust your brush settings carefully. Choose gouache brushes that replicate the texture and opacity variations of real gouache.
Set your brush opacity to a lower level to let underlying layers peek through. Use long, fluid strokes and allow overlaps to create the streaky effect. Adjusting the brush texture settings can make the strokes appear more organic, adding to the authenticity of the gouache look.
Experimentation is key to finding the right balance for a natural, streaky finish.
Step 3: Start Your First Gouache Project
Before diving into painting, it’s crucial to sketch the basic outline of your subject and establish a background layer to provide depth and context.
Sketching the Basic Outline
Begin by opening Procreate and creating a new canvas. Use a sketching pencil from your brush collection to draw a rough outline of your desired subject.
Select a source image if needed, and trace over it lightly to get the proportions right. It’s important to keep the sketch layer separate to make adjustments later easily.
Tip: Lower the opacity of your sketch layer once you’re satisfied to avoid it interfering with your painting process.
Establishing the Background Layer
Next, switch to the background layer of your project. Choose a gouache brush that mimics traditional gouache texture for an authentic feel.
Lay down broad strokes to cover the canvas, focusing on the general color scheme and mood. This layer sets the scene and helps you build up the details in subsequent layers.
Make sure your background complements the main subject but doesn’t overpower it. Adjust the opacity as needed to ensure a balanced composition.
Step 4: Follow This Step-by-Step Gouache Tutorial
To achieve a polished gouache painting in Procreate, you’ll find it helpful to focus on specific techniques for different elements like foliage, flowers, and berries. Let’s break down each technique so you can master each component of your artwork.
Painting Foliage and Leaves
Start by selecting a gouache brush from your Procreate brush set. Use a base layer of mid-tone green to sketch the general shape of the leaves. Keep your brush strokes loose and fluid to mimic natural leaf forms.
For texture, use a darker green to add shadows along the veins and edges of the leaves. Blend these shadows slightly with a softer brush to create depth. Use a lighter green or yellow to highlight the leaf tips and central veins.
Consider adding subtle variations in color to make the foliage more realistic. Use different shades of green and even incorporate hints of brown or yellow for a more natural look. Layering is key, so build up multiple layers of color for complexity.
Adding Floral Elements and Petals
Begin by sketching the flower structure with a light color. Use a soft brush to lay down broad strokes, focusing on the overall shape of the petals. Choose colors that complement each other to add vibrancy to your flowers.
Apply a base color on each petal. Use darker shades to add depth near the base of the petals where they overlap. Focus on gently blending these colors to keep the transitions smooth.
Introduce highlights with a lighter color to give the petals dimension. Pay special attention to the edges and center portions of the petals where light would naturally hit. For a more realistic effect, use a textured brush to simulate the fine lines and natural gradients found in petals.
Illustrating Berries, Stems, and Greens
Sketch the basic shapes of the berries with a rough outline. Use circular motions to create a natural, rounded appearance. Start with a base color—deep red or purple works well for berries.
Add deeper shades to the bottom and sides to create the illusion of roundness and depth. Highlight the top portions of each berry with a lighter shade to mimic light reflecting off the surface. Small white dots or lines can represent light glinting off the smooth texture.
For stems and greens, use a combination of browns and greens to keep the natural feel. Thin, varied strokes can help make the stems look more lifelike. Add shadows and highlights accordingly to emphasize the cylindrical form of the stems.
Highlight and Shadow Techniques
Highlight and shadow techniques are crucial for creating a sense of depth and form. Begin with a base layer of your chosen color for any element—foliage, flowers, or berries.
Apply shadows using a darker shade along the areas that would naturally receive less light. Blend these shadows smoothly with the base color to avoid harsh lines.
Use lighter shades for highlights on areas where light would naturally fall. This could be the top portions of leaves, petals, or the sides of berries facing the light source. Gradual transitions between highlights and shadows make elements appear three-dimensional.
Use brushes with varied textures to add subtle details, enhancing the realism of your gouache painting.
Step 5: Learn Color Theory and Application
Understanding how to manipulate color is crucial for creating visually appealing artwork in Procreate with gouache brushes. Key aspects include working with a limited palette and effectively selecting and utilizing a color palette for your projects.
Working with a Limited Palette
Using a limited palette simplifies your choices and ensures color harmony. Start by selecting a few colors that complement each other. For instance, you might choose a primary color triad (red, blue, yellow) or an analogous set (colors next to each other on the color wheel).
Transform these base colors by mixing to create a range of tones and shades. This approach maintains a cohesive look and avoids overwhelming your painting. Changing the background color can also impact the overall mood, so choose one that enhances your chosen palette.
Selecting and Utilizing a Color Palette
Selecting a color palette involves picking colors that work well together for your subject matter. Use Procreate’s color harmony tools to find complementary, split-complementary, or analogous colors. Experiment with different combinations to see what works best for your project.
Utilize the adjustments menu in Procreate to tweak hues, saturation, and brightness. When applying these colors, layer them thoughtfully. Begin with darker, background colors and build up to lighter, detailed areas. Bold splashes of color can draw attention to focal points, while subtle gradients can add depth and complexity to your painting.
For more, check out our full guide on How to Create Color Palettes in Procreate.
Step 6: Finalize and Sharing Your Gouache Artwork
In this section, you will learn how to refine the details and textures of your gouache artwork in Procreate, prepare your design files for different sharing platforms, and effectively publish your finished pieces on social media like Pinterest.
Refining Details and Textures
Pay close attention to the finer details and textures that can elevate your gouache painting. Use various brush types within Procreate to add depth; for instance, a textured brush can enhance the look of natural elements like foliage and flowers.
Zoom in to meticulously refine edges and correct any inconsistencies. Layer sparingly yet effectively to emphasize shadows and highlights, creating a more realistic and appealing piece.
Don’t forget to adjust opacity and blending modes to achieve the desired consistency and tone. These tweaks can make your artwork more polished and visually harmonious.
Design File Preparation for Sharing
Once your artwork is refined, prepare your design file for sharing by ensuring it is in the appropriate format. Procreate allows you to export files in formats such as PNG, JPEG, and PSD.
Consider the requirements of different platforms. For instance, high-resolution PNGs are suitable for print, while compressed JPEGs work well for web use.
Double-check the color profile of your file, setting it to sRGB for digital display or CMYK if it’s intended for printing. This ensures that your colors remain accurate and vibrant across different media.
Publishing Artwork on Social Platforms
When publishing your gouache artwork on social platforms, tailor your approach to each platform’s strengths. High-quality visuals are crucial on Pinterest, so make sure your uploads are clear and visually appealing.
Create engaging descriptions and use relevant hashtags to increase discoverability. Pinterest favors vertical images (usually a ratio of 2:3), making it essential to resize your files accordingly.
Engage with communities and followers by sharing behind-the-scenes looks or step-by-step images of your process. This not only showcases your skills but also helps in building a dedicated audience for your artwork.
By following these steps, you can effectively finalize and share your gouache artwork, maximizing its impact and reach.
Bonus: Resources and Continuing Education
To improve your gouache painting skills in Procreate, leverage a range of tailored resources and structured learning opportunities. This guide highlights valuable materials, structured tutorials, and exclusive community offers.
Exploring the Resource Library
Start with a well-organized resource library that includes brush sets designed for gouache painting. These sets often feature tools that mimic the natural texture of gouache. Some collections, like the “Natural Gouache” and “Effortless Gouache” brush sets, offer various brushes tailored for different gouache effects.
Access original Procreate project files to dissect and understand the intricate layers and techniques used. These files allow you to see the step-by-step process at a granular level, helping you apply similar techniques in your work.
Further Learning with Courses and Tutorials
Structured courses and tutorials provide a more detailed learning path. Platforms like Every-Tuesday offer courses specifically centered on gouache in Procreate. Courses may include comprehensive video content and warm-up exercises to help you master various styles.
Look for tutorials that cover specific projects, like painting botanical or bird art prints. These lessons often break down the process into manageable steps, making complex techniques accessible. Webinars and live sessions can also provide interactive learning experiences.
Exclusive Offers for the Tuesday Tribe
The Every-Tuesday platform provides unique benefits through its Tuesday Tribe membership. Members can access exclusive special offers, such as discounts on new brush sets and personalized feedback on their work.
Additionally, being part of this community offers you early access to new products and courses. This membership often includes bonuses like extended licenses, which can be crucial for those looking to sell their art. Engaging with the community allows you to share insights, participate in challenges, and continuously improve.
Beginner’s Guide to Procreate
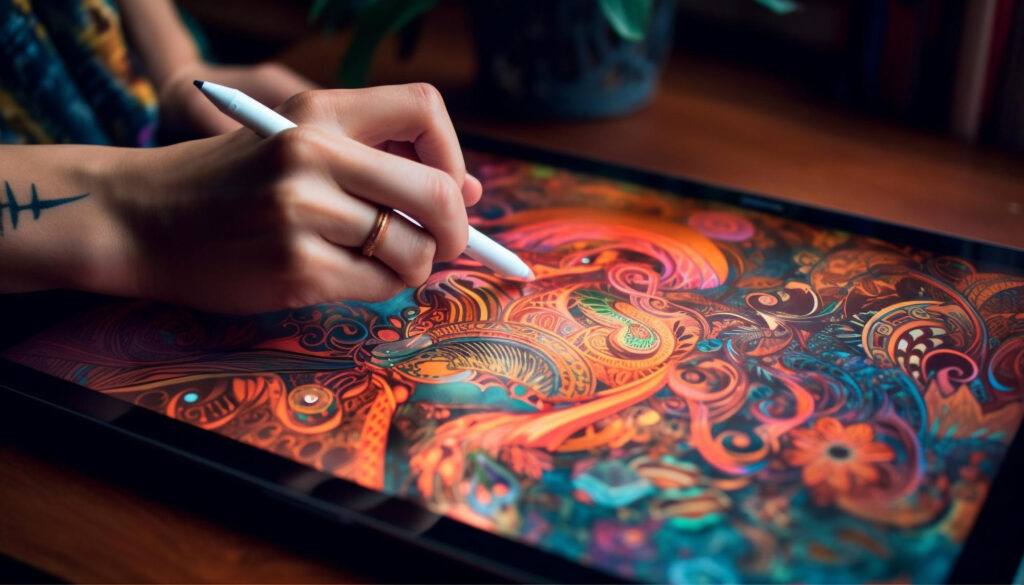
Our Beginner’s Guide to Procreate is the ultimate resource to kickstart your digital art journey. It covers everything from the basics of navigating the app to advanced techniques for creating stunning artwork so that you can not only get off to a strong start but gain confidence quickly. Dive in and unleash your creativity with Procreate!
Frequently Asked Questions for How to Paint with Gouache in Procreate
Explore the essentials for painting with gouache in Procreate, including recommended practices, custom brush creation, and techniques to simulate authentic textures. Learn tips for integrating traditional sketches and enhancing your digital gouache skills.

