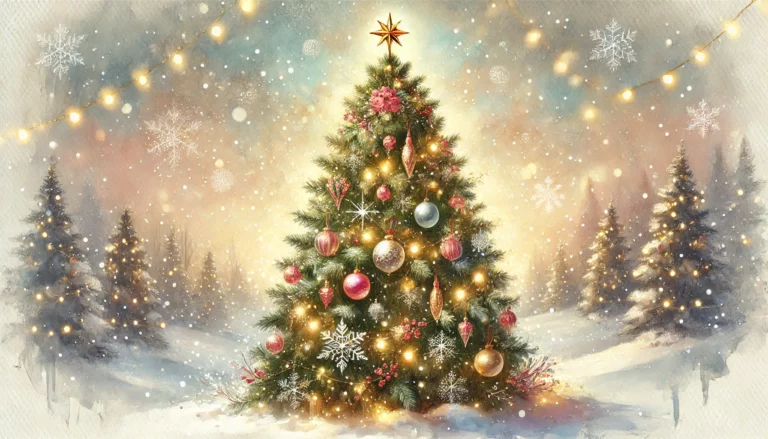
Winter scenes are a joy to create on Procreate. With the app’s tools, you can make snowy landscapes come alive on your iPad. You can draw a winter scene on Procreate by using layers, custom brushes, and blending modes to add depth and texture to your artwork.
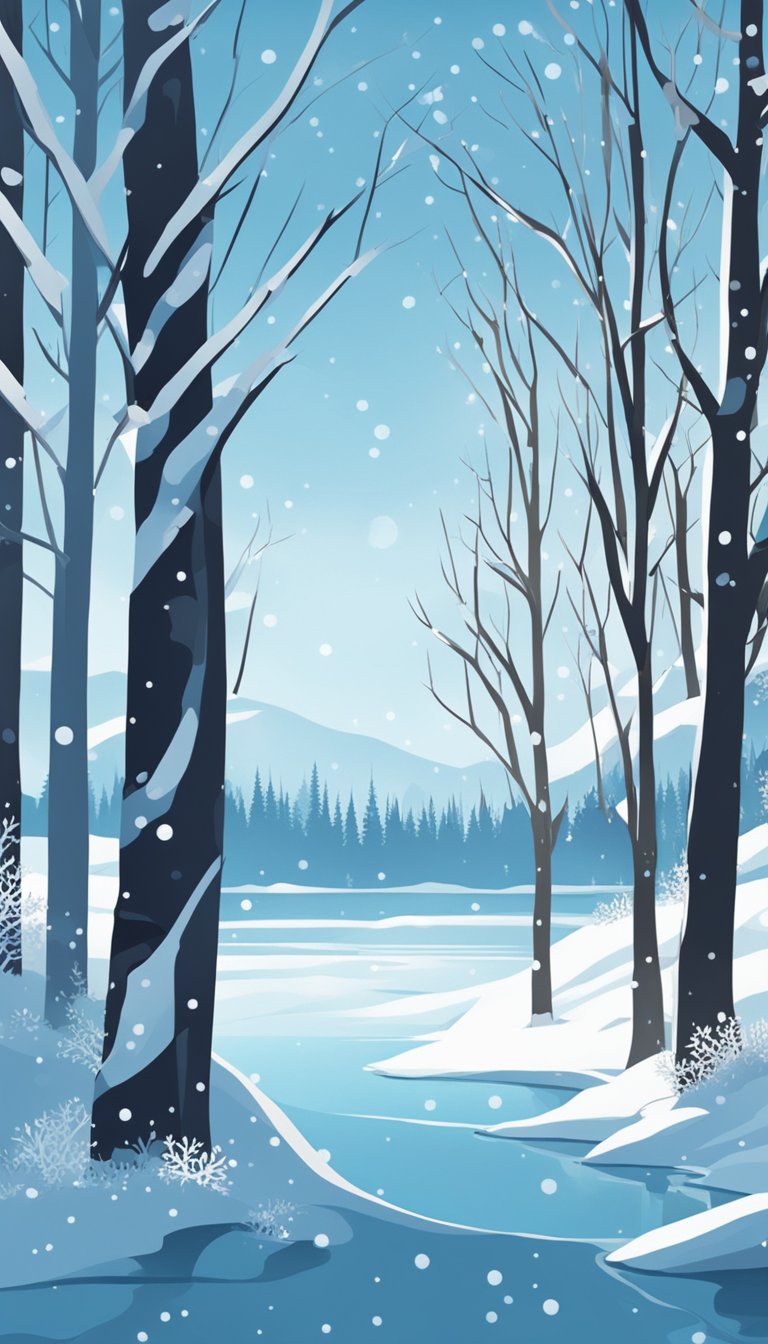
Want to try it yourself? Start by setting up your canvas and choosing a color palette that fits the cold season. Think whites, blues, and grays. You can use Procreate’s default brushes to get started, so you don’t need anything extra.
Ready to level up? Try adding cozy elements like a glowing lantern or a snowy cottage. These details can make your scene feel warm and inviting, even in the midst of winter. With a bit of practice, you’ll be creating stunning winter wonderlands in no time!
Getting Started with Procreate
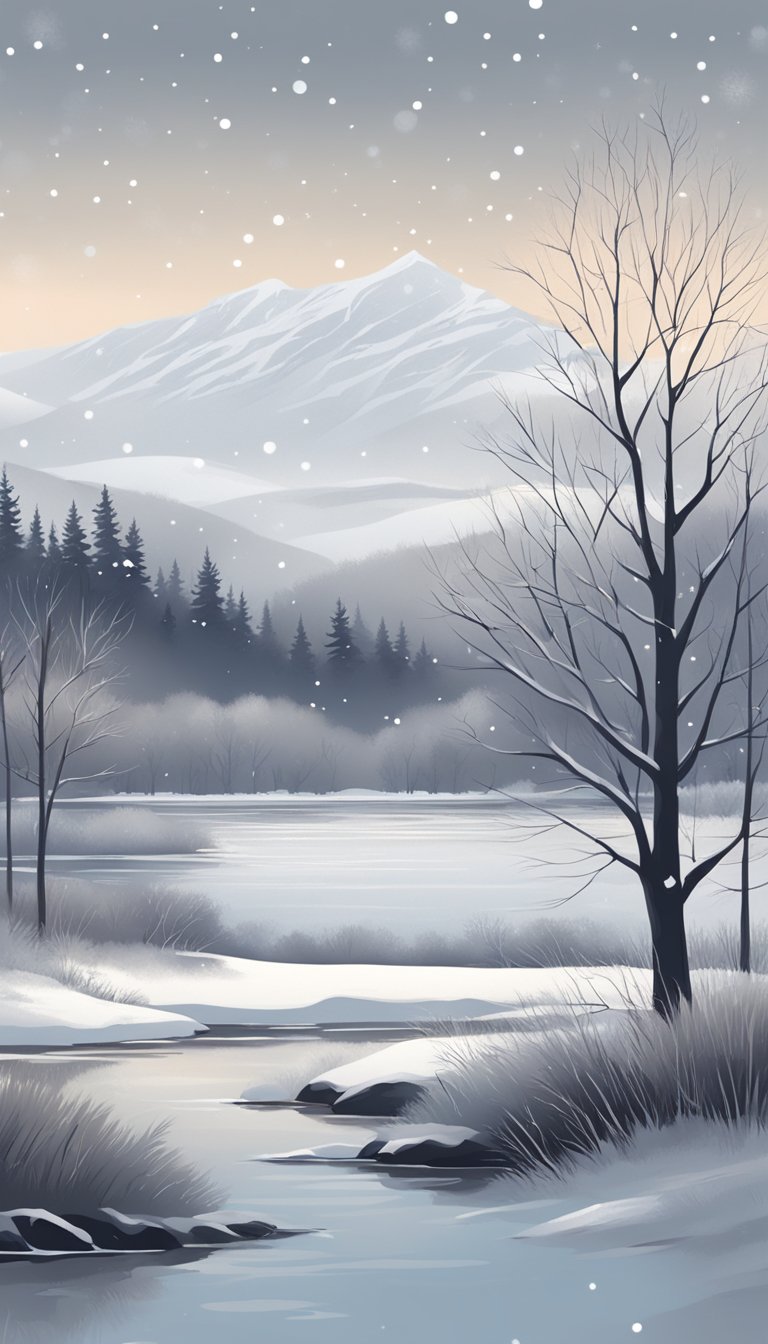
Procreate is a powerful digital art tool for iPad. You’ll need to get familiar with the interface, choose your canvas, and set up brushes for your winter scene.
Understanding the Procreate Interface
When you open Procreate, you’ll see a simple layout. The main area is your canvas. At the top, you’ll find icons for brushes, smudge, and eraser tools.
The color wheel is on the top right. Use it to pick colors for your winter scene. Slide your finger to adjust brightness and saturation so you can create a Procreate winter palette.
On the left, you’ll see the layers panel. This is where you can add, delete, and organize layers. It’s great for building your scene step by step.
The toolbar at the top has options like undo, redo, and brush size. Play around with these to get comfortable.
Choosing Your Canvas Size
Canvas size is important for your winter scene. To set it up, tap the “+” icon on the main screen.
You’ll see preset sizes like Screen Size or 4K. For a detailed winter scene, try 4K or larger.
Custom sizes are an option too. Just enter the dimensions you want. Remember, bigger canvases use more memory.
For practice, start with a smaller canvas. As you get better, you can go bigger for more detailed work.
Think about where you’ll share your art. If it’s for Instagram, a square canvas might work best.
Setting Up Your Brushes for a Winter Scene
Procreate has lots of brushes, but some work better for winter scenes. Start with the Soft Brush for smooth backgrounds.
For snow, try the Spray Paint brush. It gives a nice, soft texture. The Pencil brush is great for adding fine details to trees or buildings.
You can adjust brush settings too. Tap a brush and slide the size and opacity bars to change how it works.
Create a custom brush set for your winter scene. This saves time when you’re working. Just tap the “+” in the brush library to make a new set.
Don’t forget about texture brushes. They’re perfect for adding snow to tree branches or creating icy effects.
Sketching Your Winter Scene
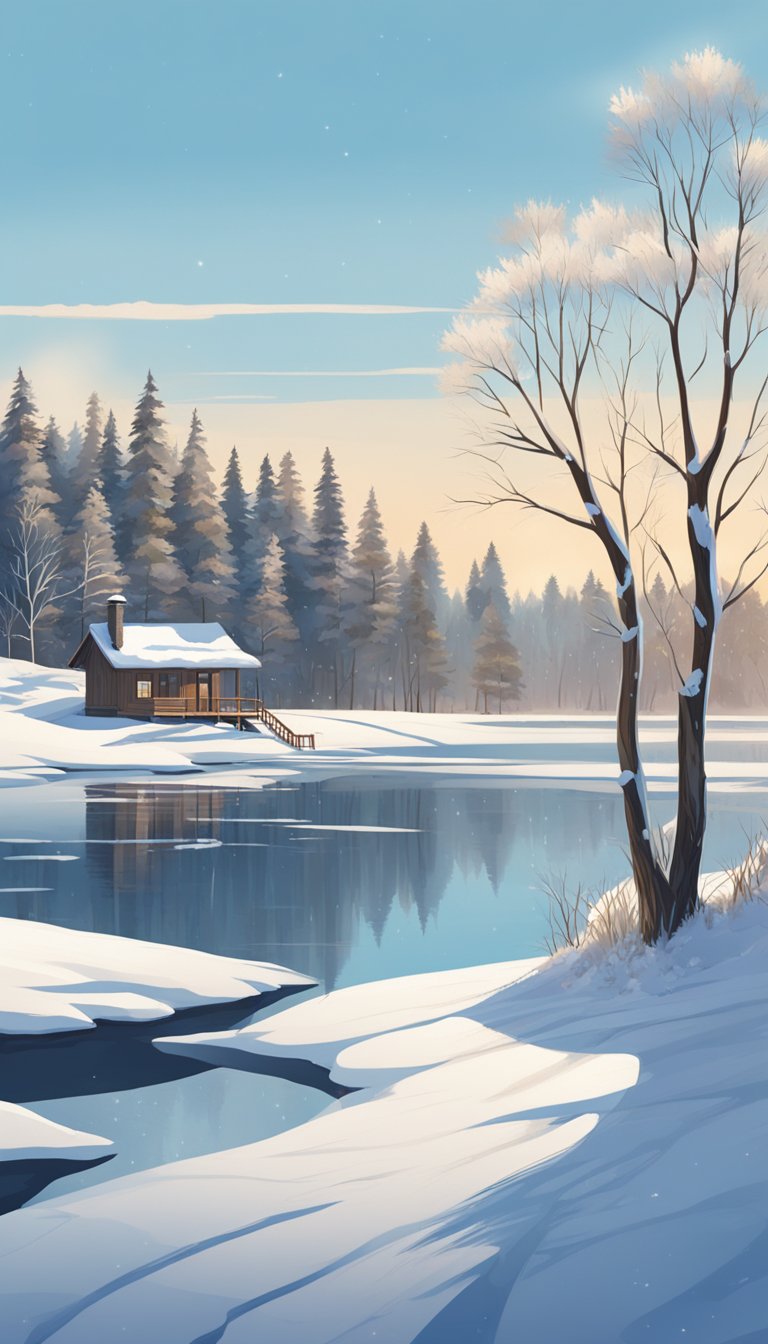
Let’s get started on your winter scene sketch. We’ll cover how to set up your composition and draft the key elements.
Laying Out the Composition
Open Procreate and create a new canvas. Pick a size that works for your project. Think about what you want to include in your scene. A snowy forest? A frozen lake? Decide on a focal point.
Next, use simple shapes to block out the main areas. Draw a rough outline of your scene. You can use circles for trees and rectangles for buildings.
Don’t worry about details yet. Focus on getting the basic layout right. Try different arrangements until you’re happy with the overall look.
Drafting the Main Elements
Now it’s time to add more detail to your sketch. Start with the biggest elements first. If you have trees, draw their basic shapes and branches.
For buildings, add windows and doors. Sketch in any hills or mountains in the background. Don’t forget to leave space for snow on the ground and on objects.
Add some smaller elements like rocks or bushes. These help make your scene feel more real. Remember, you’re still sketching, so keep things loose and light.
Try using different brush sizes to vary your lines. This can help show depth in your scene. Darker, thicker lines for closer objects and lighter, thinner lines for distant ones.
Adding Color and Texture to Your Procreate Winter Drawing
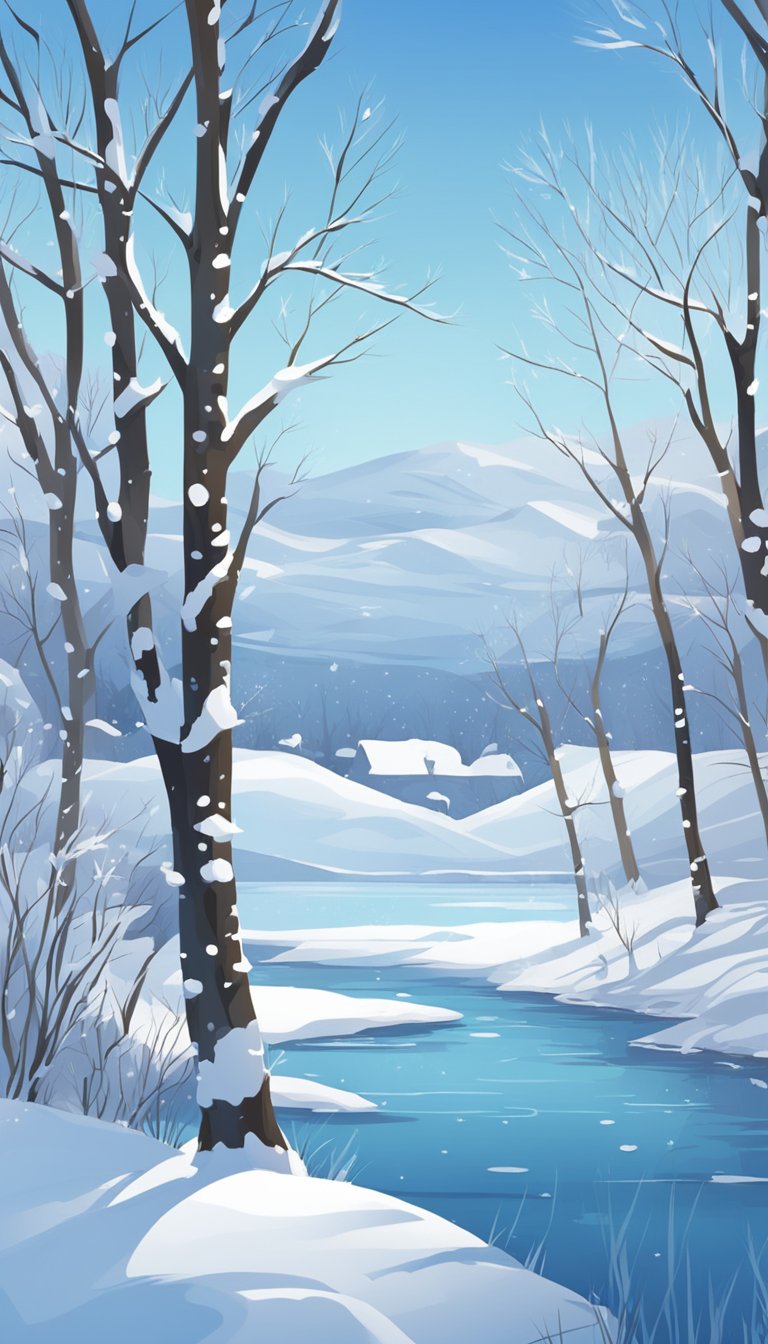
Color and texture bring your winter scene to life. You’ll learn how to pick the right colors, paint a beautiful sky, and create realistic snow and ice textures.
Selecting a Procreate Winter Color Palette
Choose colors that capture the essence of winter. Blues, whites, and purples work well for a chilly atmosphere. Add warm oranges or yellows for contrast.
Pick 5-7 main colors for your palette. Include:
- Light blue for the sky
- Dark blue for shadows
- White for snow
- Purple for distant mountains
- A pop of color (like red) for accents
Save your palette in Procreate for easy access. You can do this by tapping the “+” in the Colors tab and selecting “New Palette”.
Mix these colors to create depth. Use the color wheel to find complementary shades that work well together.
Painting the Sky and Background
Start with the sky to set the mood of your scene. Choose a soft brush for smooth blending.
Create a gradient from light blue at the top to a slightly darker blue near the horizon. This mimics natural lighting.
Add clouds using a fluffy brush. Paint with white, then blend the edges with the background sky color.
For a sunset scene, use pinks and oranges near the horizon. Blend upwards into blues and purples.
Paint distant mountains or trees in silhouette. Use darker shades of blue or purple to show they’re far away.
Creating Textures for Snow and Ice
Snow and ice textures add realism to your winter scene. Use different brushes and techniques for variety.
For fresh snow:
- Use a soft brush with white paint
- Dab gently to create a bumpy texture
- Add shadows with light blue or gray
For icy surfaces:
- Start with a light blue base
- Use the glassier brush for a smooth, reflective look
- Add white highlights for shine
Create sparkle effects by using a small, hard brush to add tiny white dots. This works great for snow in sunlight.
Experiment with layer blending modes. “Overlay” can add a subtle sheen to your ice surfaces.
Detail Work for Your Procreate Winter Landscape
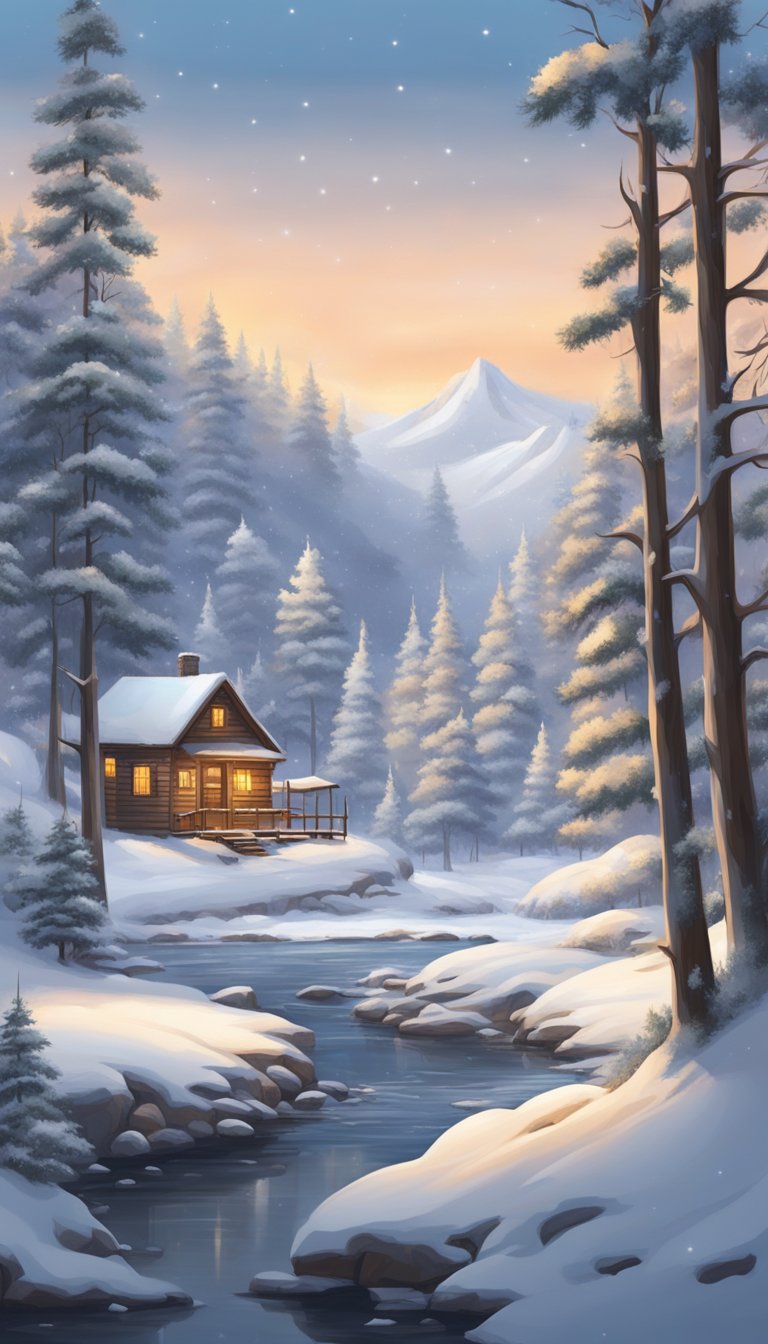
Adding fine details brings your winter scene to life. Small touches make a big difference in creating a realistic and captivating illustration.
Illustrating Trees and Foliage
Start with the basic shapes of trees. Use a small brush to add branches and twigs. Draw thin, wispy lines for bare branches against the sky.
For evergreens, create a triangle shape. Add jagged edges to mimic pine needles. Layer shades of green to give depth.
Don’t forget about fallen leaves or pine needles on the ground. Scatter them lightly with a speckled brush.
Use white to add snow on tree branches. Dab it gently for a natural look. This creates a beautiful contrast against the dark tree colors.
Depicting Winter Wildlife
Animals add life to your winter scene. Choose creatures that fit your setting.
Draw birds perched on branches or flying in the distance. Use small, quick strokes for feathers.
For larger animals like deer, start with basic shapes. Add fur texture with a soft brush. Paint eyes to give them personality.
Don’t forget about tracks in the snow. Use a small round brush to make paw prints or hoof marks.
Add hints of movement. Show a rabbit hopping or a fox peeking from behind a tree. These details make your scene more dynamic.
Adding Final Touches
Create a cozy atmosphere with small details. Add a wooden fence or a distant cabin with glowing windows.
Paint smoke rising from chimneys. Use a soft, cloudy brush and blend it into the sky.
Sprinkle snowflakes across your canvas. Use white dots of various sizes for a natural look.
Add icicles to tree branches or roof edges. Paint them with a transparent brush for a glass-like effect.
Include subtle shadows under trees and objects. This grounds your elements and adds depth to the scene.
Lighting and Atmosphere for Your Winter Forest on Procreate
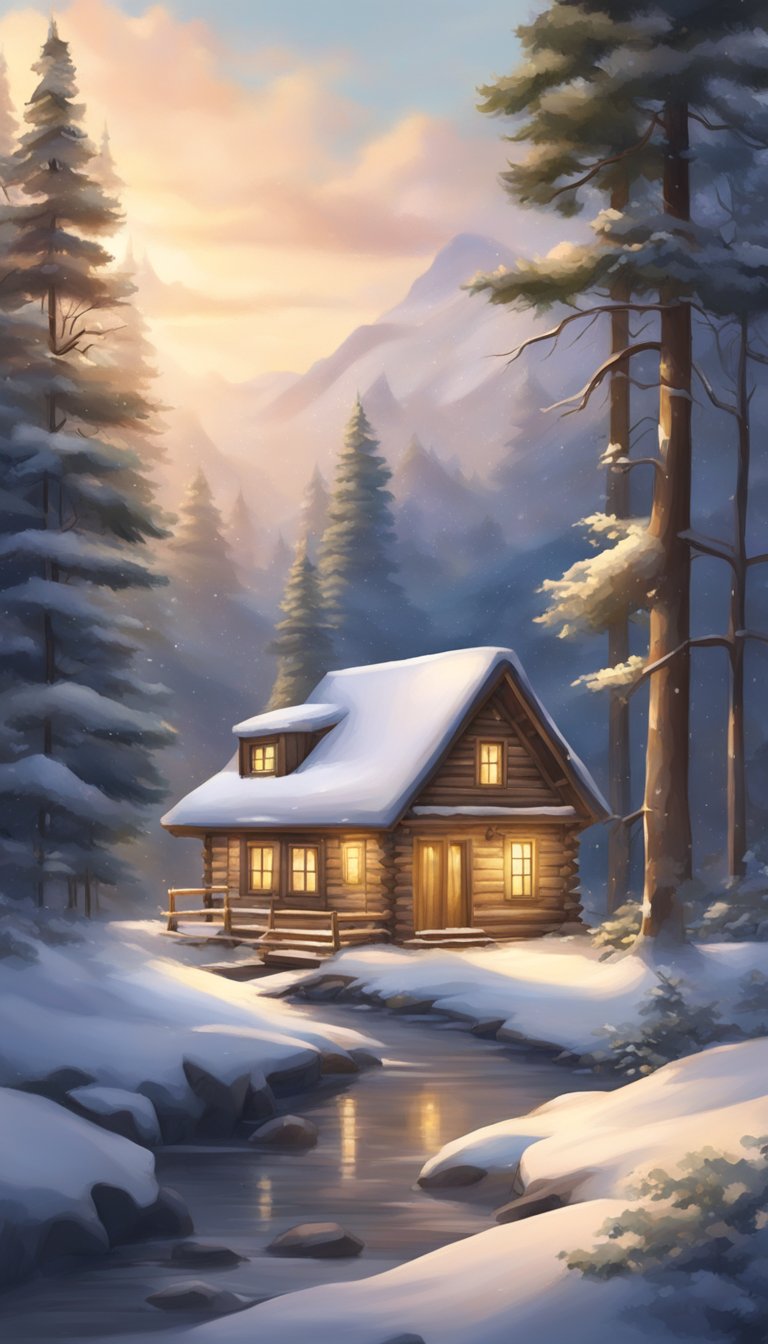
Lighting and atmosphere are key to bringing your winter scene to life in Procreate. The right lighting creates mood, while a realistic atmosphere adds depth and authenticity to your artwork.
Using Light for Mood
Start by choosing a light source for your winter scene. Soft, diffused light works well for a cozy, peaceful vibe. Use warm colors like yellows and oranges for a comforting glow.
For a dramatic effect, try strong contrasts between light and shadow. This can create a sense of mystery or tension in your artwork.
Experiment with different brush opacities to achieve various lighting effects. Lower opacities can give a gentle, hazy look, while higher opacities create sharper, more defined light.
Don’t forget about reflections on snow or ice. These can add sparkle and interest to your scene.
Creating a Realistic Atmosphere
To create a convincing winter atmosphere, pay attention to details like falling snow or misty breath. Use a small, soft brush with low opacity to add snowflakes.
Fog or mist can add depth to your scene. Create this effect by using a large, soft brush with very low opacity. Build up layers slowly for a natural look.
Adding clouds can enhance the wintry feel. Use various shades of gray and white, blending them softly for a realistic appearance.
Consider the time of day in your scene. A blue-tinted atmosphere works well for early morning or twilight, while warmer tones suit a daytime scene.
Remember to adjust the intensity of colors in the distance. Objects further away should appear less vibrant and more muted to create depth.
Finalizing and Sharing Your Winter Art on Procreate
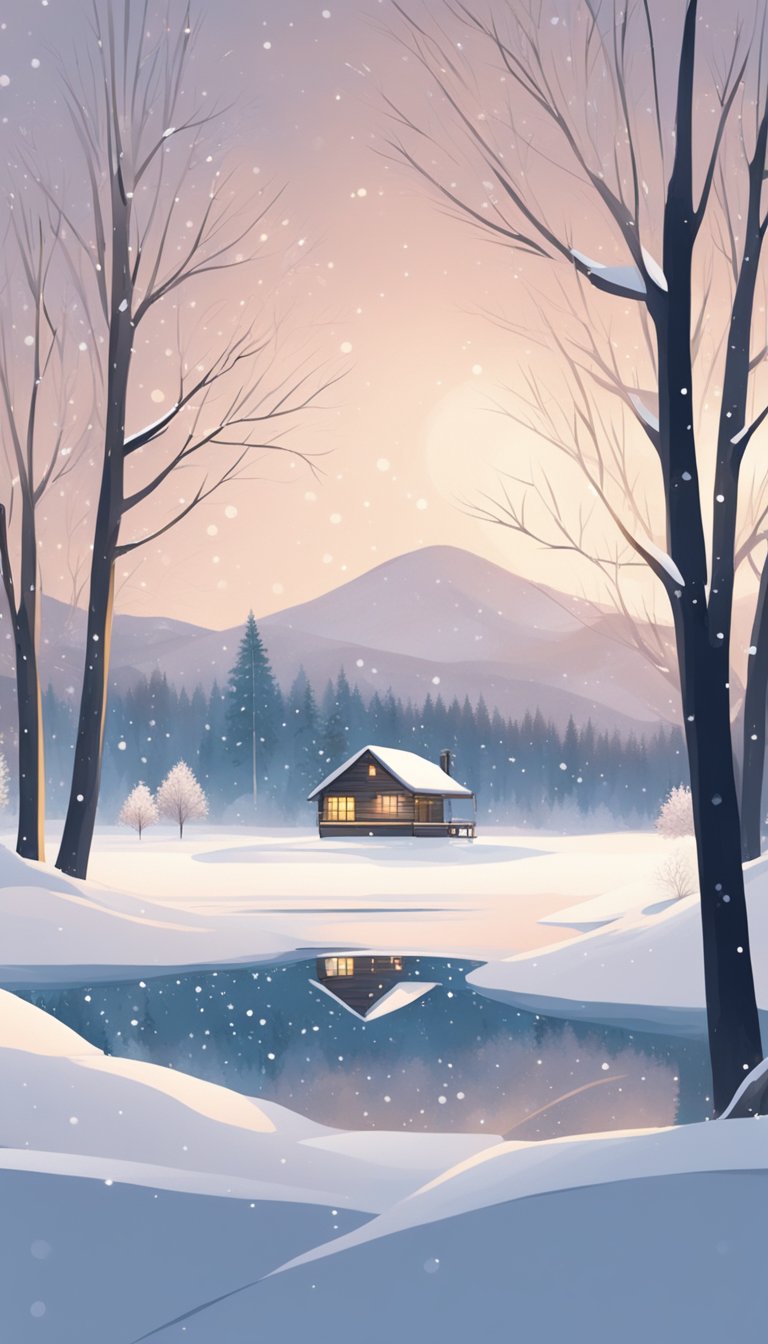
Now that you’ve created your winter scene, it’s time to put the finishing touches on your artwork. You’ll adjust the overall look and prepare it for sharing with others.
Adjusting Contrast and Saturation
Open the Adjustments menu in Procreate. Tap on Curves to fine-tune the contrast of your winter scene. Drag the curve up slightly to brighten highlights and down to deepen shadows.
Next, adjust the saturation. For a crisp winter look, lower the saturation a bit. This will make your whites look cleaner and your colors more muted.
Try the Color Balance tool to add a cool blue tint to your shadows. This can enhance the wintry feel of your artwork.
Don’t forget to step back and look at your whole image. Make small tweaks until you’re happy with the overall mood and atmosphere of your winter scene.
Exporting Your Artwork
When you’re ready to share your winter landscape, tap the wrench icon to open the Actions menu. Choose Share, then select your preferred file format.
For online sharing, JPEG works well. If you plan to print your artwork, pick PNG for better quality. You can also export as a PSD file if you want to edit it further in Photoshop.
Adjust the size of your export based on where you’ll share it. For Instagram, 1080×1080 pixels is ideal. For prints, go for the highest resolution possible.
Don’t forget to sign your artwork before exporting! Add your signature or watermark to protect your hard work.
Beginner’s Guide to Procreate
Our Beginner’s Guide to Procreate is the ultimate resource to kickstart your digital art journey. It covers everything from the basics of navigating the app to advanced techniques for creating stunning artwork so that you can not only get off to a strong start but gain confidence quickly. Dive in and unleash your creativity with Procreate!
Frequently Asked Questions for Winter Procreate Ideas
Creating winter scenes in Procreate can be fun and rewarding. Here are some common questions about drawing snowy landscapes and using Procreate’s tools to bring your winter visions to life.

