Have you ever watched in awe as digital artists create stunning illustrations and wondered how you could do the same? Well, if you have an iPad and a creative spark, Procreate is a game-changer. This intuitive digital illustration app is designed to help beginners and experienced artist create stunning illustrations, allowing you to sketch, paint, and create with ease. Procreate is a powerful tool that artists adore for its wide range of features, and in this step-by-step guide, we’re going to show you how to create illustrations on Procreate from start to finish. We have also found some great YouTube videos that will help you get started.
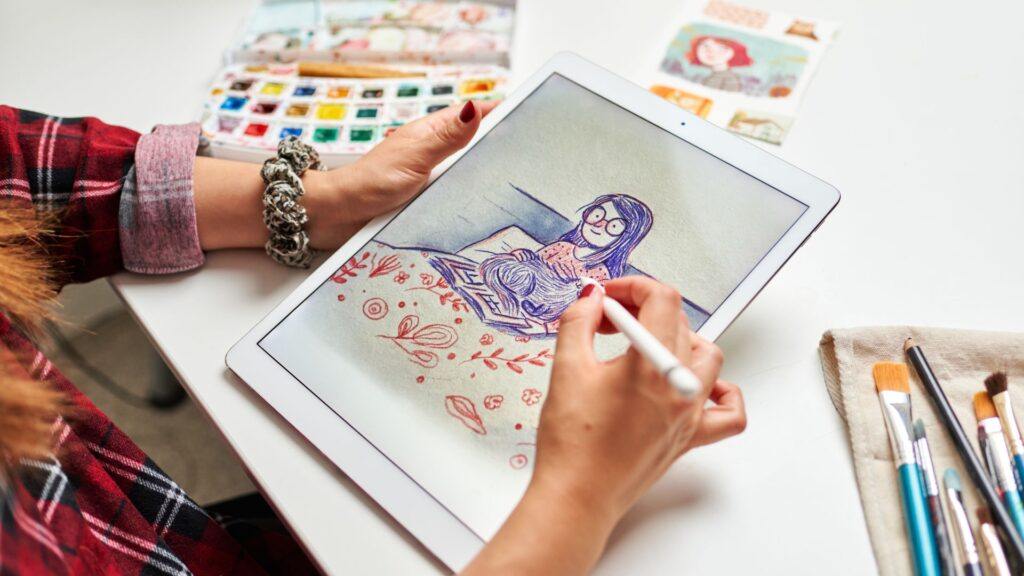
What sets Procreate apart is its user-friendly interface that makes navigating through its advanced tools a breeze. Imagine having a complete art studio right at your fingertips – that’s Procreate for you. With this app, you can create detailed illustrations, experiment with color and form, and give your characters that extra pop. Setting up your canvas is just the beginning: once you’re up and running, the possibilities are as limitless as your imagination.
But how exactly do you go about creating those eye-catching illustrations? It’s all about understanding the basics and then diving into the more advanced features at your own pace. Don’t worry about being overwhelmed; there are numerous tutorials and guides to help you master the art of digital illustration on Procreate. Ready to transform your ideas into visual narratives? Let’s embark on this creative journey together, and you’ll be illustrating like a pro in no time!
Getting Started with Procreate
Diving into digital art with Procreate? You’re in for a treat! Let’s get you set up and scribbling away.
Download and Install Procreate
To kick off your creative journey, grab your iPad and head over to the App Store. Hunt down Procreate – it’s the artist’s digital playground you’ve heard so much about. It might pinch your wallet a bit, as the app is not free, but many artists like you reckon it’s worth every penny for the value it brings.
Basic Interface of Procreate
Once you’ve launched Procreate, you’ll land in the Gallery. It’s your digital art portfolio, where all your masterpieces will live. If you like to keep things tidy, remember you can group your pieces into folders. Familiarize yourself with navigation – swiping, tapping, and pinching will become second nature as you move between your canvases and tools.
Tools in Procreate
Ready to unleash your inner artist? Procreate is bursting with tools that cater to every stroke of genius. Its brushes are diverse, and you can customize them to perfection. You’ll also find a nifty Quick Menu; it’s the secret sauce to speeding up your workflow. Don’t shy away from diving into colors and layers – they’re powerful allies in your art adventures.
Time to play, experiment, and make digital art that’s uniquely yours. Happy creating!
Creating a New Canvas
Starting a new illustration in Procreate? You’re just a tap away from bringing your ideas to life on a blank digital canvas. Let’s get straight to how you can set up a canvas that’s a perfect fit for your artwork.
Creating a Canvas
To begin, open up the Procreate Gallery. Here’s a quick guide:
- Tap the add button in the top right corner.
- Select new canvas to open the canvas menu.
Got something specific in mind? You can input the exact dimensions for your custom canvas in this panel—perfect for when you have a clear image of the canvas size you need.
Options for Canvas Creation
When selecting your canvas, consider the following options:
- DPI (Dots Per Inch):
- Higher DPI: Details pop and clarity sings, but remember, it’ll use more memory.
- Lower DPI: Saves space, but you’ll trade-off some of that crisp detail.
- Canvas Presets:
- Choose from Procreate’s range of preset templates like Screen Size, Square, 4K, A4 paper sizes, and more.
- Canvas Properties:
- You can adjust the Color profile and Time-lapse settings to further tailor your canvas.
Creating that perfect canvas is a cinch, right? Remember, you can always tweak these settings to adapt to different projects. Now go ahead, your blank canvas awaits your magic touch!
Importing Images
Have you ever wanted your digital sketches to leap off the page and onto your favorite drawing app, Procreate? Whether you’re integrating a reference photo or layering various images for a complex composition, knowing how to import images effectively into Procreate can streamline your artistic workflow.
Importing into Procreate
Getting your images into Procreate is a breeze. Here’s how you can start:
- Using the Photos App: Simply tap the desired image and drag it into an open canvas in Procreate. Alternately, use the “Photo” option in the Gallery’s top-right menu to import.
- Using the Files App: Locate the image in your folders and tap to import it directly into Procreate.
Remember, you can import to both a new canvas or add to an existing piece of art—whichever sparks your creativity.
Supported File Formats
Procreate doesn’t hold you back when it comes to file types. Ready to work with an array of formats, here’s what you can use:
.procreate.psd(for all the Photoshop fans out there).jpeg.png.tiff.gif.pdf
By supporting such a wide selection, Procreate ensures you can keep your workflow flexible and diverse, just like your art.
Create Illustrations on Procreate with Basic Drawing Techniques
Welcome to the world of digital illustration on Procreate! Let’s get your creative journey started with some foundational skills that will elevate your artwork.
Using Brushes
Procreate’s diverse array of brushes is fundamental to the app’s versatility. Whether you’re sketching, painting, or drawing, understanding how to utilize these brushes is key. To draw a straight line, pick your preferred brush, create the stroke, and hold your pencil down at the end to automatically straighten it. For creating perfect shapes, like circles or squares, apply the same tactic.
Adjusting Brush Settings
You’re not just stuck with the default brush settings; tweaking them can transform your strokes entirely. Adjust pressure, opacity, and size sliders to suit the project at hand. For example, reducing the opacity can allow for subtle shading, and increasing the size can cover larger areas quickly. To refine your work, a light touch can create hairline details while a firmer pressure yields bold lines.
Using Layers
Procreate’s layer system enhances your ability to experiment without the fear of mistakes. Use layers to separate different elements of your piece, such as the outline, color fills, and shading. This way, you can edit one aspect without disrupting the others. Managing layers effectively also allows you to adjust the opacity of individual components or try different color combinations with ease.
Embracing these basic drawing techniques in Procreate will set the foundation for creating your digital masterpieces. Remember, practice makes perfect, and with this powerful tool at your fingertips, you’re well on your way to developing a portfolio of stunning illustrations. If you’re eager to dive deeper into the capabilities of Procreate and start drawing, consider stepping through some guided tips on how to draw on Procreate.
Create Illustrations on Procreate with Advanced Drawing Techniques
Ready to take your Procreate skills up a notch? Let’s dive into some advanced techniques that will refine your illustrations and make your digital art pop!
Using the Selection Tool
Got a specific area you need to focus on? The Selection Tool is your best friend for this. It’s pretty powerful and here’s why:
- Freehand: Lasso around the area you want. Don’t worry if it’s not perfect—you can adjust it by tapping ‘Add’ or ‘Remove’ to refine your selection.
- Automatic: Tap on the area and Procreate will guess the bounds. Use the slider to increase or decrease the selection’s threshold for precision.
Using the Transform Tool
When it’s time to tweak a part of your drawing, the Transform Tool steps in. It’s especially handy when you’re playing with composition or need to adjust the scale:
- Tap on your selection and choose ‘Transform’.
- You can now pinch to resize, drag to move, or rotate with two fingers.
Remember, maintain the quality of your image by using ‘Magnetics’ or ‘Bilinear’ & ‘Nearest Neighbour’ under ‘Interpolation’ options.
Using the Liquify Tool
Curious about adding some flow or movement in your drawing? The Liquify Tool is like magic for that.
Here’s a quick way to use it:
- Open ‘Adjustments’ and tap ‘Liquify’.
- Choose from options like ‘Push’, ‘Twirl’, and ‘Pinch’ to manipulate your image.
Every stroke can greatly change the look, so use a light touch. Don’t be afraid to experiment—undo is just a double-tap away!
Exporting Your Work
Before sharing your digital masterpieces with the world, you’ll want to ensure that you’re exporting your Procreate artwork in the right format to maintain its quality. Let’s get into how you can do just that!
Exporting from Procreate
When you’re ready to export your artwork from Procreate, the process is straightforward. Just follow these simple steps:
- Open the Gallery and tap on the artwork to select it.
- Tap on the Share button.
- Choose your desired file format. Tip: Procreate format (.procreate) retains layers and other settings.
A progress bar will show you that your artwork is being prepared for export. You’ll then have the option to save it to your device, drop it onto cloud storage, or send it directly to a printer or another person.
Supported Export File Formats
Procreate supports a range of file formats, so you can choose the best option for your final output. Here’s a handy breakdown:
| File Format | Uses |
|---|---|
| .procreate | Preserves all Procreate data, including layers |
| .PSD | Compatible with Adobe Photoshop |
| .PNG | Best for web, supports transparency |
| .JPEG | Common for sharing online, no transparency |
| Ideal for printing | |
| .TIFF | High-quality images, larger file size |
For the best quality, especially when printing, make sure your canvas size and DPI (dots per inch) settings meet the requirements of your final output before you start creating your artwork. Exporting as a PNG file is often recommended for retaining high resolution.
Examples of Illustrations Created on Procreate
Ready to see what you can do with Procreate on your iPad? Let’s dive into some super cool examples that’ll get your creativity flowing and show you the amazing possibilities with this app.
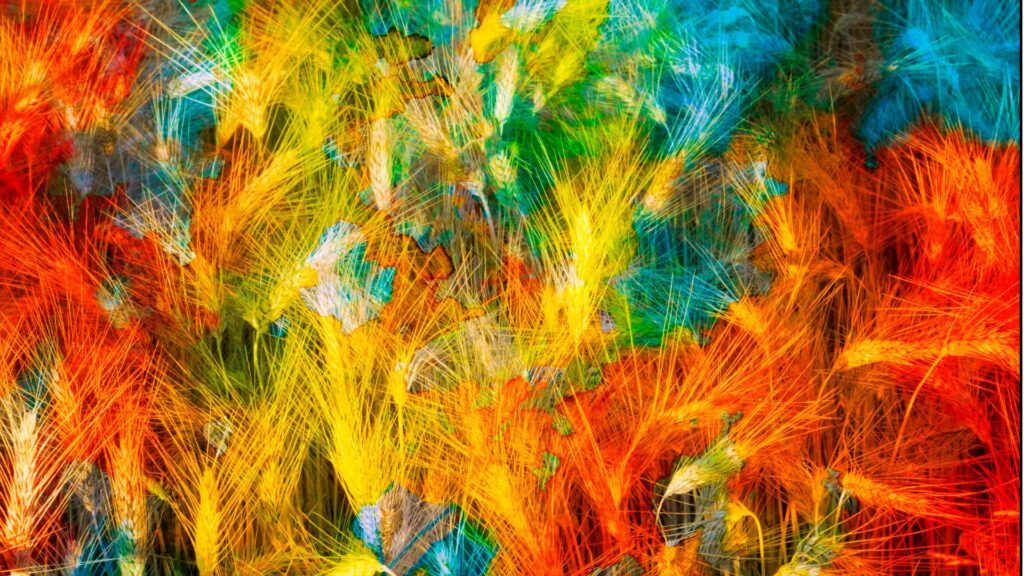
Example 1: Using the iPad and Procreate to Create Textures
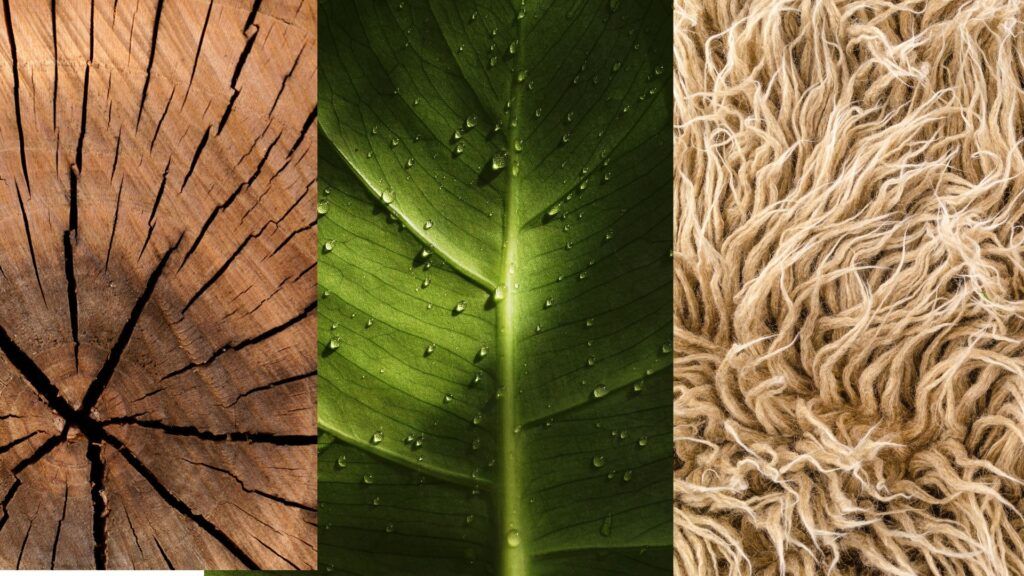
Have you ever wondered how textures and shadows bring an illustration to life? Imagine using the Burnt Tree default brush in Procreate to add a realistic texture to your paintings, or perhaps the 6B Pencil brush to craft clean line art.
Example 2: Use Procreate to Create a Detailed Illustration
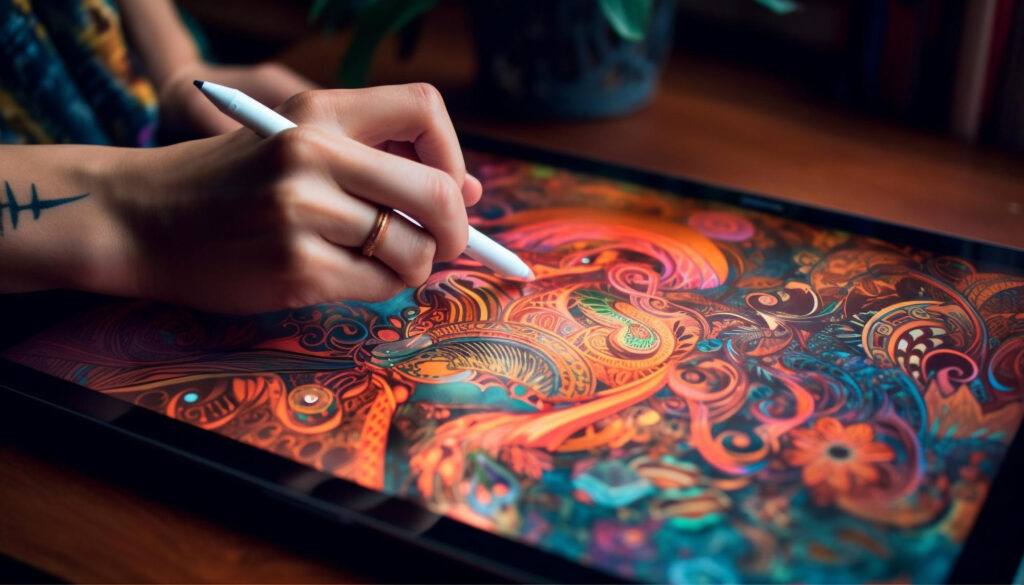
Visualize creating a portrait with layers of acrylic-like strokes using the Nikko Rull brush. It’s all about mimicking your favorite mediums and Procreate’s versatile brush set makes this not only possible but also delightful.
Example 3: Create Stunning Art
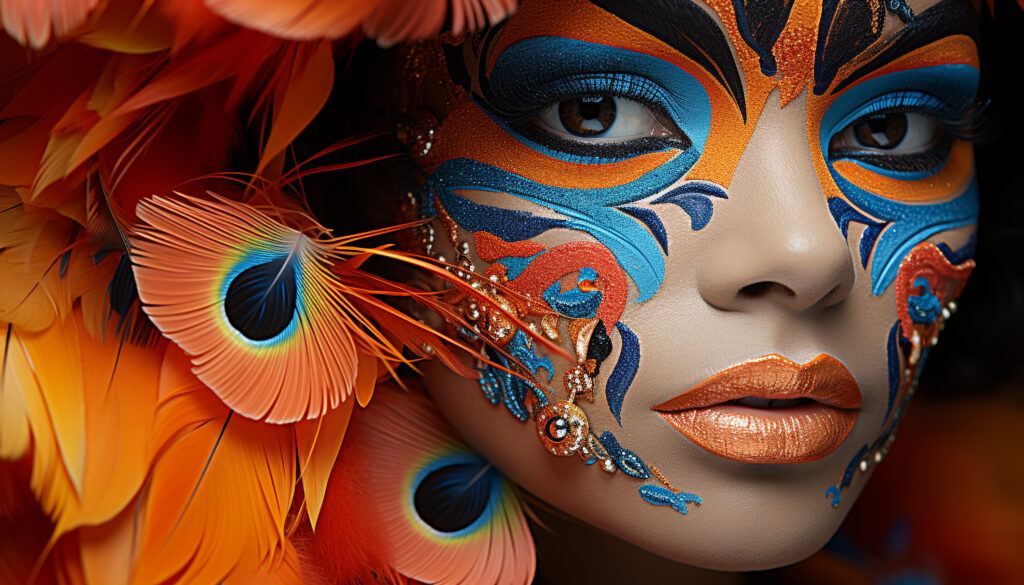
Think about an illustration brimming with life, where every texture and color is vibrant. Whether it’s the soft petals of a flower or the intense gaze of a character, Procreate gives you the tools to make your artwork pop with details and colors that hold the viewer’s attention.
Conclusion
Creating stunning illustrations in Procreate may seem daunting at first, but it’s a journey worth embarking on. Here’s a recap to guide you:
- Custom Brushes and Effects: With Procreate’s tailor-able brushes, your creative freedom knows no bounds. Why not try experimenting with different brush settings to find your unique style?
- Layer Like a Pro: Utilize layers to manage complex elements effortlessly. Remember, separating your work into layers can make editing a breeze.
Here’s a quick checklist to keep track of your progress:
- Familiarize yourself with Procreate’s user-friendly interface.
- Experiment with a variety of brushes for diverse effects.
- Embrace the power of layers for intricate designs.
- Make use of tutorials to boost your technique.
Aren’t you excited to see where your imagination takes you on the digital canvas of Procreate?
Remember, with each stroke of the stylus, you’re not just illustrating; you’re revealing a part of your creative identity. Keep learning, stay inspired, and most importantly, have fun with your artistic adventures in Procreate!
Frequently Asked Questions
Looking to create stunning artwork on Procreate? You’ve got questions and we’ve got answers to help you get started and refine your skills.