
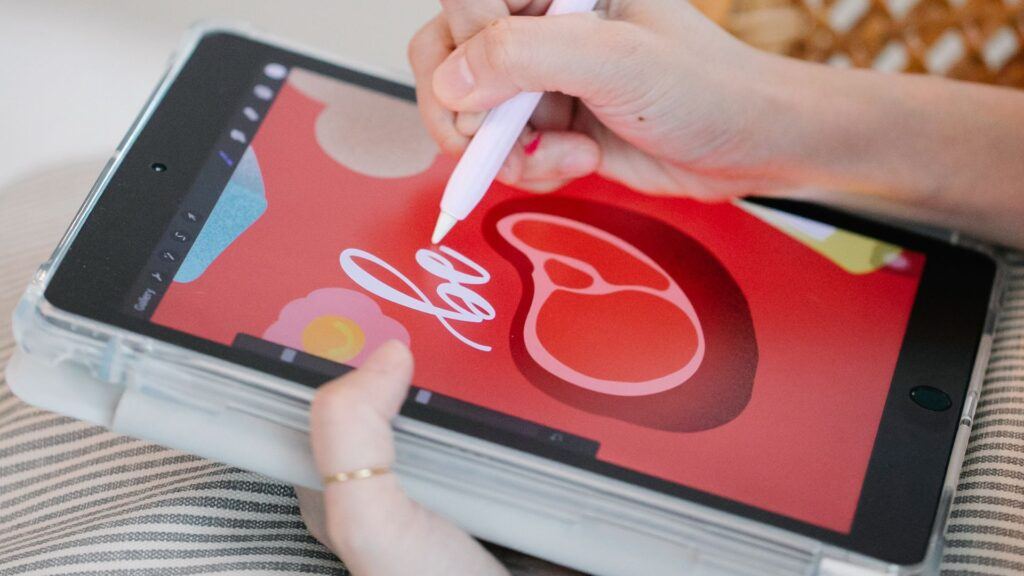
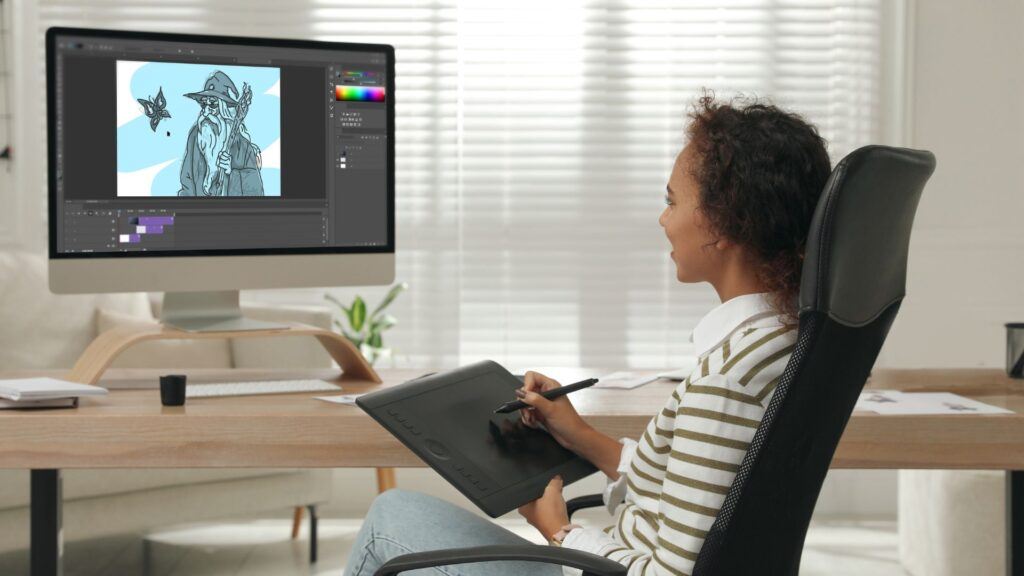
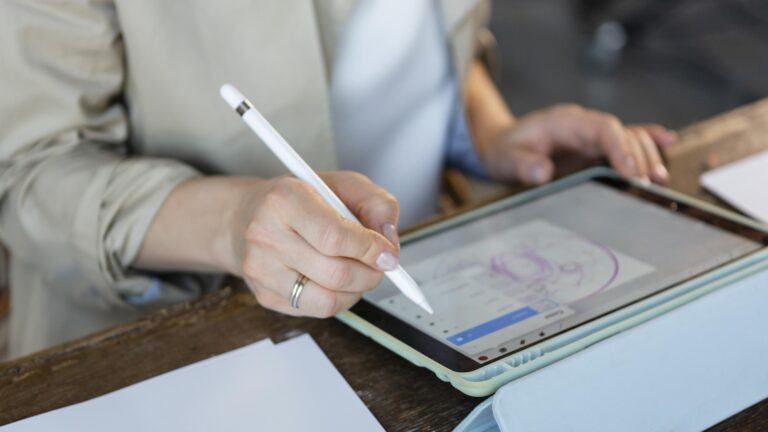
If you’re an artist who uses Procreate, you know how important it is to have the right brushes to create stunning artwork. While there are plenty of brushes available for download, you may find that none of them quite fit your needs. Fortunately, it’s possible to make Procreate brushes that are tailored to your style and preferences. In this article, we’ll show you how to create your own Procreate brushes from scratch.
To begin, you’ll need to have a basic understanding of Procreate’s brush settings and how they affect the brush stroke. We’ll cover the basics of brush settings, such as shape, grain, and dynamics, and how to adjust them to create different effects. We’ll also discuss how to create custom shapes for your brushes using Procreate’s built-in shape tools or by importing your own images.
Once you have a solid understanding of brush settings, we’ll walk you through the process of ho to make Procreate brushes from start to finish. We’ll cover everything from choosing the right shape and grain to adjusting dynamics and adding texture. By the end of this article, you’ll have the knowledge and skills to create your own custom Procreate brushes that will help you take your artwork to the next level.
Understanding Procreate Brushes
When it comes to creating digital art, Procreate is one of the most popular and versatile tools available. One of the key features that makes Procreate so powerful is its brush system. In this section, we will explore the basics of Procreate brushes, including the Brush Library and Default Brushes, the Types of Brushes available, and the Brush Properties that you can customize. If you are just getting started with Procreate, be sure to check out our full tutorial on How to Draw on Procreate that is geared towards beginners.
Brush Library and Default Brushes
Procreate comes with a wide variety of brushes, including a set of Default Brushes that are installed with the app. These brushes are organized into the Brush Library, which you can access by tapping the Brush icon in the top right corner of the screen. From here, you can browse through all of the available brushes, organized by category.
The Default Brushes are a great starting point for your digital art projects, as they offer a wide range of options for different styles and effects. Later in this article, we will explore in detail how to make Procreate brushes.
Types of Brushes
Procreate offers a wide variety of brush types, each with its own unique properties and effects. Some of the most common brush types include:
Sketching Brushes
These brushes are designed for rough sketching and outlining.
Inking Brushes
These brushes are ideal for creating clean, precise lines.
Painting Brushes
These brushes are designed for painting and blending colors.
Special Effects Brushes
These brushes offer unique effects, such as textures, splatters, and more.
Each brush type can be customized in a variety of ways, allowing you to create your own unique style and effects.
Brush Properties
Procreate brushes offer a wide range of customizable properties, including:
Brush Shape
The shape of the brush tip, which can be customized to create different effects.
Brush Size
The size of the brush tip, which can be adjusted for different levels of detail.
Brush Opacity
The transparency of the brush stroke, which can be adjusted for different levels of opacity.
Brush Flow
The speed and intensity of the brush stroke, which can be adjusted for different levels of flow.
By customizing these properties, you can make Procreate brushes that are unique create your own unique and tailored to your specific needs and artistic style.
Understanding Procreate brushes is essential for creating high-quality digital art. By exploring the Brush Library and Default Brushes, the Types of Brushes available, and the Brush Properties that you can customize, you can make Procreate brushes that help you achieve your artistic vision.
Setting Up Your Canvas
Before you start to make Procreate brushes, it’s important to set up your canvas correctly. This will ensure that your brushes work properly and that your artwork looks its best. In this section, we’ll cover everything you need to know about setting up your canvas, including choosing the right size and resolution and understanding canvas settings.
Choosing the Right Size and Resolution
When creating a new canvas in Procreate, you’ll need to choose the size and resolution that’s right for your project. The size of your canvas will determine the physical dimensions of your artwork, while the resolution will affect the quality of your artwork when it’s printed or displayed on a screen.
To choose the right size for your canvas, consider the final output of your artwork. If you’re creating artwork for print, you’ll want to choose a canvas size that’s large enough to accommodate the printing process. If you’re creating artwork for social media, you may want to choose a canvas size that’s optimized for the platform you’ll be using.
In terms of resolution, a higher resolution will generally result in better quality artwork. However, higher resolutions also require more processing power and storage space. For most projects, a resolution of 300 DPI (dots per inch) should be sufficient.
Understanding Canvas Settings
In addition to choosing the right size and resolution for your canvas, it’s important to understand the other canvas settings in Procreate. These settings can affect the way your artwork looks and behaves, so it’s important to get them right.
One important setting is the canvas color. By default, Procreate uses a white background, but you can change this to any color you like. This can be useful if you’re creating artwork that requires a specific background color.
Another important setting is the canvas grid. The grid can help you align your artwork and create precise shapes and lines. You can customize the grid to suit your needs, including changing the size of the grid squares and changing the color of the grid lines.
Finally, it’s important to consider the canvas orientation. Procreate allows you to create canvases in both portrait and landscape orientations, so choose the one that’s right for your project.
By taking the time to set up your canvas correctly, you’ll be able to create artwork that looks its best and works seamlessly with your Procreate brushes.
Creating Custom Brushes
If you want to take your Procreate art to the next level, learning how to make Procreate brushes can be a game-changer. Here are some steps to create your own custom brushes.
Starting with Shape and Grain Sources
Before you start to make Procreate brushes,, you need to decide on the shape and grain source. The shape source is the basic shape of your brush, and the grain source adds texture to your brush. You can choose from a variety of sources, including images from your camera roll or Procreate’s built-in library.
To create a custom brush, tap the “+” icon in the brush library and select “New Brush.” From there, you can select your shape and grain source. You can also adjust the size, spacing, and opacity of your brush.
Adjusting Brush Settings
Once you’ve selected your shape and grain source, you can adjust the brush settings to fine-tune your tool. This includes adjusting the stroke, taper, and pressure settings. You can also adjust the blend mode and opacity of your brush.
Procreate also offers a variety of advanced brush settings, including dynamics, tilt, and texture. These settings allow you to create brushes that respond to the pressure and angle of your stylus, adding even more customization to your tools.
Using the Brush Studio
The Brush Studio is where you can fine-tune your custom brushes even further. Here, you can adjust the brush shape, grain, and dynamics, as well as customize the brush’s behavior when used with different stylus types.
You can also save your custom brushes to use in future projects. Simply tap the brush icon in the top right corner of the Brush Studio and select “Save.” Your custom brush will now be added to your brush library.
Creating custom brushes in can be a fun and rewarding experience. With these tips, you can make Procreate brushes that are tailored to your specific needs and take your art to the next level.
Designing Unique Brushes
Creating unique brushes is an essential part of making your artwork stand out. Procreate offers a wide range of options to make your brushes unique and personalized. Here are some tips to help you design your own unique brushes.
Experimenting with Texture and Patterns
One way to make your brushes unique is to experiment with different textures and patterns. Procreate offers a range of texture options to choose from. You can also import your own textures and patterns to create custom brushes.
To experiment with texture and patterns, start by selecting a base brush. Then, go to the brush settings and adjust the texture and pattern settings. You can adjust the size, spacing, and opacity of the texture or pattern to create the desired effect.
Incorporating Images and Stamps
Another way to make your brushes unique is to incorporate images and stamps. Procreate allows you to import your own images and stamps to create custom brushes. You can also use the built-in stamp brushes to create unique designs.
To incorporate images and stamps, start by selecting a base brush. Then, go to the brush settings and select the “Source” option. From there, you can import your own images or select from the built-in stamp brushes. Adjust the size, opacity, and spacing of the image or stamp to create the desired effect.
By experimenting with texture, patterns, images, and stamps, you can create your own unique brushes that reflect your personal style. With Procreate, the possibilities are endless.
How to Make Procreate Brushes: Enhancing Functionality
When creating custom brushes in Procreate, it’s important to consider the functionality of the brush. By adjusting the opacity and flow, customizing pressure and taper settings, and utilizing touch taper settings, you can create brushes that are versatile and effective.
Adjusting Opacity and Flow
Opacity and flow are essential settings for any brush. Opacity refers to the transparency of the brush stroke, while flow controls the amount of paint that is released with each stroke. By adjusting these settings, you can create brushes that are capable of producing a range of effects.
To adjust opacity and flow, simply navigate to the brush settings panel and adjust the sliders accordingly. For example, if you want to create a brush that produces a watercolor effect, you may want to increase the flow and decrease the opacity.
And, if you are interested in making Watercolor brushes specifically, be sure to check out our guide on making Water Color Brushes in Procreate.
Customizing Pressure and Taper Settings
One of the most powerful features of Procreate is its ability to customize brush settings based on pressure and taper. Pressure refers to the amount of pressure applied to the screen, while taper refers to the way the brush stroke tapers off at the end.
By adjusting pressure and taper settings, you can create brushes that are sensitive to the pressure applied and produce a range of effects. For example, you can create a brush that produces a thick stroke when pressure is applied heavily, and a thin stroke when pressure is light.
Utilizing Touch Taper Settings
In addition to pressure and taper settings, Procreate also allows you to customize touch taper settings. This refers to the way the brush stroke tapers off when you lift your finger or stylus from the screen.
By adjusting touch taper settings, you can create brushes that produce smooth, tapered strokes that look more natural. For example, you can create a brush that produces a thin stroke when you lift your finger quickly, and a thick stroke when you lift your finger slowly.
By adjusting opacity and flow, customizing pressure and taper settings, and utilizing touch taper settings, you can create brushes that are versatile and effective. With these settings, you can create brushes that produce a range of effects and are capable of producing natural-looking strokes.
Organizing and Managing Your Brush Library
As you create more and more brushes in Procreate, it’s important to keep them organized and easily accessible. Here are some tips for managing your brush library.
Creating and Naming Brush Sets
One way to keep your brushes organized is by creating custom brush sets. To create a new set, tap the “+” icon in the top right corner of the Brush Library, then select “New Set”. Give your set a descriptive name, such as “Watercolor Brushes” or “Calligraphy Brushes”.
Once you’ve created a set, you can add brushes to it by tapping and holding on a brush thumbnail, then dragging it into the desired set. You can also create subfolders within a set by tapping and holding on a set thumbnail, then selecting “New Folder”.
To rename a brush or set, simply tap on its name and type in a new one.
Also be sure to check out our article Organize Brushes in Procreate for more suggestions.
Importing and Exporting Brushes
If you’ve created custom brushes that you want to use on another device or share with others, you can export them as a .brushset file. To do this, tap and hold on a brush or set thumbnail, then select “Share”. From there, you can choose to save the file to your Files app or share it via AirDrop or email.
To import brushes, simply open the .brushset file on your device. The brushes will automatically be added to your Brush Library.
It’s important to note that when you import a brush set, it will overwrite any existing brushes with the same name. To avoid this, you can rename your imported brushes before adding them to your library.
By following these tips, you can keep your Procreate brush library organized and easily accessible, allowing you to focus on creating amazing art.
Advanced Techniques and Tips
If you’ve been using Procreate for a while, you may be looking for more innovative ways to make Procreate brushes. Here are some advanced techniques and tips to help you create even more amazing brushes.
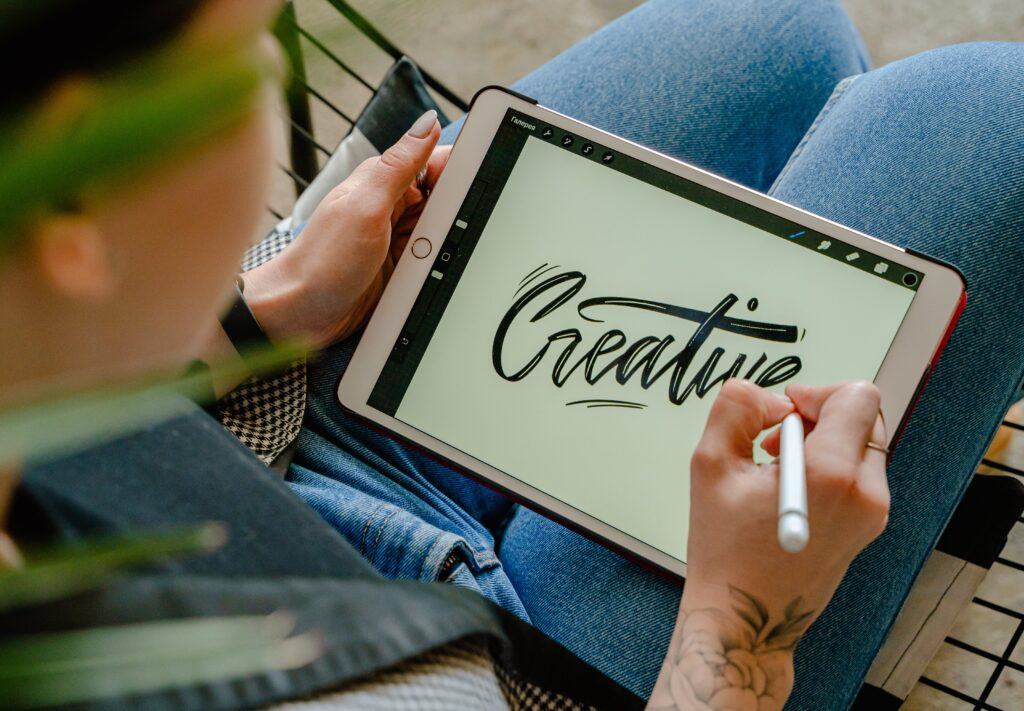
Working with Lettering Brushes
Lettering brushes are a popular type of brush in Procreate, and for good reason. They can help you create beautiful, hand-lettered designs quickly and easily. To create a lettering brush, start with a basic brush shape and adjust the settings to create a brush that responds well to pressure. You can also experiment with adding texture or adjusting the taper to create a unique look.
When working with lettering brushes, it’s important to keep in mind the anatomy of letterforms. Pay attention to the thickness of the strokes and the spacing between letters to create a cohesive design. You can also use the “Quick Shape” feature in Procreate to create perfect circles or other shapes for your lettering.
Exploring Inking and Illustration Brushes
Inking and illustration brushes are great for creating detailed, precise designs. To create an inking brush, start with a basic shape and adjust the settings to create a brush that responds well to pressure and has a smooth, consistent flow. You can also experiment with adding texture or adjusting the taper to create a unique look.
When using inking and illustration brushes, it’s important to pay attention to the details. Use the “Streamline” feature in Procreate to create smooth, precise lines, and adjust the pressure curve to create a range of line weights. You can also use the “Smudge” tool to blend colors and create a more painterly effect.
If you’re finding, though, that you need more precise control over blending options, we have a complete tutorial on How to Make A Blending Brush in Procreate.
Mastering the Art of Calligraphy
Calligraphy brushes are perfect for creating elegant, flowing designs. To create a calligraphy brush, start with a basic shape and adjust the settings to create a brush that responds well to pressure and has a smooth, consistent flow. You can also experiment with adding texture or adjusting the taper to create a unique look.
When using calligraphy brushes, it’s important to pay attention to the angle and pressure of your strokes. Use the “Quick Shape” feature in Procreate to create perfect curves and loops, and adjust the pressure curve to create a range of line weights. You can also use the “Smudge” tool to blend colors and create a more painterly effect.
By using these advanced techniques and tips, you can create even more amazing brushes in Procreate. Experiment with different settings and brush shapes to find what works best for you, and don’t be afraid to try new things. With a little practice, you’ll be creating professional-quality brushes in no time.
And, if you would like to see some great brushes for Procreate that sell on Gumroad, be sure to check out our post on the 6 Best Brushes for Procreate. It can provide you with some inspiration as well as a roadmap for how to create and sell your own brushes.
Eventually you will also need to know how to organize Procreate brushes. If you’re at the point where you can make Procreate brushes and have created a number of them, you can check out our detailed guide on how to keep everything organized.
Troubleshooting Common Issues

If you encounter any issues while creating Procreate brushes, don’t worry! Here are some common problems you may face and how to resolve them.
Resolving Brush Strokes and Spacing Problems
If you notice that your brush strokes are not appearing as expected or the spacing between them is uneven, there are a few things you can try to fix the issue:
- Check your brush settings: Make sure that your brush settings are accurate and appropriate for the effect you want to achieve. Adjust the spacing, size, and opacity as needed.
- Adjust your canvas settings: If your canvas size is too small, it can affect the appearance of your brush strokes. Try increasing the canvas size or resolution to see if that helps.
- Check your stylus: If you’re using a stylus, make sure that it’s calibrated and functioning correctly. Try using a different stylus to see if that resolves the issue.
Resetting Brushes to Default
If you’ve made changes to your brushes and want to start fresh, you can reset them to their default settings. Here’s how:
- Go to the brush settings menu: Tap on the brush you want to reset and select “Edit.”
- Reset the brush: Scroll down to the bottom of the settings menu and tap “Reset Brush.” This will reset all settings to their default values.
- Save the brush: Tap “Done” to save your changes.
By following these troubleshooting tips, you should be able to resolve most common issues you may encounter while trying to make Procreate brushes. Happy creating!
Resources for Further Learning
If you want to expand your knowledge of making Procreate brushes, there are many resources available online. Here are a few options to consider:
Online Tutorials and Courses
There are many online tutorials and courses available that cover the basics of how to make Procreate brushes. Skillshare is a popular platform that offers a variety of courses on Procreate brush-making. You can find courses that cover everything from the basics to advanced techniques.
In addition to Skillshare, there are also many other online tutorials available that cover Procreate brush-making. A quick search on YouTube or Google will yield many results. Some of the most popular tutorials are available on websites like Envato Elements, which offers a variety of resources for designers and artists on how to make Procreate brushes.
Community Forums and Marketplaces
Community forums and marketplaces are great places to find resources and connect with other artists who are interested in making Procreate brushes. Some popular forums include the Procreate Community on Reddit and the Procreate Forum on Facebook.
Marketplaces like Gumroad and Creative Market are also great places to find resources for how to make Procreate brushes. You can find brush sets and tutorials created by other artists, as well as tools and resources to help you improve your skills.
Overall, there are many resources available to help you learn how to make Procreate brushes. Whether you prefer online tutorials or community forums, there is something out there for everyone. With a little bit of practice and dedication, you can become a pro at making Procreate brushes in no time!


Great guide on making Procreate brushes! Your step-by-step instructions and tips on customizing brush settings are super helpful, but I am wondering, when creating custom brushes, how do you determine the best combination of shape and grain sources for achieving specific effects? Any recommendations for experimenting with different textures and patterns to enhance the uniqueness of the brushes? Thanks.
Hi Aparna, As you start to create custom brushes in Procreate, this will involve experimenting with shape and grain sources to achieve specific effects. One key difference to understand is that the shape is the brush tip outline, while the grain is the texture that fills this shape, and their combination defines the brush’s look.
You can start by experimenting with different shapes; use simple shapes for versatility or more complex ones for unique effects. You can create custom shapes by importing images or drawing directly in Procreate.
Grain textures add depth and character to your brush strokes, and you can import custom textures or use built-in ones like paper, fabric, or organic patterns. After selecting your shape and grain, adjust the brush settings in Brush Studio, modifying parameters like spacing, jitter, and rotation to significantly alter the final output.
The best way to find the perfect combination is through testing and iteration. Create and test various brushes, adjusting the settings based on the results until you achieve the desired effect. By experimenting with these elements, you can create highly customized brushes that enhance the uniqueness of your digital artwork.