
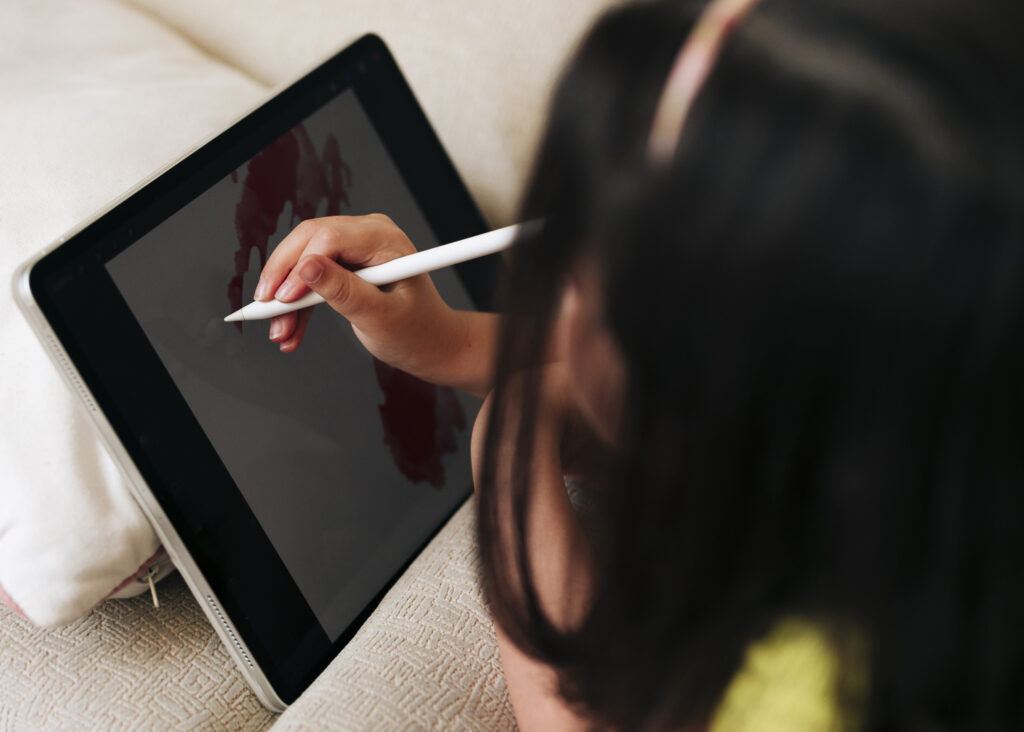
The Apple Pencil transforms your iPad into a dynamic art tool, perfectly paired with the Procreate app to unlock a world of digital creativity. When using Procreate, the Apple Pencil acts as an extension of your hand, offering precision and a variety of brush strokes that mimic traditional art tools. Its pressure sensitivity allows you to control line thickness and opacity effortlessly, which makes it an ideal choice for artists, designers, and hobbyists.
A couple of things to keep in mind before we get started on how to use apple pencil with Procreate:
- Understanding how to effectively utilize layers and the app’s powerful graphic engine will maximize your use of the Apple Pencil.
- Experimentation is key in discovering the full potential of what Procreate can achieve with the Apple Pencil.
- As you become more familiar with the different brushes and textures, you might find that your digital artistry not only evolves but also reaches new heights of professional quality.
Before starting this tutorial, ensure your Apple Pencil is charged and paired with your iPad. Navigate to the Procreate app, where you’ll find a vast selection of brushes and tools to begin your artistic journey. The intuitive interface of Procreate, combined with the responsive nature of the Apple Pencil, provides a seamless drawing and painting experience. Customizing brush settings and utilizing gesture controls can help tailor the process to your personal workflow, enhancing your overall experience within the app.
Getting Started with How to Use Apple Pencil with Procreate

Using your Apple Pencil with Procreate on the iPad ushers in a seamless experience for digital artists. The setup is straightforward, and the intuitive interface of Procreate paired with the precise input of the Apple Pencil makes digital art creation efficient and enjoyable.
Compatibility and Setup
| Apple Pencil (1st generation) | iPad (6th generation) iPad (7th generation) iPad (8th generation) iPad (9th generation) iPad Air (3rd generation) iPad mini (5th generation) iPad Pro 9.7-inch iPad Pro 10.5-inch iPad Pro 12.9-inch (1st and 2nd generation) |
| Apple Pencil (2nd generation) | iPad (6th generation) iPad (7th generation) iPad Pro 12.9-inch (3rd generation and later) iPad Pro 11-inch (all generations) iPad Air (4th generation) |
Please note that you need the USB-C to Apple Pencil Adapter to pair and charge Apple Pencil with iPad (10th generation).
Setting up your Apple Pencil: How to connect apple pencil to Procreate
- Attach the Apple Pencil to the magnetic connector on the side of your compatible iPad Pro, or remove the cap and plug it into the Lightning connector for 1st generation.
- Follow the on-screen prompts to pair.
- Open Procreate and you’re ready to create.
Exploring the Procreate Interface
Once your Apple Pencil is paired with your iPad, launch Procreate to explore its interface. You’ll find a Toolbar at the top of the screen with essential options like the Gallery view, adjustments, and actions. On the left, there’s a Slide Bar for brush size and opacity, and on the right, the Brush Library. The Menu Bar at the bottom offers additional tools and modes like the smudge tool and layers. The interface can go into Full Screen Mode by tapping the Fullscreen icon or using a gesture to maximize workspace.
Apple Pencil Basics
To start drawing, simply use your Apple Pencil as you would a regular stylus. Procreate offers a Brush Cursor for precise work, and you’ll notice how the screen responds to your pressure and tilt inputs, allowing you to create a variety of strokes. With Hover on compatible iPads, your cursor will also appear when the Apple Pencil is above the screen, giving a preview of the brush size and shape. Tap the screen twice with your Apple Pencil to utilize the Double-Tap Shortcut, which by default switches between the current brush and the eraser.
Customizing Apple Pencil Settings
To tailor the Apple Pencil settings to your preferences, go to the ‘Actions’ menu (wrench icon), and select ‘Prefs’. Use sliders to adjust Pressure Sensitivity and Tilt settings under the Apple Pencil section to change how your strokes register based on the pressure you apply or the angle at which you hold the pencil. These customizable settings enable you to create a more personal and controlled drawing experience.
Mastering Procreate Tools
In Procreate, mastering the brush library, layers, color tools, and gesture controls ensures a smoother workflow and allows you as an artist to bring your creative visions to life with precision.
Using Brushes and Brush Library
Procreate’s brush library is a powerhouse for artists, providing a breadth of textures and effects. To select a brush, tap on the brush icon and choose from the categories. The Brush Studio allows for customization of brush settings, where you can adjust or create their own brush textures and dynamics. Remember that changing the brush size can dramatically alter the stroke quality, which you can do with the slider in the sidebar.
Understanding Layers and Opacity
Layers in Procreate function akin to transparent sheets stacked upon each other, adding depth to your artwork. To create a new layer, tap the plus icon in the layers panel. You can adjust a layer’s opacity using the slider next to the visibility checkbox. This is useful for creating subtle effects or building colors gradually. To remove elements without affecting the entire layer, use the eraser tool, or swipe left on the layer and tap Clear to empty it entirely.
Employing Color Tools Effectively
Color plays a critical role in digital painting. Utilize the Color Picker to choose your desired hues, which you can fine-tune using Procreate’s vast color palette options. To change a color, simply select a new one from the palette or use the eyedropper tool to pick colors directly from your canvas. This flexibility is instrumental in achieving the precise shades for your painting.
Advanced Gestures and Touch Controls
Procreate offers a suite of gesture controls that streamline your artistic workflow. The QuickShape feature corrects your shapes as you draw them, simply hold down at the end of your stroke to activate it. Swipe with three fingers to clear a layer or access the QuickMenu for frequently used actions. Familiarize yourself with these gestures and touch controls to increase efficiency and allow for more intuitive creation.
Creating Artwork in Procreate
Procreate offers an extensive array of tools and features that elevate your digital art creation process. Whether you’re sketching, painting, or editing, understanding these tools will greatly enhance your drawing experience.
Drawing and Illustration Techniques
When you draw in Procreate with the Apple Pencil, you can exploit the program’s vast brush library to convey texture and depth. To begin, select a brush from the Brush Library—you’ll find options ranging from inks to charcoals. Adjust the brush properties such as size and opacity using the sliders. Procreate supports pressure sensitivity, so applying different pressure levels will alter the stroke width and opacity. Use quick gestures to undo or redo strokes, assisting in effortless iterations. Fine-tune your illustration by employing the smudge tool for blending or the eraser tool for corrections.
- Pressure Sensitivity: Adjust the pressure curve under Actions > Prefs to tailor the Apple Pencil’s responsiveness to your style.
- Gestures: Customize gestures for convenience by visiting Actions > Gesture Controls.
Utilizing Effects and Adjustments
Enhance your digital art with effects and adjustments in Procreate. Add layers and explore the Layer menu for blending modes to achieve unique effects. Apply adjustments like brightness, contrast, or saturation to refine your artwork’s visual impact. Experiment with layer effects such as Drop Shadow or Gaussian Blur to add sophistication to your illustrations.
- Layer Effects: Tap on the magic wand icon for instant access to layer effects.
- Adjustments: Use the Adjustments menu for nondestructive edits that can be revisited and adjusted anytime.
Canvas Management and Navigation
Efficient canvas management is key to a seamless drawing experience. Procreate allows for multiple canvases, all accessible from the Gallery View. Inside your artwork, use pinch gestures to zoom in and out or rotate the canvas for a better drawing angle. Organizing your layers effectively in the Layers Panel will help you maintain a clean workflow and navigate easily between different elements of your digital art.
- Canvas Gestures: Pinch to zoom, rotate with two fingers, and swipe with three fingers to clear the layer or access the Copy/Paste menu.
- Gallery Organization: Press and hold to rearrange artworks or swipe left to duplicate, share, or delete.
The combination of the Apple Pencil’s precision with Procreate’s robust features leads to a drawing and illustration experience that is intuitive and powerful, perfectly catering to artists of all levels.
If you wish to focus more deeply on drawing or want to learn some sketching techniques, be sure to check out our tutorial How to Sketch with Procreate.
Optimizing Your Workflow
Optimizing your workflow with the Apple Pencil in Procreate involves mastering layer management, customizing shortcuts, and maintaining color and texture consistency to enhance your drawing experience.
Effective Layer Usage
Utilizing layers effectively is essential when drawing in Procreate. You should use separate layers for different elements of your piece to allow for easy edits and adjustments. For instance:
- Background Layer: Reserve one layer for your background color or texture.
- Sketch Layer: Keep your initial sketches on a separate layer for reference.
- Detail Layers: Add details on new layers to preserve the ability to edit without affecting other elements.
Remember to label your layers and use Drawing Assist to aid with symmetry and perspective where needed. Doing so will help you maintain a dynamic range in your artwork by manipulating layers individually without affecting the overall piece.
Shortcuts and Quickmenu Customization
Speed up your process by customizing Procreate’s QuickMenu and gestures. You can access the QuickMenu with a touch-hold gesture and add your favorite features here for easy access. To customize:
- Go to Actions > Prefs > Gesture Controls.
- Choose QuickMenu and assign your preferred gestures.
Furthermore, familiarize yourself with standard shortcuts, such as a two-finger tap to undo. Assign gestures to frequently used actions like switching tools or adjusting brush size to maximize efficiency.
Maintaining Consistency with Color and Textures
Keeping your color schemes and textures consistent is crucial. Use Procreate’s Color Picker to save your favorite hues for quick access and ensure uniformity across your project:
- Color Palette: Create a custom palette by pressing the ‘+’ in the Palettes section.
- Textures: Apply consistent textures across layers using the same brushes and values to give a cohesive look.
Take advantage of Procreate’s advanced features like blending modes and layer masks to build up texture without losing the harmony in your color values. This will ensure your work has a unified aesthetic throughout.
Finalizing and Sharing Your Work
Once you’ve perfected your artwork in Procreate using the Apple Pencil, it’s time to export it in a format best suited for your needs and share your creation with the world.
Exporting and File Formats
Exporting Your Artwork:
- Go to the Actions menu (wrench icon).
- Tap Share.
- Choose your desired file format.
File Formats Explained:
- JPEG: Best for photographs and images with gradients. It’s widely used but be aware of its lossy compression.
- PNG: Ideal for drawings with transparent backgrounds or sharp details, offering lossless compression.
Remember, the file format you choose will affect the quality and usability of your image on various platforms.
Sharing on Social Media and Platforms
Preparing Your Work for Social Media:
- Ensure the file size and format meet the platform’s requirements.
- Consider adding watermarks or your signature for copyright protection.
Sharing Steps:
- Instagram or Facebook: Select your JPEG or PNG file. Use the platform’s interface to upload, add captions, hashtags, and share.
- Art Platforms like Behance: Upload your work, add a description, and proper tagging for better visibility.
When sharing on social media, engage with your audience by responding to comments to improve the drawing experience they have with your work.
Additional Resources and Tips
In this section, you’ll find a curated list of resources and troubleshooting advice to enhance your experience with the Apple Pencil and Procreate, catering to both novice and advanced users.
Exploring Procreate Resources
Procreate Handbook: For comprehensive knowledge, reference the official Procreate Handbook. This resource is regularly updated to stay current with new features and offers in-depth insights into all tools, including selection tools and preferences.
- Beginners: Start with the Quick Start section to familiarize yourself with the basics.
- Advanced: Delve into the Advanced Brush Techniques for sophisticated artistry.
Online Tutorials and Forums:
- Video Tutorials: Platforms such as YouTube host a variety of tutorials to visually guide you through Procreate’s features.
- Procreate Forums: Participate in community discussions to gain insights from fellow artists and troubleshoot unique issues.
Troubleshooting Common Issues
Selections and Layers:
- If struggling with selection tools, ensure you’re on the correct layer and that you have tapped the checkmark icon to confirm your selection. Issue Solution Can’t select Check layer visibility and opacity. Selection lost Tap checkmark to reapply the last selection.
Copy and Paste Functions:
- Copying and Pasting can be done with a simple three-finger swipe down gesture opening the copy/paste menu. Gesture Action Three-finger swipe down Opens Copy/Paste menu Tap “Copy” Copies selected content Tap “Paste” Pastes to current or new layer
Preferences: Fine-tune your Procreate experience via the Actions menu (wrench icon). Here you can adjust the interface, stylus, and gesture controls to suit your workflow. Remember to save your preferences.
For additional support, Procreate’s official website provides a detailed FAQ section, and the customer support team is available for personalized assistance.
You can also check out our guide 9 Essential Tips for Drawing on Procreate for more ideas.
Beyond the Basics
When you’re ready to move past simple lines and brushes, Procreate offers a suite of advanced features to enhance your digital drawing experience.
Leveraging Advanced Techniques
To fully utilize the Apple Pencil’s capabilities with Procreate, you need to master pressure sensitivity. This allows for nuanced control over line weight, allowing you to create more dynamic and realistic strokes. Experiment with pressure curves in the app settings to find the best fit for your drawing style.
In addition, make use of Procreate’s QuickShape feature. Draw a shape and hold your pencil down at the end of the stroke. Procreate will automatically perfect the shape for you. It’s a powerful tool for creating precise geometric shapes and clean lines.
- Procreate Effects: Experiment with layer effects like blending modes to add depth and texture to your work.
- Shortcuts: Swipe with three fingers to clear a layer or tap with four fingers to hide the interface and focus on your canvas.
For more on how to draw on Procreate, be sure to check out our detailed blog post.
Exploring Third-Party Styluses
While the Apple Pencil is a powerful tool for Procreate, there’s compatibility with third-party styluses as well. For example, the Logitech Crayon operates well with Procreate, offering a different pressure sensitivity experience. When using styluses other than the Apple Pencil, check their compatibility and whether they support Procreate’s advanced features.
| Stylus Name | Pressure Sensitivity | Procreate Compatibility |
|---|---|---|
| Apple Pencil | Yes | Full |
| Logitech Crayon | Yes | Limited |
Inspiration for Procreate Dreams
To fuel your Procreate dreams, look to digital art communities and social media platforms where artists often share their Procreate projects. Pay close attention to their technique and the effects they employ, which can inspire your own advanced Procreate art.
- Explore curated hashtags like #ProcreateArt or #DigitalDrawing.
- Follow Procreate featured artists for innovative use of the software.
- Participate in challenges to push your creativity boundaries within the Procreate app.
Frequently Asked Questions
This section covers essential information on how to use Apple Pencil with Procreate, from initial setup to troubleshooting common issues.

I love procreate! It’s one of my favorite drawing apps the only thing that I think is a downside is that it’s raster based instead of vector based so you really have to pay attention to what your final size is going to be so it won’t be super pixilated. Depending on what the purpose is sometimes I will start off in procreate because I like how user friendly it is and how quickly I can sketch my ideas out but I will switch to a vector based program to do final inking. What are your thoughts?
Hi Jesse, If you truly need vector support for your work, then you’re right: Procreate isn’t going to work for your final design. If you like to use Procreate for your initial design phase and then switch to something like Illustrator, that workflow could work for you. I appreciate your question because every tool has benefits and limitations, and part of being a professional is knowing the pros and cons of the tools we use. If you’re interested in learning more about the different options for design software other than Procreate, we have an article that covers this as well at Drawing Tech World. I hope that helps, and if you have other questions, please don’t hesitate to reach out.
Thanks for sharing this article Laura. It’s a great guide for anyone who wants to learn how to use Apple Pencil with Procreate.
You’ve done a fantastic job of explaining the features and functionalities of the tool in a clear and concise manner. However, I have two questions that I’d love to know your thoughts on:
1. I’m curious to know if there are any other drawing apps that are compatible with Apple Pencil?
2. I’m someone who does online tutoring quite often. I have nice handwriting and really value aesthetics and organization. I’ve been using the Universal Stylus pen, so would you say the Apple Pencil would be a significant upgrade for me?
Hi Yusef,
Yes, there are other drawing apps that are compatible with the Apple Pencil. You can use it with Adobe Fresco, Adobe Illustrator Draw, Concepts, Tayasui Sketches, and a few others.
To answer your other question, I can speak to it in a general way since there are a few universal styluses out there and I’m not exactly sure which one you’re using. That being said, the Apple Pencil tends to offer better pressure sensitivity, tilt sensitivity, and latency when compared to most styluses. If you’ve ever had your tablet lock up when you were doing a bunch of quick strokes, you’ll appreciate the last feature (latency). Latency is often a feature that differentiates mid-range tablets from higher-range ones. If you work doesn’t require a lot of detail then a more universal stylus might be sufficient for you — it all depends on the kind of work you do and what your needs are as an artist. If your graphic design work incorporates a lot of intricate details, then the Apple Pencil is probably a better choice.
I hope that helps!
Your article on using the Apple Pencil with Procreate is very good. You really nailed down the essentials for beginners. I especially liked how you explained the different brush settings and how to tweak them for different effects. It made diving into Procreate less intimidating for me, so thank you for that!
I’m still a bit confused about which format works best for printing high-resolution images. Could you expand on that in your next update? Overall, great job—I’m looking forward to more tips and tricks from you!
Hi Bob, Thanks for the kind words. I’m glad you enjoyed the article.
For printing high-resolution images generated in Procreate, the best format typically depends on the specific requirements of your project and the capabilities of your printer.
Format matters less than resolution, so for the best results, you’ll want to consider the following tips:
Resolution: Ensure your image resolution is at least 300 DPI (dots per inch) for high-quality prints.Color Profile: Use the CMYK color profile if your printer supports it, as it is standard for printing.
If you’re using a printing service, it’s always a good idea to consult with them to confirm their preferred file format and any specific requirements they might have. I hope that helps.