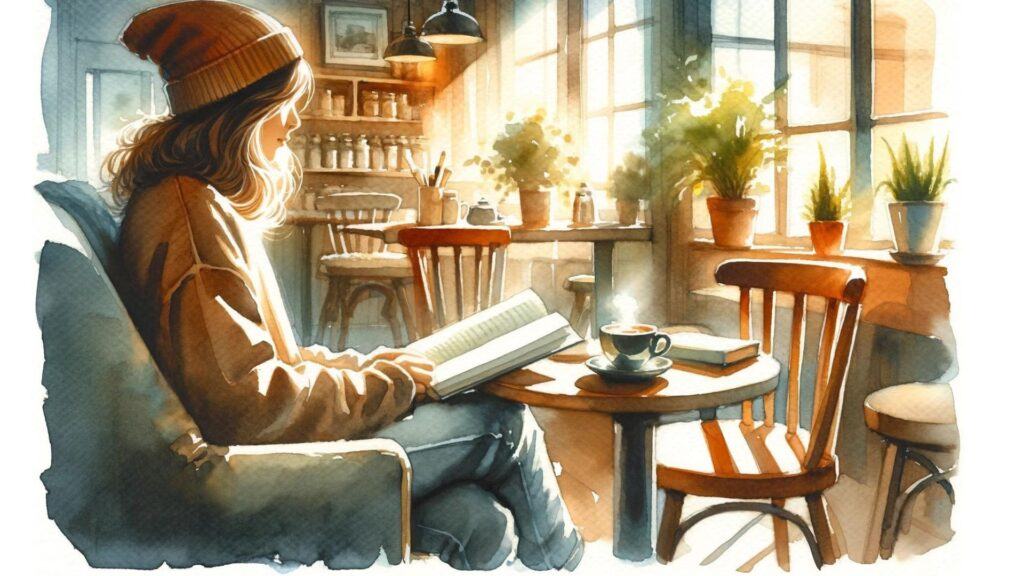
If you want to capture the beauty of real-life moments using digital watercolor, you’re in the right place. In this article, I’ll walk you through creating a realistic watercolor painting using Procreate and some custom watercolor brushes from MaxPacks. Whether you’re inspired by the spontaneous scenes at coffee shops or intrigued by the challenge of quickly sketching people in public spaces, there’s something deeply rewarding about capturing the essence of a moment.
Starting with basic shapes and gradually adding detail, you can develop a sketch into a detailed and dynamic painting. The brushes I’ll introduce make it easier to mimic traditional watercolor techniques, offering flexibility and depth. I will also show you how to focus on some specific parts of the image, depending on what you want to focus on or the cooperation of your subject, so stick around to discover some tips and tricks for bringing your lines to life and creating stunning watercolor effects.
Inspiration for Watercolor Painting

As an artist, real-life scenes offer endless inspiration. Coffee shops, parks, and public spaces are filled with interesting subjects that help improve your skills. Drawing people as they naturally move gives you fresh and unique character ideas.
When you’re sketching from life, focus on capturing key features quickly. Speed is important because people won’t stay in the same pose for long. Start by drawing basic shapes and getting the overall feel of the person. For example, you might notice a stable shape in someone’s posture or an interesting facial feature. These observations can help you create detailed line work before you move on to painting.
If you’re new to attempting to draw people in public places, coffee houses are a great starting point because your subjects tend to stay in one place longer, especially if they are engrossed in a good book, compared to public parks where they’ll likely move around more.
So, here are some steps to get started drawing from real life:
- Observe:
- Look for interesting features or body language.
- Focus on shapes and posture.
- Sketch:
- Quickly draw basic shapes.
- Capture key features first.
- Detail:
- Add finer details to areas like hands or faces.
- Use the initial sketch as your guide.
Having tight line work allows for more freedom when adding watercolor. Start light, layering in shadows and tones. Always save your highlights. This method makes your watercolor painting look realistic. Remember, each mark is visible and important, so be deliberate with your strokes. Use smudging and erasing to create interesting edges and textures.
In real life, edges in watercolor paintings vary. Some are smooth, others are feathered or sharp. This variety makes your artwork more dynamic and visually appealing.
Capturing Live Subjects
Drawing in public places like coffee shops, parks, and bars offers great opportunities to practice capturing people in their natural, candid poses. Unlike studio models who remain still, individuals in public may only hold a pose for a brief moment, so you need to work quickly.
- Primary Shapes First: Start with large shapes and key features. Focus first on the most striking aspects before a person moves. For example, emphasize a unique nose or posture.
- Detail Level: Begin detailing areas like the hands to establish the overall detail level for the piece.
- Speed and Observation: Fast work improves your observational skills. You’ll learn to hold the key features in your mind long enough to put them on paper.
Using these techniques helps you develop an eye for real, varied human features, which is invaluable for creating unique, original characters later.
Starting with Primary Shapes and Features
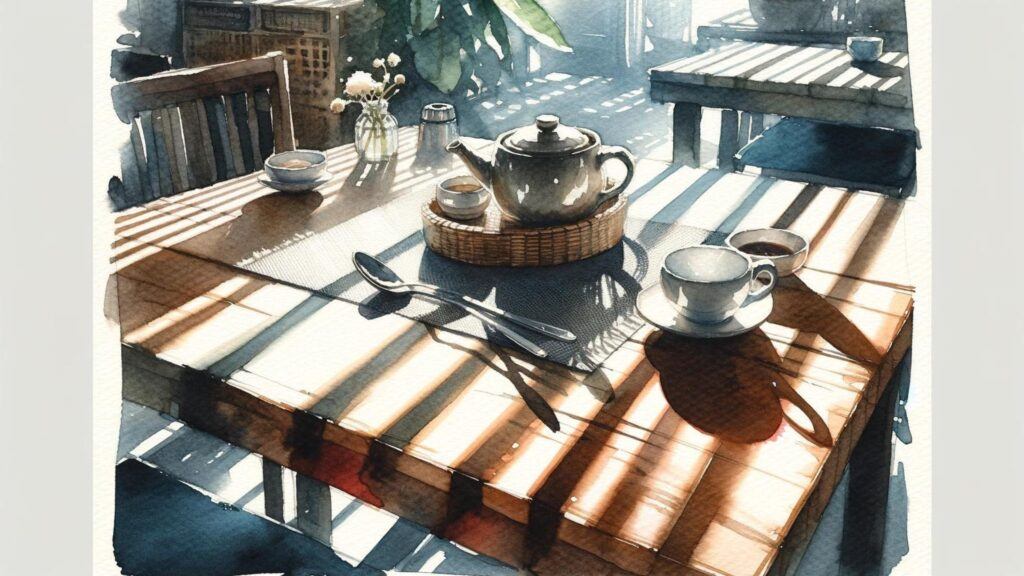
When sketching live subjects, begin with primary shapes and big ideas whenever possible. For example, if you’re drawing someone at a café, look for stable and recognizable shapes. Maybe the person has a strong pyramid-like posture or a straight back. Or maybe there is a cluster of cups and saucers you can focus on. Focus on a key feature, such as a prominent nose, to capture their essence quickly in case they move away.
Once you’ve got the general idea down, add details. Start with an area of high detail to set the level of detail for the whole piece. Hands can be a good place to start since they often show a lot of character and expression. Moving to the face, pay attention to specific features like the nose and eyes. Instead of going for exaggerated cartoonish eyes, try an approach that fits the person’s natural look.
Use lines to define hair and clothing. Straight lines might simplify complex shapes, making the drawing more pleasing. For instance, you might draw a straight line for a hairline and simplify the curves in the clothing to avoid a messy look.
Finally, consider adding hatching or tight line work. This allows you to be more relaxed with watercolor painting later on. Even if the final piece will be in color, having detailed line work helps maintain clarity in the artwork.
Detailed Line Work
Start with the hands. Begin with high detail areas to set the level for the entire piece. The hands offer a lot of detail and this helps establish a consistent detail level. In this case, the hands were a focus because the under sketch already captured the face well, and the subject’s pose with his hands was uncertain.
Once the hands are detailed, move on to the face. Focus on prominent features like the nose, capturing the cartilage and structure. The eyes should match the character of the person, not overly cartoonish, but more realistic and sometimes a bit puffy to add age. The hairline can be simplified with straighter lines for a clean look. Adjust shapes from the under-sketch to make them more interesting and dynamic.
For the clothing, manage the details skillfully. The wrinkles and texture of the fleece jacket should be captured, with curves contained to prevent a chaotic appearance. Adding interior detail gives a sense of curviness without overcomplicating the silhouette.
While creating this detailed line work, lots of hatching is useful. Even if painting will follow, tight line work and hatching allow for looser watercolor application. The line work phase is also a chance to correct anything that doesn’t look right, such as an awkward pinky finger position.
Remember, the purpose is to balance detailed areas with simpler lines, creating a visually engaging and organized design.
Focusing on the Hands
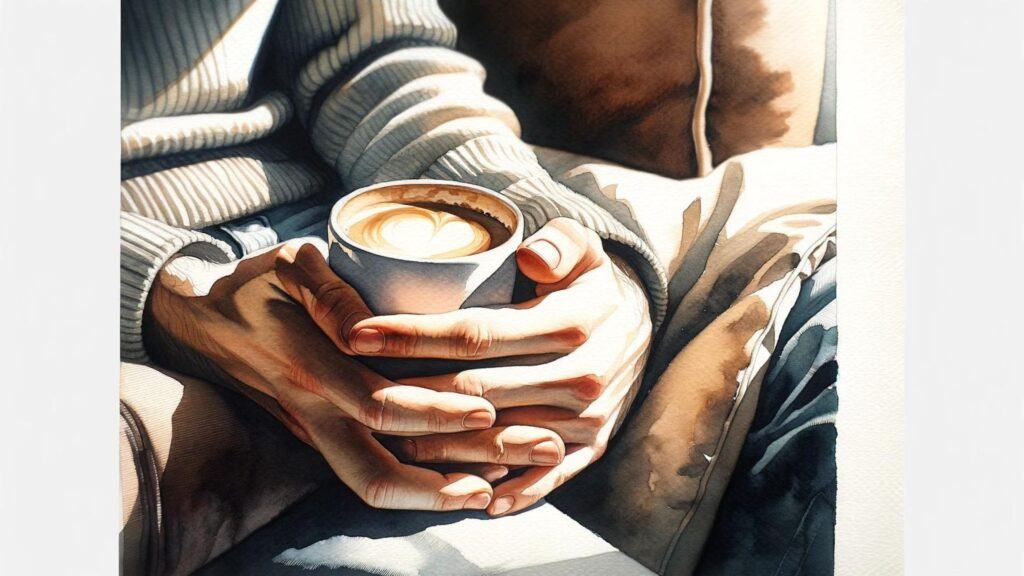
When starting a piece, begin with detailed lines, especially where there’s high detail. This helps set the level of detail for the entire work. In this case, concentrate on the hands. Getting the hands right is crucial because they are key to capturing the person’s body language.
Starting with the hands allows you to detail them while you still have the subject in front of you. It’s important to capture as much as possible before they move. To achieve this, focus on the shape and structure of the hands, noting how they fit into the overall composition.
- Start with primary shapes
- Focus on high-detail areas first
- Capture the pose quickly and accurately
This approach not only anchors the drawing but also ensures that the initial details you lay down are robust enough to carry the piece through to completion.
Facial Feature Details
Starting with facial features can set the tone for your entire piece. This approach ensures even if the subject leaves, essential details are captured.
Eyes were drawn semi-anatomically without making them too large or cartoonish, adding a bit of age to the character. The hairline was simplified, making it a straight line rather than following natural curves, enhancing aesthetics.
Key Points:
- Nose: Focused on its structure and exaggerated it.
- Eyes: Kept them natural but with some puffiness for age.
- Hairline: Simplified to a straight line for visual interest.
Clothing and Wrinkles
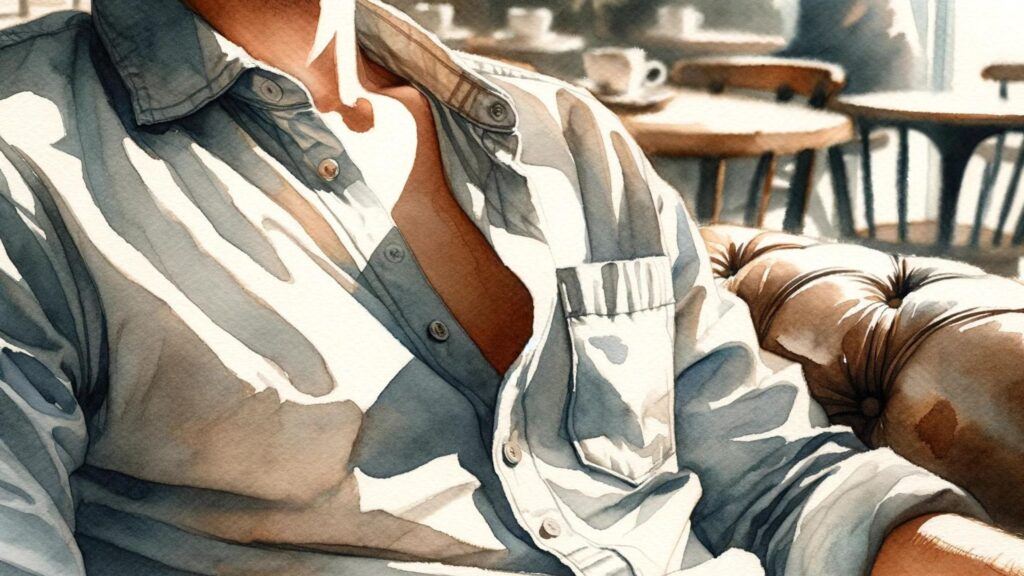
When working on the clothing, start by outlining the shape clearly. For example, if you’re sketching someone in a fleece, note the folds and contours of the fabric. Keep in mind that different areas may have different levels of detail.
On one side, you might use a clean, straight line to define a sleeve, while on the other side, you can introduce more curves. This keeps the drawing balanced and avoids a cluttered look.
Tips for Drawing Wrinkles
- Contain Curves: Too many curves can result in a chaotic mess. Contain them within a structured outline.
- High Detail Areas: Focus on areas of high detail first. Establishing these details helps guide the rest of your work.
- Interior Detail: Add interior lines and hatching to suggest wrinkles without overloading the drawing with lines.
Balancing Line Work and Watercolor
- Tighter Line Work: Having detailed line work and hatching allows for more freedom with watercolor application.
- Layering: In watercolor, layering is key. Begin with light tones and shadows, and build up to darker details.
- Mark Meaningfully: Be deliberate with your marks, as watercolor highlights each stroke.
When drawing clothing and wrinkles, consider how you balance detail and simplicity. This approach helps maintain clarity and visual interest in the final piece.
Hatching Technique
Sketching involves using a mix of shapes and lines to build up your drawing. Starting with the basics, you first capture the main shapes and ideas. This often means blocking out the larger forms before moving to the finer details.
Steps for Hatching
- Primary Shapes: Capture the big shapes first. Focus on the overall structure rather than details.
- Details and Lines: Once the main shapes are in place, you can start adding detailed lines to define the features more clearly.
- Focused Details: Start with highly detailed areas that set the tone for the rest of the piece. This helps you maintain a consistent level of detail throughout.
Finalizing Line Work
When working on your detailed line work, start with areas of high detail. This helps set the level of detail for the entire piece. Begin with significant features; for instance, hands can be intricate and expressive.
For the face, pay close attention to key elements. Focus on important features like the nose and eyes. Choose whether to go with a more realistic style or a slightly exaggerated one. This decision can add character to your sketch. Use straight and curved lines thoughtfully to capture the unique aspects of your subject’s facial structure.
When detailing clothing, balance between structure and fluidity. For example, use clean lines for one sleeve while adding more wrinkles and curves for another. Adding interior details can help maintain a sense of realism without overwhelming the drawing.
Hatching is essential even if you’ll paint over it later. This technique allows more freedom in the watercolor stage. Tighter line work gives a stable base, so you can be more expressive with your colors and shading.
Before moving on to painting, take a moment to reassess your line work. Fix any elements that might seem off or distracting. Adjust details, like a pinky finger, to ensure they don’t draw unwanted attention.
Procreate Brushes for Watercolor by MaxPacks
Now you’re ready to move onto painting your watercolor. So how can you achieve the look and feel of creating watercolors from real life like these examples? You can start with MaxPacks Brushes, which are designed for creating realistic watercolor paintings in Procreate. Built on the new Procreate 5 brush engine, these digital brushes offer high flexibility and power. You can use them to paint detailed and lifelike images with ease.
Features of MaxPacks Brushes
- Realistic Watercolor Effects: Designed to mimic the look of real watercolors.
- Layering: Allows for effective layering of colors to build depth and richness.
- Edge Control: Provides the ability to create both hard and soft edges.
- Mark Making: Ensures meaningful and visible mark making, ideal for creating texture and detail.
- Flexibility: Offers a variety of options, so you can explore different painting styles.
- 75 Brushes: includes realistic inkers, precise detail brushes, delicate wash brushes, subtle bleed brushes, 2 watercolor paper textures, and much more.
Using MaxPacks Brushes
You start with light layers and gradually build up tones, saving your highlights for last. This approach helps to replicate the look of traditional watercolor painting. The brushes also allow for deliberate mark making, meaning each stroke is intentional and adds to the overall visual interest of the painting.
Tips for Getting the Best Results:
- Begin with primary shapes and big ideas.
- Capture key features first, especially those that are likely to move if you’re sketching from life.
- Use hatching and detailed line work to serve as a base for looser watercolor application.
- Layer warms and cools to add variety and visual interest.
- Blend edges using smudge tools to create a natural look.
By following the steps below, you can achieve a realistic and dynamic watercolor painting using MaxPacks Brushes that are designed specifically for Procreate.
Watercolor Painting Approach
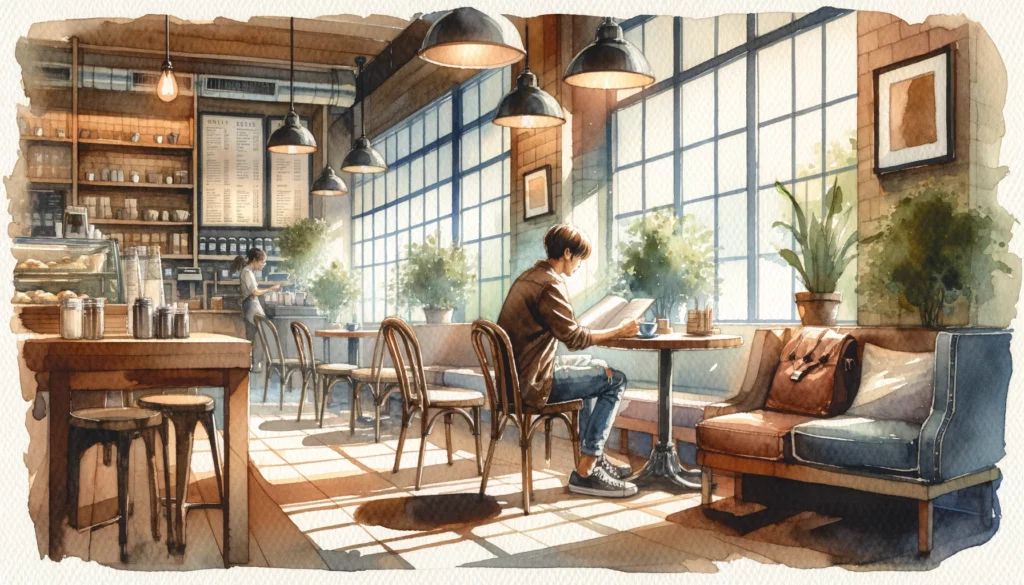
Starting with Line Work
Begin with a detailed line drawing. Focus on areas of high detail first, like hands or faces. This helps to set the level of detail for the entire piece. Use lots of hatching; it keeps the line work tight and allows for looser painting later.
Building Layers
Watercolor is all about layering. Start by adding light shadows and tones. Work from light to dark. Always save your highlights, even though this is digital and you can undo mistakes.
Edge Control
Pay attention to the edges. Feather some edges and keep others crisp. This variety adds visual interest. Avoid too many hard, perfect edges, as they can make the painting look less natural.
Using Digital Brushes
Take advantage of digital features like undo and redo for mark making. Use smudge tools and erasers to create effects like bleeds and feathered edges. Experiment and find what looks best for your painting.
Combining Warm and Cool Tones
Mix warm and cool tones to create depth and variety. This helps bring your watercolor painting to life.
By following these steps, you can create a realistic watercolor painting using digital tools.
Working with Light to Dark
When working with watercolors, start by adding the lighter shades first. This means you should begin with your shadows and lighter tones. The goal is to build up layers, making sure to save the highlights as you go. In traditional watercolor, once you lose a highlight, it’s gone, but with digital tools, there’s more flexibility.
Mark making is key. Each brushstroke in watercolor counts because of their transparency. Take your time to ensure each mark is deliberate and meaningful. It’s okay to undo and redo until you’re satisfied.
Pay attention to edges. The edges in watercolor paintings are significant. Sometimes, you might want to overshoot your outline. This can create interesting effects, especially with bigger, grungy puddles. Remember, you can always refine edges with additional layers later.
Use a mix of hard and soft edges to add variety. Realistic watercolor isn’t uniformly soft; there are always some harder, crisp edges. Use tools like smudge brushes to feather these edges as needed and add visual interest.
For faces, blend carefully. Leave some edges hard and blur others slightly to mimic real watercolor. Avoid switching tools constantly by using shortcuts, like setting your finger touch to smudge edges. Keep layering using warm and cool tones to enhance visual variety and interest.
Layering in Watercolor
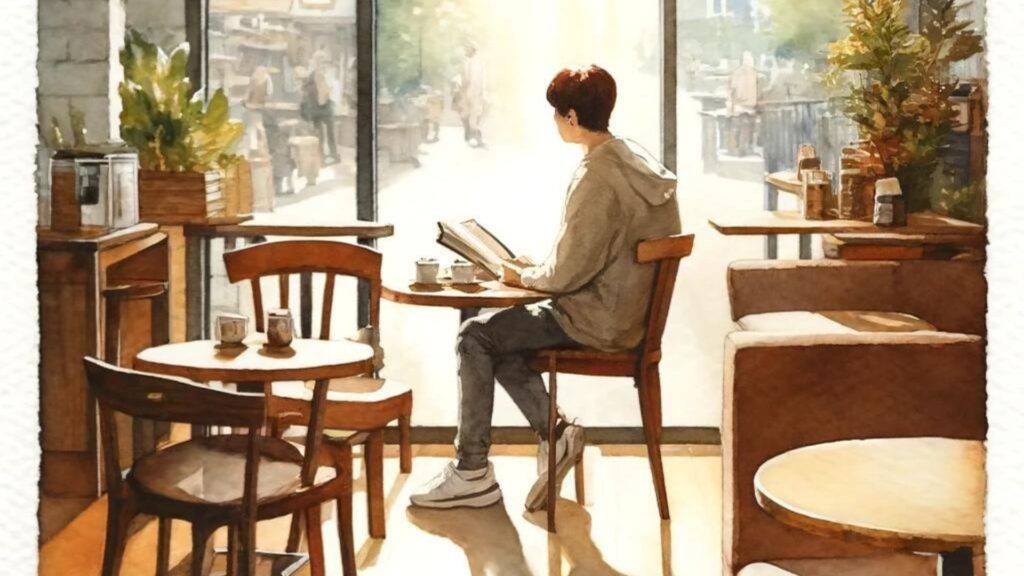
When working with watercolors, it’s important to start light and build up gradually. Begin with shadows and tones. Layering is the key principle. You should always save your highlights; once they’re gone, they’re hard to get back in traditional watercolor.
In digital watercolor, you have more flexibility, but the technique is the same if you want it to look realistic. Make deliberate marks because each one will show through due to the transparent nature of watercolor. Undo and redo until your marks are meaningful—don’t just blend everything together.
Edges play a crucial role. Hit the edges correctly or allow for some overshoot to create big, grungy puddles. This variation in edges, from soft blurs to hard lines, adds visual interest. Use erasing and smudging techniques to create different textures and feathering, which mimic traditional watercolor effects.
For facial details, add and erase highlights as needed. Keep some hard edges and slightly blur others to make it look like they were left intentionally. Set your finger touch to smudge for quick adjustments without changing tools. Use warm and cool tones in layers to add depth and variety to your painting.
If you would like to learn more about how to create layers in Procreate, check out our full tutorial.
Edges and Textural Variety
When working with watercolors, controlling edges and creating textural variety is key. Begin layering your shadows and tones lightly. Each brushstroke is seen because of the transparency of watercolor. This makes it essential to place your marks deliberately. Feather out some edges and leave others hard to achieve a balanced look.
Using a mix of hard and soft edges can provide visual interest. Hard, perfect edges can sometimes detract from the natural look. Watercolors often have a mix of both crisp and blended edges. You can smooth transitions and blend areas using techniques like feathering or smudging with your finger.
Experiment with different textures. This can include adding bleeds, using smudge brushes, and manipulating the edges. Such variety helps keep the image engaging. Don’t overclean your work; leaving some grungy or imperfect areas can add to the natural feel.
Finally, remember that layering warm and cool tones can enhance the depth and interest of your work. This approach lets you bring out the best in your watercolor pieces, creating more dynamic and eye-catching results. There are 12 Detailed Overlay Textures from the Watercolor MaxPack to help you achieve this effect.
Adding Highlights and Final Details
Once you have your line work set, it’s time to add highlights and final details to bring your watercolor painting to life.
Layering and Mark Making
Start by layering your colors. Begin with light tones and add shadows gradually. This method helps in keeping the highlights intact. In digital painting, even though you can undo actions, try to work as if you’re dealing with real watercolor.
Edges Matter
The edges in your painting are crucial. Not all edges should be sharp; a mix of soft and crisp edges adds visual interest. Use smudge brushes and erasers to create varied edges, giving your work a more dynamic feel.
Face Details
When working on the face, pay attention to highlights and shadows. Leaving some hard edges while softly blending others makes the painting look more natural. Employ warms and cools to add depth and variety.
Wrinkles and Clothing Texture
When detailing clothing, especially with complex textures like fleece, balance straight lines and curves to define form without making it messy. Use interior details to suggest wrinkles and texture without overloading the image.
Final Touches
Towards the end, reassess your work and fix any elements that stand out as odd or stylized in a way you don’t prefer. This is your chance to finalize all the small details and ensure everything looks cohesive before moving on.
By following these steps, you can add realistic highlights and details, enhancing the overall impact of your watercolor painting. Focus on deliberate mark making and thoughtful use of edges and layers for the best results.
After you’ve done this project, if you’re looking for more ideas, check out our post specifically dedicated to Drawing Ideas for Procreate.


