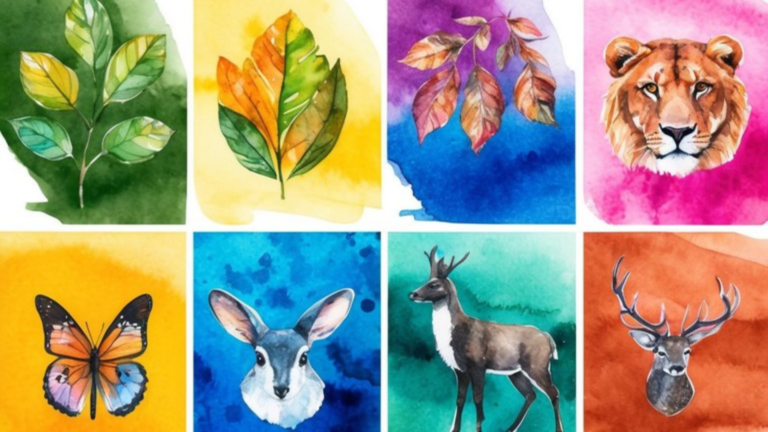
Creating realistic textures in Procreate is a game-changer for digital artists looking to elevate their work. Whether you’re aiming to mimic natural materials like fur, fabric, and wood, or experimenting with unique patterns, Procreate’s robust set of tools and brushes makes it possible. By mastering texture creation in Procreate, you can add a new dimension and depth to your digital art, making your pieces stand out.
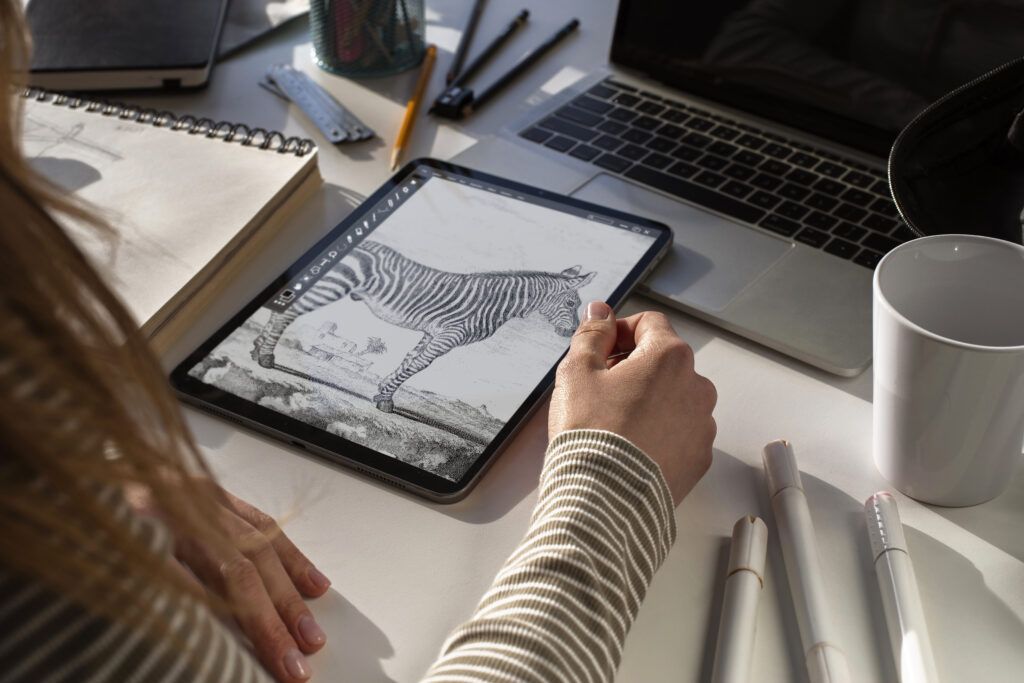
To start, you’ll want to familiarize yourself with the variety of texture brushes available in Procreate. These brushes, designed to replicate the feel and appearance of real-world materials, are essential for adding intricate details to your artwork. Creating a new layer dedicated to textures allows for greater flexibility and control, ensuring your base layer remains unaffected during the process.
Color selection is also crucial when creating realistic textures in Procreate. The right shades can bring your textures to life, making them visually compelling and authentic. From subtle shading to bold contrasts, experimenting with color can significantly enhance the overall effect of your texture work in Procreate.
Step 1: Getting Started with Procreate
To effectively create textures in Procreate, you must first familiarize yourself with the app’s interface, set up your canvas properly, and understand the essential tools available for texture creation.
Understanding the Procreate Interface
When you open Procreate on your iPad, the first thing you’ll see is the gallery. This is where all your projects are stored. To start a new project, tap the “+” icon.
Inside the workspace, the layout is intuitive. The toolbar at the top holds critical features like the brush, eraser, and selection tools. On the left, you’ll find the slider bars for adjusting brush size and opacity. The brush library contains a wide variety of brushes, essential for texture work. Familiarizing yourself with these will streamline your workflow.
Setting Up Your Canvas
Creating a new canvas is the foundation. Tap the “+” icon in the gallery, then set the canvas dimensions. If you’re aiming for print, set a high DPI (300 or more) for better quality.
You can choose preset sizes or customize your dimensions. Next, decide on a color profile (RGB for digital, CMYK for print). Layers are crucial; set up multiple layers to separate different elements of your texture. This method gives you more control over the final output.
Essential Texture Tools in Procreate
Procreate offers a vast brush library filled with various texture brushes. Start by selecting a brush that matches the texture you’re aiming to create, whether it’s rough, smooth, or something in between.
Use the Smudge tool to blend textures seamlessly. Experiment with different brush settings like spacing, jitter, and opacity for unique effects. Layers and clipping masks are incredibly useful for isolating textures. You can also import custom brushes for more specialized textures in Procreate. Don’t forget to utilize the color drop tool to precisely match shades within your texture work.
Step 2: Explore Textures in Digital Artwork
Textures in Procreate play a pivotal role in digital artwork by adding depth and dimension. Different types of textures can be utilized to enhance the visual appeal and realism of a piece.
The Role of Texture in Art
Texture in art affects how viewers perceive the depth and dimension of a piece. It can turn a flat image into a more engaging composition. In digital art, the right texture can replicate the feel of physical materials, such as canvas or paper, providing a tactile sensation.
You can use textures to draw attention to specific areas or elements in your artwork. Texture variations can help guide the viewer’s eye and create contrast. Experimenting with textures allows you to add a unique character to your digital pieces.
Types of Textures Available
Various textures in Procreate are available for digital artists to use. These include rough, smooth, patterned, and organic textures. Each type adds a distinct quality to your work.
Rough textures can make surfaces appear gritty or worn. Smooth textures create clean and sleek finishes. Patterned textures introduce repetitive designs that can enhance backgrounds or foregrounds. Organic textures, such as wood grain or fabric patterns, add natural elements to your art.
Using Procreate, you can layer textures to build complex, multi-dimensional surfaces. This technique gives you control over different areas of your artwork without affecting the entire piece. Utilize multiple layers to blend textures seamlessly and achieve the desired effect.
Step 3: Master Brushes for Texture Creation
Enhancing your textures in Procreate depends largely on understanding different brush options and settings. By mastering default brushes, creating custom ones, and tweaking brush settings, you can achieve detailed and realistic texture effects in your digital art.
Default Procreate Brushes
Procreate comes with a diverse selection of default brushes that are designed to simulate real-world textures. Brushes like Grainy Pastel, Clay Brush, and Fine Tip are ideal for adding texture to your artwork. Experiment with different brushes to see which ones best suit your project.
Blending default brushes by varying opacity and pressure can also create unique effects. Adjusting the Brush Library allows you to quickly access and switch between your favorite pre-made texture brushes. You can also easily organize your brushes in Procreate as you add more to your library.
Creating Custom Brushes
Creating custom brushes in Procreate is a powerful way to achieve specific textures that aren’t available by default. Start by selecting a base brush from the Procreate library. Modify properties such as Shape Source, Grain Source, and Brush Dynamics to invent your custom texture brush.
You can import textures in Procreate from your own photos or design them using drawing tools. Saving and organizing custom brushes in a specific folder will help maintain workflow efficiency. Custom brushes let you innovate and bring a unique texture style to your work.
Brush Settings for Textured Effects
Adjusting brush settings is crucial for achieving the desired textured effect. Key settings include Streamline, Jitter, Opacity, and Flow. Fine-tuning these parameters can significantly change the brush stroke, adding depth and complexity to textures.
Using settings like Pressure Sensitivity allows for dynamic control, making strokes thicker or thinner based on applied pressure. Randomize settings can add organic, less uniform textures. Regularly test and adjust settings to meet your specific needs, ensuring each stroke contributes to the overall textured appearance you are creating.
Step 4: Use Techniques for Realistic Textures
Creating realistic textures in Procreate involves a mix of layering, blend modes, and depth adjustments. These techniques help bring a three-dimensional look to your digital artwork, making it visually captivating.
Implementing Layering Techniques
Using multiple layers is crucial for building up realistic textures. Each layer allows you to focus on different aspects of the texture without affecting the whole image. For example, start with a base texture layer and gradually add details such as shadows, highlights, and midtones on separate layers.
This method gives you control over each element, making it easier to adjust as needed. Utilize layer opacity to blend different layers seamlessly.
Utilizing Blend Modes for Textures
Blend modes are powerful tools for adding effects that enhance texture realism. Experiment with blend modes such as Multiply, Overlay, and Soft Light to see how they affect your texture layers. Certain blend modes can deepen shadows or increase highlights, adding more dimension, as can customized blending brush.
For instance, use the Multiply mode to darken shadows or the Overlay mode to intensify colors. Adjusting the opacity of these modes can also fine-tune the effect.
Adding Depth and Realism
Depth and realism are often achieved through light and shading. To add depth, use soft brushes to create gradual transitions between light and dark areas, mimicking how light naturally interacts with surfaces. Highlights and shadows should be on separate layers, making it easier to adjust them without impacting other parts of your texture.
Consider the direction of light in your scene and apply highlights where light hits the surface directly and shadows in areas less exposed to the light. This contrast enhances the three-dimensional effect of your texture.
By mastering these techniques, you can create lifelike textures that bring your digital paintings to life.
Step 5: Apply Textures to Your Artwork
When applying textures in Procreate, it’s important to consider the type of texture you’re working with and how it will enhance your artwork. Here’s a focused guide on applying paper, fabric, metal, and natural textures to your designs.
Working with Paper Textures
Adding paper textures to your drawing can give it a handmade, tactile feel. Start by selecting a paper texture brush from Procreate’s library or import a custom texture.
Steps:
- New Layer: Create a new layer for the texture, ensuring that it’s on top of your artwork layer.
- Brush Settings: Adjust the brush settings to match the scale and opacity you need.
- Overlay Mode: Set the layer to overlay mode for natural blending.
This helps in creating an authentic paper-like appearance, adding depth and realism.
Creating Fabric and Metal Textures
Fabric and metal require different approaches due to their varied characteristics. For fabric, choose brushes that simulate threads and fibers, while for metal, use brushes that mimic shininess and reflections.
Fabric:
- Multiple Layers: Use multiple layers to differentiate between different fabric types (e.g., wool, silk).
- Blending Modes: Utilize multiply or soft light blending modes to get the desired effect.
Metal:
- Gradient and Shine: Incorporate gradient and shine brushes to emphasize the metallic texture.
- Highlights: Add highlights to reflect light and give a polished look.
Both textures benefit from layering and blending techniques to create a convincing final appearance.
Incorporating Natural Textures
Natural textures such as wood, stone, and foliage can bring your artwork closer to life. Begin by choosing a suitable texture brush or importing a texture file.
Steps:
- Base Layer: Paint a base layer representing the overall color of the texture.
- Detail Brush: Use a detail brush to add intricate patterns and irregularities.
- Adjust Opacity: Adjust the opacity for a subtle or bold effect.
Using layers allows you to tweak each natural element without disrupting the other parts of your artwork. This method ensures your textures appear organic and well-integrated into your piece.
Step 6: Explore Advanced Texture Techniques
Mastering advanced techniques for textures in Procreate can elevate your digital artwork, adding depth, richness, and realism. Key methods include utilizing Alpha Lock and Clipping Masks for precise texture application, blending textures with layers, and creating dimensionality using highlights and shadows.
Using Alpha Lock and Clipping Masks
Alpha Lock allows you to paint only within the bounds of an existing layer, ensuring that you don’t stray outside the lines. To activate it, tap on the layer thumbnail and select Alpha Lock from the menu. This technique is useful for adding detailed textures without affecting the rest of your artwork.
Clipping Masks provide even more control. To use a Clipping Mask, create a new layer above your target layer, then tap on it and select Clipping Mask. This confines your new texture or color to the non-transparent pixels of the underlying layer. This method helps you layer textures precisely, making it easier to create complex, detailed designs.
Blending Textures with Layers
Using multiple layers is crucial for achieving nuanced textures. By stacking layers, you can adjust and blend textures seamlessly. Start by creating a base texture layer. Add additional layers for more textures, adjusting opacity and blend modes as needed.
Experiment with blend modes like Multiply, Overlay, and Soft Light. These modes can help you achieve various effects and ensure your textures integrate naturally into your artwork. For example, use the Multiply mode to darken textures and add depth, while Soft Light can highlight subtle details without overwhelming the base texture.
Achieving Texture with Highlights and Shadows
To bring out the three-dimensionality of your textures, incorporate highlights and shadows. Create a new layer above your texture and set it to Overlay or Soft Light. Use a light color, such as white or bright yellow, to paint highlights where the light naturally hits your texture.
For shadows, use a darker color and a soft brush to paint areas where light is obstructed. Consider the light source in your scene to place shadows accurately. Adjust layer opacity and blend modes to refine the effect. This technique adds realism and depth, making textures appear more lifelike and integrated with the overall composition.
Step 7: Explore Imorting and Managing Textures
To create realistic textures in Procreate, importing custom textures and managing them effectively in the Layers panel are crucial steps. Below, you’ll learn how to import textures and organize them within your projects.
Importing Custom Textures
When you want to import textures in Procreate, you can start by sourcing texture files from texture packs or creating your own.
- Download the texture: Ensure the texture is saved in a format like JPEG or PNG.
- Open your project: Either create a new canvas or open an existing project.
- Access the Actions menu: Tap the wrench icon in the top left corner of the interface.
- Import the texture: Select Insert a file if it’s stored locally, or Insert a photo if it’s in your photo library.
Pasting a texture from your clipboard is also an option. If you find a texture online or create one, copy the image to your clipboard. Then, in Procreate, use the Paste function in the Actions menu to add the texture directly into your workspace.
Organizing Textures in the Layers Panel
Once you’ve imported your textures, organization is key to maintaining a streamlined workflow.
- Layers panel overview: Tap the Layers panel icon (which looks like two overlapping squares) to open it.
- Creating new layers: For each new texture, create a separate layer. This allows for individual adjustments without affecting the rest of your art.
- Renaming layers: Tap on the layer’s name to rename it. Use descriptive names, like “Wood Grain” or “Canvas Texture,” for easy identification.
- Grouping layers: If you’re working with multiple textures that belong together, group them by swiping right on each layer and then selecting the Group option.
Organizing your textures in separate, labeled layers ensures easy access and adjustments. You can also utilize blending modes for each layer to achieve the perfect integration of your textures, enhancing the overall look of your artwork.
Step 8: Enhance Your Art with Textural Effects
Creating realistic textures in Procreate can significantly elevate your digital artwork by adding depth, dimension, and nuance. Key techniques involve applying the right texture finishes and adjusting key settings like opacity and scale to control the visual impact.
Adding Finishing Touches with Texture
Final touches with textures can transform the overall feel of your artwork. Use multiple layers to build up textures; this allows for detailed adjustments without affecting the entire piece.
Experiment with layer modes such as Multiply for adding shadows or Soft Light for subtle effects. Adding highlights on a separate layer with colors like bright yellow or white can emphasize where light naturally hits, enhancing a three-dimensional look.
Explore Procreate’s brush library for tools designed specifically for texture creation. Brushes like “Grain Pencil” or “Soft Pastel” can add different textural elements. Touch and observe real-world textures when possible, then replicate how light interacts with these surfaces in your digital work.
Adjusting Opacity and Scale for Influence
The opacity and scale of your textures can greatly influence the final outcome of your artwork. Start by setting your texture layer at a low opacity and gradually increase it to see the effect. This allows for subtle integration instead of overpowering your primary design.
Scaling textures appropriately is crucial. Use the Transform tool in Procreate to resize your texture layers, ensuring they fit seamlessly with your artwork’s proportions. Small-scale textures can add fine details, while larger scales might suggest coarser materials.
Combining different scales and opacity levels can create complex, sophisticated effects. Always preview your changes with and without texture layers to judge their impact accurately. Simple adjustments in these settings can offer a wide range of visual effects, making your artwork rich and multifaceted.
Best Practices and Tips for Texturizing
To master texturizing in Procreate, it is important to focus on continuous learning and practicing various techniques. Observing real-world textures and experimenting with different brushes will also enhance your skills.
Continuous Learning and Observation
To create realistic textures, spend time observing textures in your environment. Notice how light interacts with different surfaces like wood, fabric, or metal.
Take photos or touch objects to get an idea of their texture. This first-hand observation will inform your digital recreations.
Follow tutorials and guides that focus on specific textures. Learning from other artists can provide new insights and techniques.
Regularly practice these observations in your Procreate sketches. The more you observe and practice, the better your textures will become. Remember, consistent effort leads to improvement.
Experiment with Textures and Techniques
In Procreate, experiment with a variety of brushes and settings to find what works best. Use layers to separate different elements of your texture, such as base color, shadows, and highlights.
Try different brush textures for varied effects. For example, a rough brush may work well for a stone texture, while a softer brush is better for fabric.
Don’t be afraid to mix techniques. Combine different brushes, smudging, and erasing to create more complex textures.
Save your favorite brush settings and techniques for future projects. This way, you can build a personalized toolbox for texturizing. Practice and exploration will make you more comfortable and creative in your work. Happy creating!
Beginner’s Guide to Procreate
Our Beginner’s Guide to Procreate is the ultimate resource to kickstart your digital art journey. It covers everything from the basics of navigating the app to advanced techniques for creating stunning artwork so that you can not only get off to a strong start but gain confidence quickly. Dive in and unleash your creativity with Procreate!
Frequently Asked Questions
Here, you’ll find answers to common questions about applying textures in Procreate, including overlay application, finding free textures, creating custom brushes, and importing external textures.
